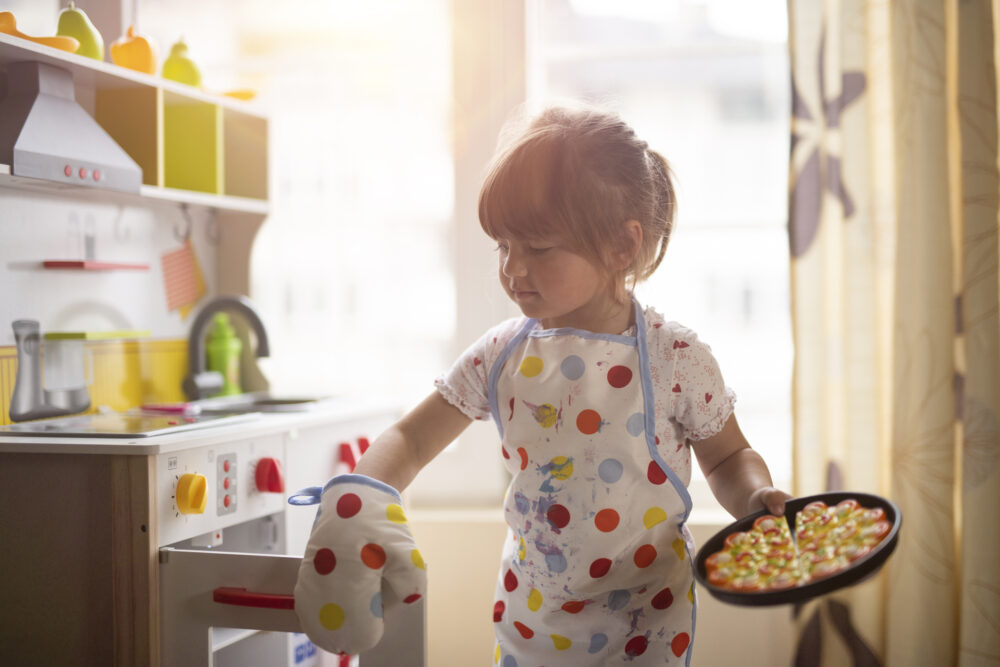
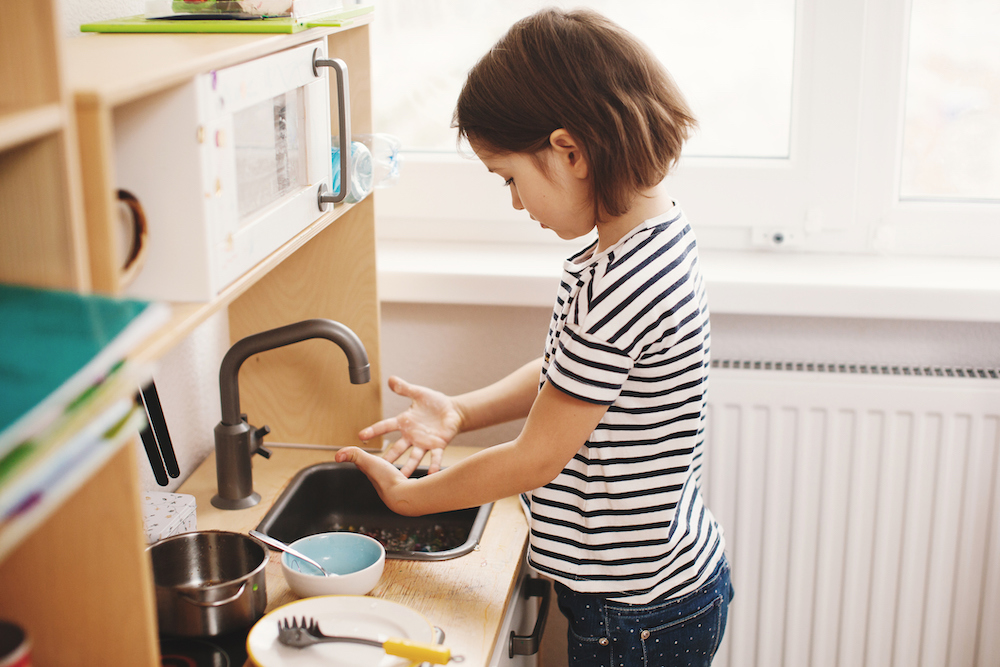
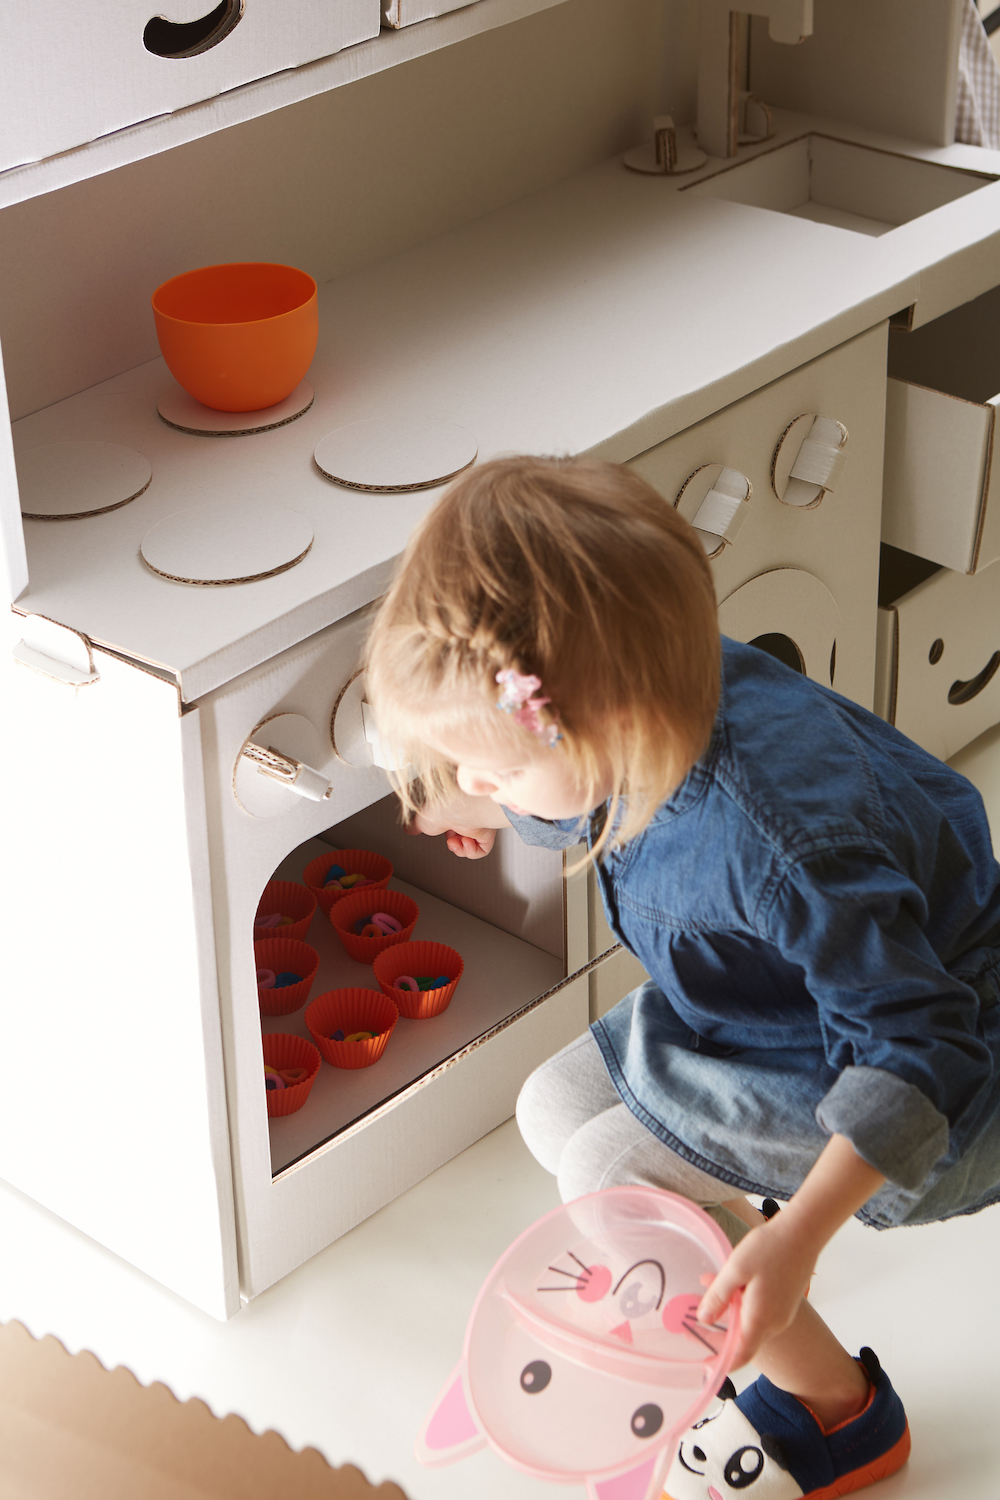
If your kids are too young to help you cook and clean in your own kitchen but they still want to “play” kitchen, build them this play kitchen from wood instead of buying one of those gross looking plastic sets.
This project was designed by Dan Cary and shared courtesy of the Handyman Club. It’s geared towards a more experienced woodworker but if you’ve got the tools and gumption, give it a shot.

Small children love pretending they’re busy with the chores grownups do every day. In the hope that sparking kids’ imaginative play will help them grow into enthusiastic helpers when they’re teenagers (hey, a dad can dream), I designed a kitchen play set with just enough detail to make it realistic without being cumbersome.
Large toys can present storage hassles, so I made the kitchen easy to set up and disassemble — that way kids can gain a sense of accomplishment from helping with assembly.
If your child already has a play kitchen, you can easily modify the design to create a toy workbench: Just eliminate the stove door, sink cutout and burner circles. No matter what you call the finished project, kids will undoubtedly adapt it for a variety of creative uses.
This project is perfect for woodworkers of all skill levels. I built it with a fairly basic workshop setup: a table saw, jig saw, router, drill/driver and sander.
Materials cost about $100 because I used relatively expensive Baltic birch plywood. You can probably build it for half of that cost using 1/2in. AC plywood, although the panels might not be as flat and you will probably need to fill voids along the edges.
Materials and Shopping List
| Materials List | Shopping List |
| KEY NO. DESCRIPTION SIZE 1/2-in. plywood A 2 Front/back panels 1/2 x 34 x 46-1/2 in. B 1 Short end 1/2 x 16 x 22 in. C 1 Tall end 1/2 x 16 x 36 in. D 1 Bottom 1/2 x 14 x 44 in. E 1 Short divider 1/2 x 14 x 17-1/4 in. F 1 Tall divider 1/2 x 14 x 32 in. G 1 Countertop 1/2 x 16 x 31-3/4 in. H 1 Refrigerator top 1/2 x 16 x 16-1/2 in. I 1 Oven shelf 1/2 x 14 x 14-1/2 in. J 2 Refrigerator shelves 1/2 x 13-3/4 x 14 in. K 1 Oven door 1/2 x 8-1/2 x 13 in. L 1 Sink door 1/2 x 13 x 15 in. M 1 Freezer door 1/2 x 7-1/2 x 13 in. N 1 Refrigerator door 1/2 x 13 x 21 in. O 2 Burner circles 1/2 in. x 6 in. dia. 3/4-in. pine P 2 Bottom cleats 3/4 x 1-1/2 x 44 in. Q 4 Short divider tracks 3/4 x 3/4 x 17 in. R 4 Tall divider tracks 3/4 x 3/4 x 31-3/4 in. S 5 Wide cleats 3/4 x 1-1/2 x 12 in. T 2 Long cleats 3/4 x 3/4 x 29 in. U 10 Short cleats 3/4 x 3/4 x 12 in. | 1/2-in. plywood (3 sheets of 60 x 60-in. Baltic birch or 2 sheets of 4×8-ft. AC plywood) 1×4 x 8-ft. Aspen or similar clear wood (2) Flush-mount free-swinging cabinet hinges (8; see SOURCES ) No. 6 x 1/2-in. flathead wood screws (for hinges) Sash locks (5) 3- to 4-in.-long cabinet door handles (2) 5- to 6-in.-long cabinet door handles (2) No. 8 x 32 x 3/4-in. machine screws (for handles) 1/4-in.-dia. x 1-in. bolts (3) 1/4-in. flat washers (6) 10-in.-dia. stainless steel bowl 4-in. bathroom faucet Replacement stove and oven knobs (3) |
Play Kitchen Plans

Cut List

Click here to download plans and cutlist
Continue reading for step-by-step
Make the Parts
Because you’ll need to cut hooks into the front and back panels so they can hang on the end panels (see drawing, opposite), the dimensions in the cutting list (bottom) include the extra length for the hooks. To begin, cut all of the parts to the dimensions listed. Then use Detail 2 in the drawing to lay out the pattern for the hooks. Cut out the hook profiles with a jigsaw (photo 1).
Next, cut the slots that the hooks fit through in the end panels. The plywood I used is slightly less than 1/2 in.
thick, so I made the slots 1/2 in. wide. I drilled a 1/2in.dia. hole at each end of the slot and then cut between the holes to create each slot using a jigsaw (photo 2).
The sink is made of a 10in.dia. stainless steel mixing bowl that you can purchase at most discount stores. Trace the perimeter of the bowl on the countertop and measure in the width of the lip to mark the sink cutout line.
Cut the bottom profile and hand holes out of the ends and the openings in the front panel, countertop and oven door with a jigsaw and a guide fence. Use a wide blade to make the cuts as straight as possible. If you plan to make more than one play set, you might want to create templates for each opening and use a router with a template guide to cut the openings.
I used a spade bit to drill 1in.dia. holes spaced 4 in. OC for the faucet. To prevent the bit from splintering the stock, drill halfway through; then flip the top and finish the hole from the other side.
The stove burners are made of 6in.dia. plywood circles. You can use many methods and jigs to make circles; I used a jigsaw because I needed only two circles. If you plan to cut several circles, you might want to use a faster method that will produce consistent results, such as a circle cutting attachment for a router or a circle cutting jig for a band saw.
Eliminating sharp corners on kids’ furniture is essential, so trim the outside corners of the top pieces to a 11/4in. radius and the corners on all of the other pieces to about 3/4 in. Clean up the blade marks with a sander, and round over all of the edges using a router equipped with a 1/8in.dia. roundover bit (or use a sander).
The final parts you must make are the solidwood strips that act as vertical divider tracks and cleats to support the shelves and fasten the tops. I used 1x aspen because it matches the color of the plywood, but you can use any relatively knotfree solid wood. Rip the 1x stock to 3/4and 11/2in. widths and then crosscut them to their final lengths.
STEP-BY-STEP INSTRUCTIONS

Step 1
Draw the hook profiles on each front and back panel. Use a 1/2-in.-dia. drill bit and jigsaw to cut out the hooks. Score the cut lines with a knife to help prevent splintering.

Step 2
Draw the slot outlines on the end panels. Drill a 1/2-in.-dia. hole at each end of the slot; then cut the sides of the slot and square off the ends with a jigsaw.

Step 3
Attach vertical divider tracks and all cleats to the front, back, ends and dividers with glue and 1-in.-long brad nails.

Step 4
Drill 1/4-in.-dia. holes through the center of each stove knob valve-stem fitting and through the front panel at each knob position. Thread the bolts into the fittings and press the knobs onto the fittings.

Step 5
Instead of the 3/4-in. screws provided with the hinges, use shorter No. 6 x 1/2-in. wood screws to fasten the hinges to the doors and front panel. For additional strength, use machine screws and lock nuts to secure the hinges.

Step 6
Mark the center point of the sash locks on the mating cleats. Attach the part of the sash lock that features the locking mechanism to the 1-1/2-in.-wide cleats that are on the panels (left inset) and attach the other part of the sash lock to the cleats that are on the tops (right inset).
Assemble and Finish the Parts
Attach the vertical divider tracks and various cleats to the inside faces of the front and back panels and tops with glue. Drive a few 1in. brads into each piece to secure them until the glue cures (photo 3). Then sand all of the parts smooth, using progressively finer sandpaper (ending with 220grit).
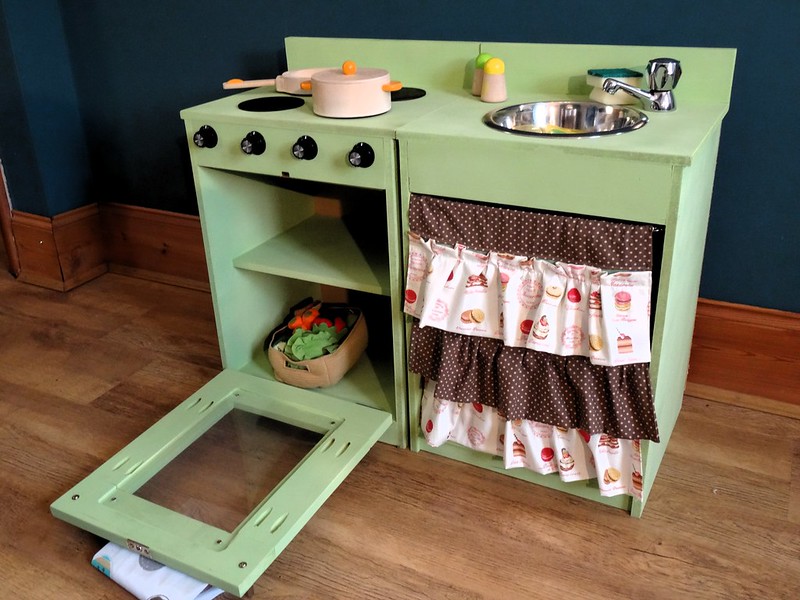
I applied satinfinish waterbase paint to the doors and burner circles and satinfinish waterbase polyurethane to the rest of the front, back, ends, tops and shelves.
Most consumer finishes are childsafe once they have cured, but I still prefer to use lowVOC finishes to limit offgassing (the release of fumes during and after curing). Install the faucet in the two faucet holes you drilled in the countertop and secure with the nuts included with the faucet.
I used real replacement stove knobs (available where appliances are sold) to add a little more authenticity to the play set. Most replacement knobs come with various size valvestem fittings.
To attach the knobs, I drilled a 7/32in. hole in the center of three of the fittings. The fittings are made of soft plastic that the bolt threads easily cut through. Attach the fittings and knobs to the front panel with 1/4in.dia. x 1in.long bolts (photo 4).
The doors and tops are the only pieces attached with mechanical fasteners. Once the finish has cured, hang the doors. I used freeswinging hinges to prevent the doors from closing on little fingers.
Most flushmount cabinet hinges are snapclosing, but I was able to find one flushmount freeswinging hinge from Lee Valley Tools (see SOURCES ONLINE). Fasten the hinges to the doors and front panel (photo 5). Then attach the small cabinet handles to the freezer and undersink doors, and attach the large handles to the refrigerator and oven doors.
Because the doors are only 1/2 in.thick, you will need to replace the No. 8 x 32 x 1in.long screws that are included with most cabinet handles; instead, use shorter No. 8 x 32 x 3/4in.long screws.
The tops keep the front and back panels seated in the end slots and are secured to the front, back and end panels with windowsash locks. Attach the sash locks with the screws provided, being careful to position the parts so they align when the top is in place (photo 6).
To assemble the play set, use the following sequence:
1. Fit the front and back panel hooks into the tall end slots.
2. Slide the bottom into place.
3. Fit the front and back panel hooks into the short end slots.
4. Slide the vertical dividers into their tracks.
5. Install the shelves.
6. Place the tops on the front, back and ends, and fasten the sash locks.
When all of the parts are in place and the tops are locked down, the kitchen is surprisingly stable. To disassemble the play set, simply reverse the order of the assembly steps.
SOURCES
Lee Valley Tools Ltd. (hinges, No. 02H13.02), 800-871-8158