With our step-by-step guide, discover how to turn old, eerie materials into stunning Halloween silhouette decorations. Using repurposed materials like basement paneling, you can create a ghostly family and tombstones that will delight trick-or-treaters and last for years.
This eco-friendly project not only reduces waste but also provides a fun, creative activity for the whole family. Learn how to trace, cut, sand, and paint your way to a spooky, atmospheric front yard, while teaching kids the importance of recycling. Get ready to make Halloween magic by transforming spooky waste into enchanting decorations!
With Halloween just around the corner, it’s a great time to start thinking about fun and creative ways to decorate your home.
But instead of heading to the store for decorations, why not make your own using repurposed materials? This approach is not only eco-friendly but also provides a fun activity for the whole family.
- Scary Basement Paneling Becomes a Ghost Family and Tombstones, Teaching Recycling in the Process
- Materials for Ghosts and Tombstones
- Using a Bucket for the Tops of Tombstones
- Screwing in Stakes for Tombstones
- Creating Cutouts of the Ghost Family
- Putting Stakes on the Bottom of Ghosts
- Simple Designs Inspired by Intricate Ideas
- Safety and Fun for All Ages
- Painting the Creations
- Eco-Friendly Halloween Decor
- How to Make Halloween Silhouettes: Tools and Materials
- How to Make Halloween Silhouettes: Step-by-Step Process
Scary Basement Paneling Becomes a Ghost Family and Tombstones, Teaching Recycling in the Process
Did you know that the construction and demolition industry generates more than 600 million tons of waste debris every year in the United States? (Source: EPA, 2018). When we renovated our basement, we were left with a pile of old, eerie paneling. Instead of tossing it, I decided to give it new life as Halloween decorations, inspired by Timothy’s article, “Make Wicked Witch and Grim Reaper Halloween Silhouettes.”
Materials for Ghosts and Tombstones
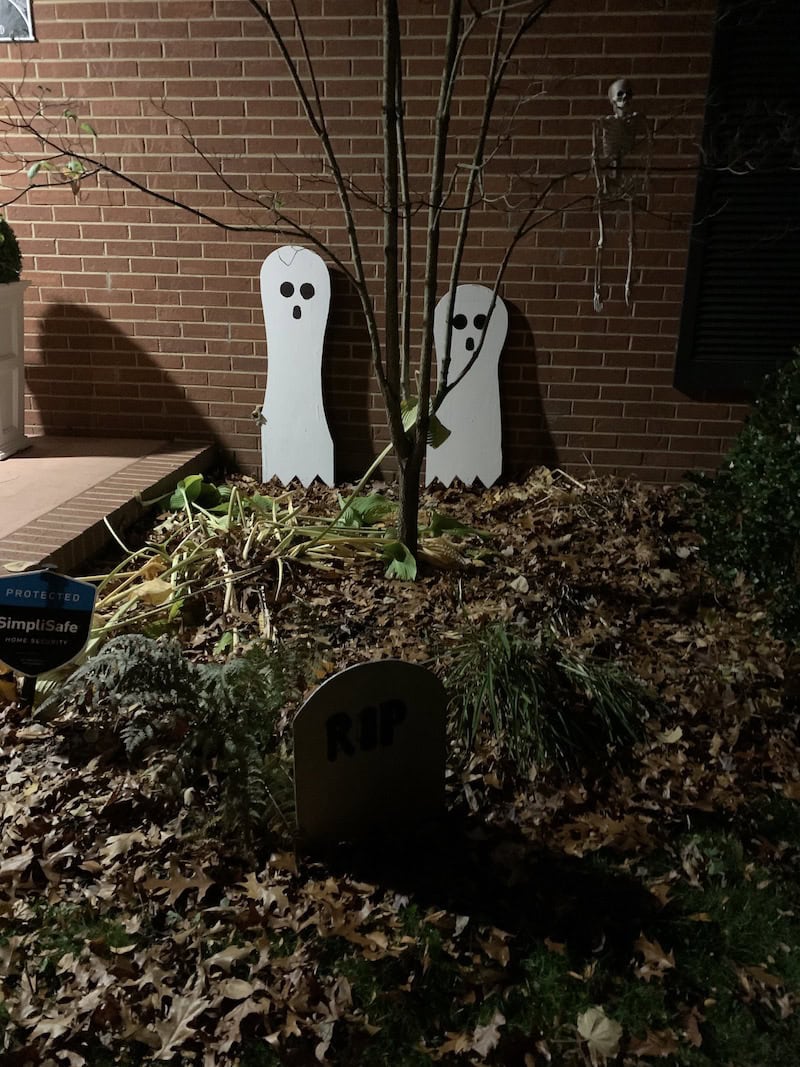
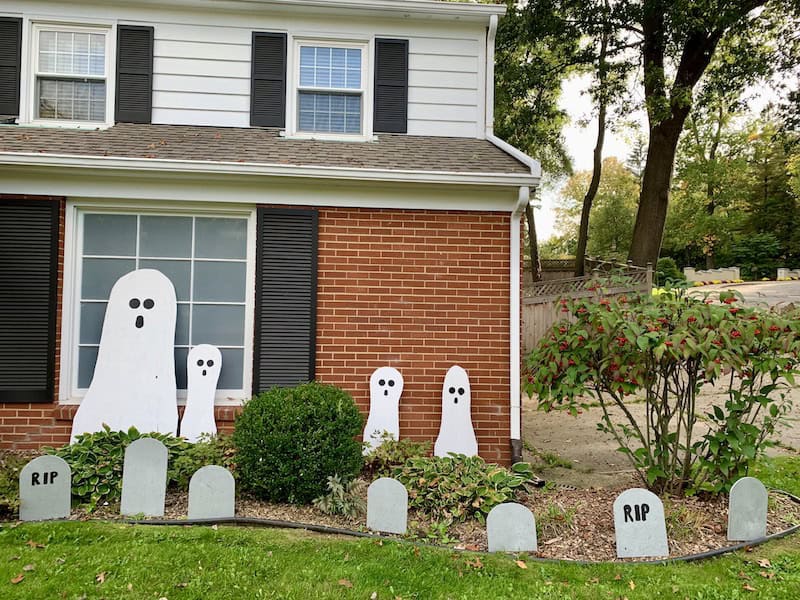
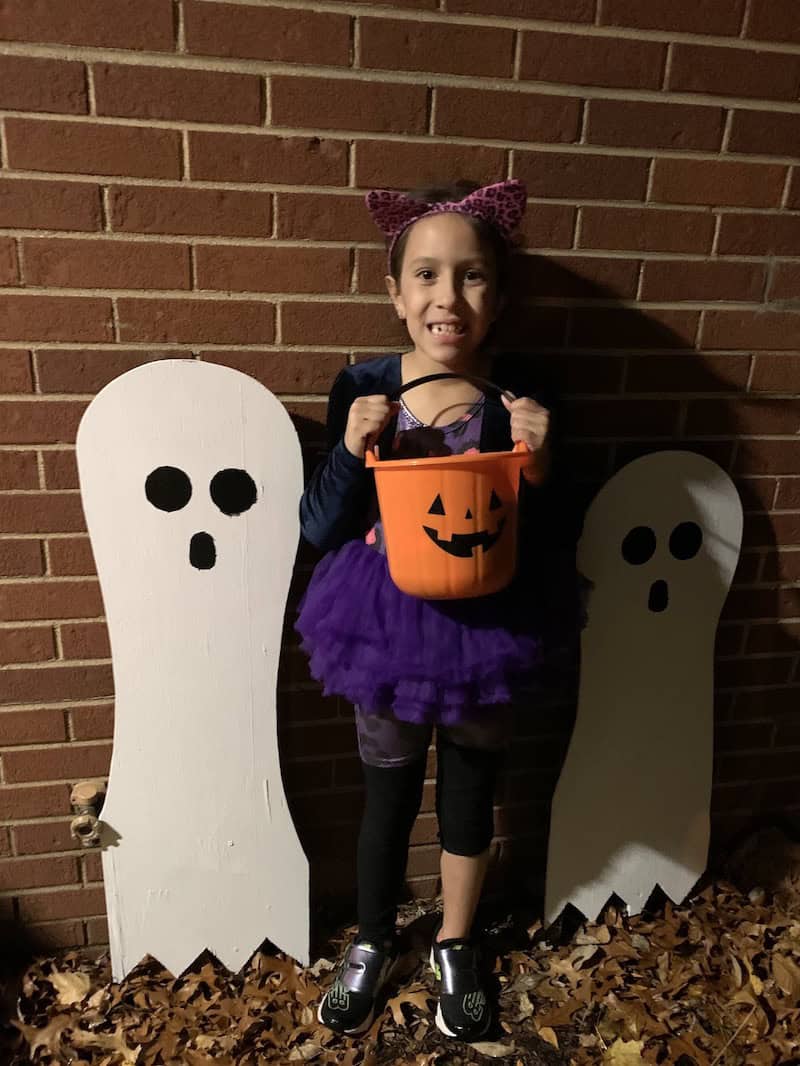
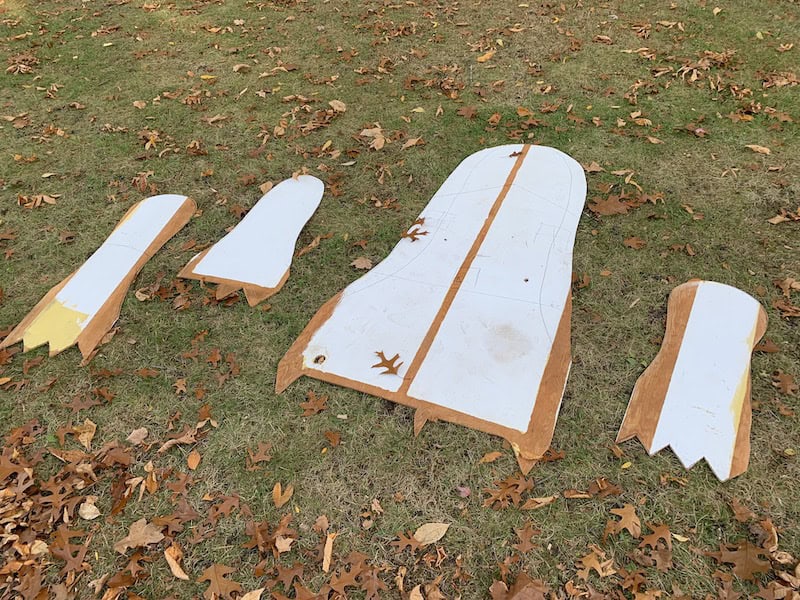
With Halloween approaching, I repurposed the paneling to create a ghost family—Papa Ghost, Mama Ghost, Little Ghost, and Baby Ghost—along with seven tombstones. These figures now adorn our front yard, leaning against our brick house to stay upright and creating an atmospheric graveyard that delights trick-or-treaters.
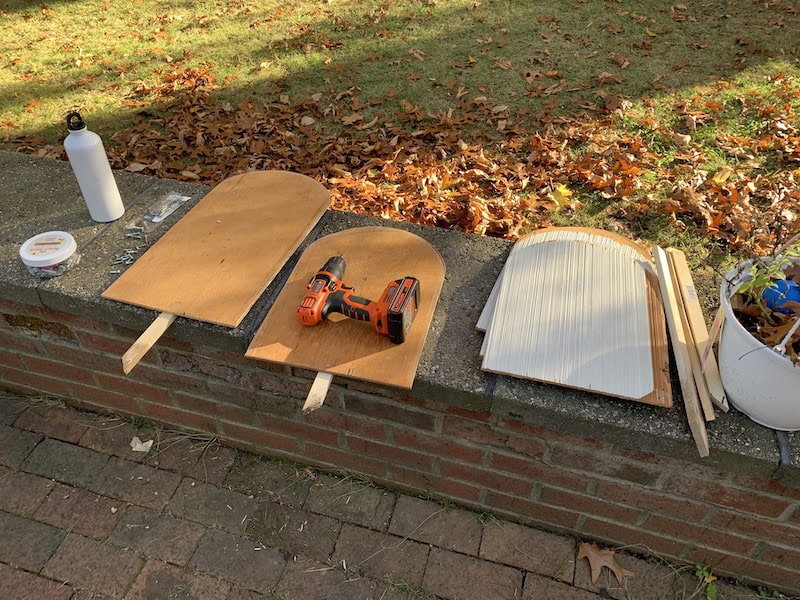
Using a Bucket for the Tops of Tombstones
Designing our decorations was simpler than expected. While Timothy’s intricate silhouettes inspired me, I opted for easier shapes due to my limited DIY skills. The project turned out to be cost-effective, as I used recycled materials and only needed to buy paint and sandpaper. The stakes were also recycled from a local volunteer project.

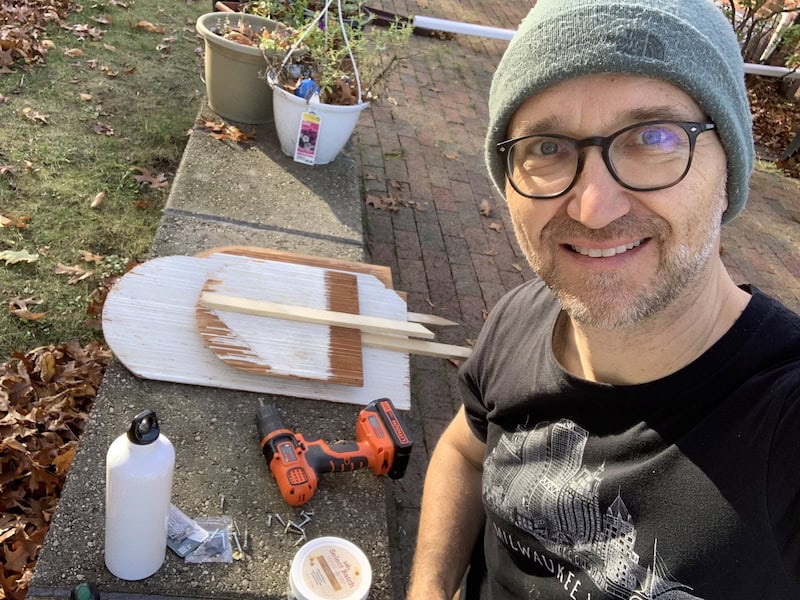
Screwing in Stakes for Tombstones
To ensure the tombstones stayed in place, I screwed stakes into the bottoms, making them sturdy enough to withstand the elements.
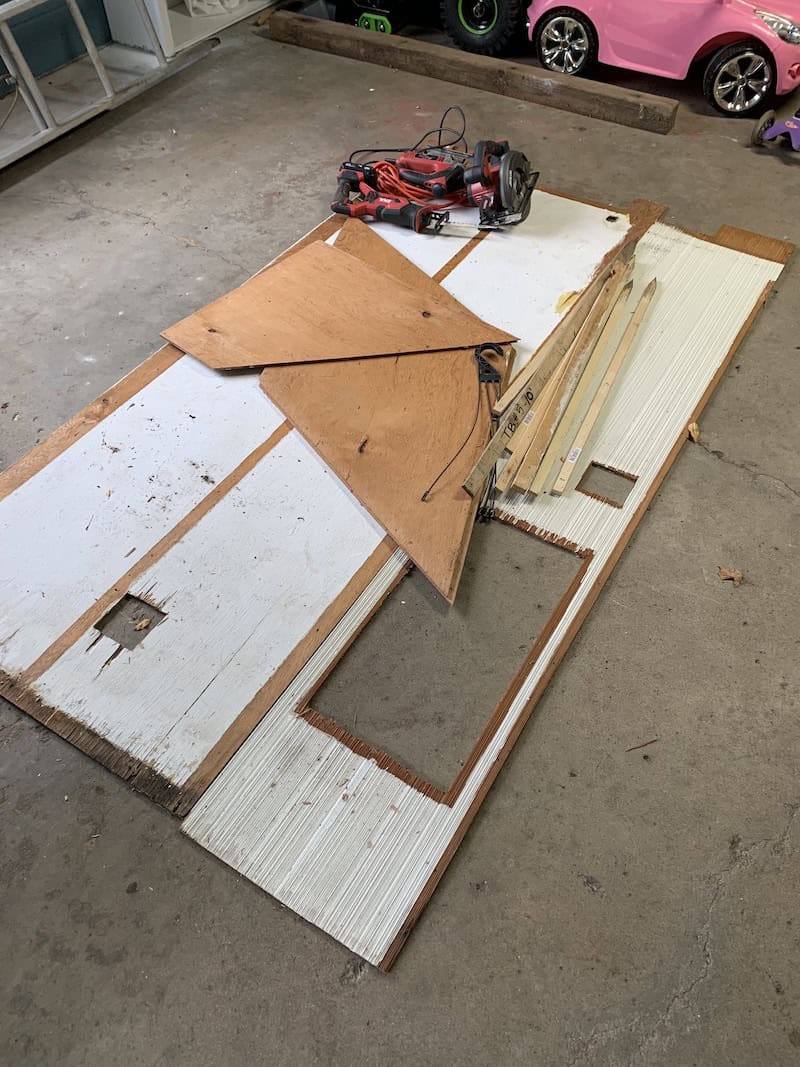
Creating Cutouts of the Ghost Family
Using a jigsaw, I carefully cut out shapes for the ghost family. Sanding down the rough edges and adding a coat of white paint brought these spooky figures to life.
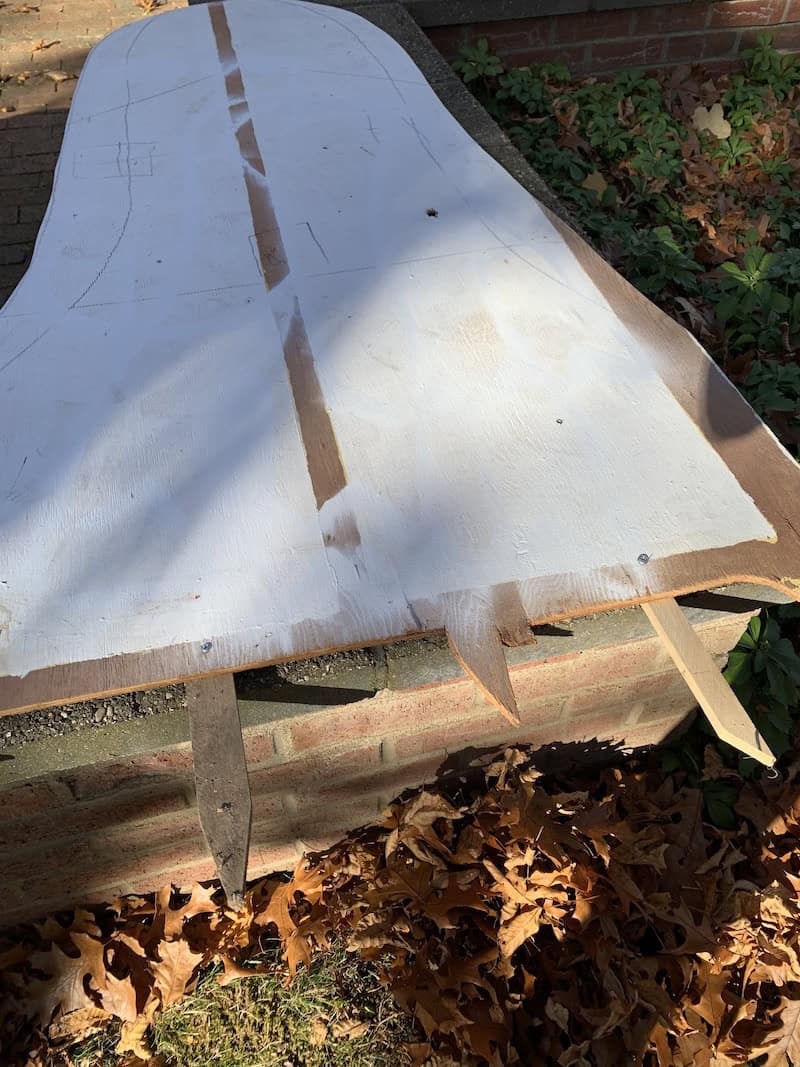
Putting Stakes on the Bottom of Ghosts
The ghosts were secured with stakes, allowing them to be easily planted into the ground, making them stable and weather-resistant.
Simple Designs Inspired by Intricate Ideas
While the intricate designs in Timothy’s project were inspiring, I found that simpler shapes were more manageable and budget-friendly, especially using recycled materials. This project became a great opportunity to teach kids about recycling and creativity.
Safety and Fun for All Ages
Note: This project is better suited for adults or under adult supervision, as using tools like a jigsaw and handling rough edges can be tricky. I even got a few splinters while sanding the paneling! However, it was a wonderful chance to show kids how to make something fun and useful from materials that would otherwise be discarded. Our ghost and tombstone cutouts will likely last much longer than store-bought decorations.
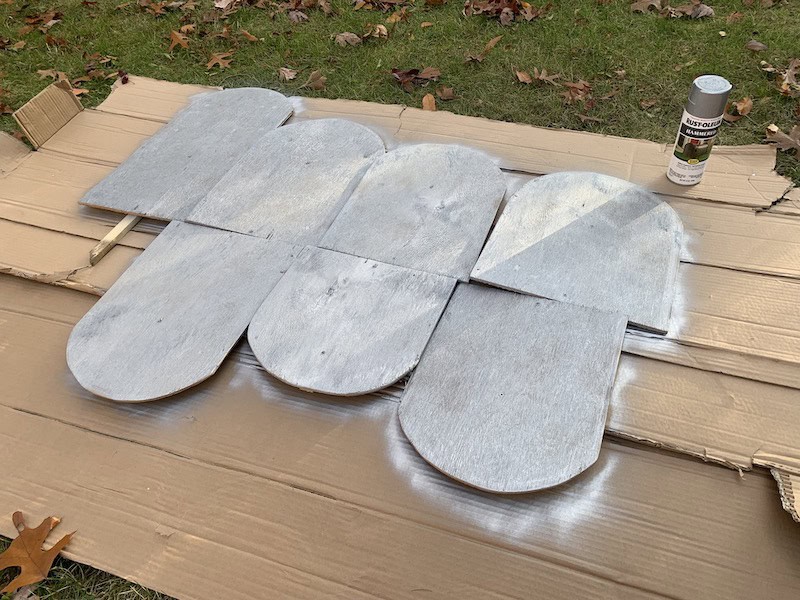
Painting the Creations
To add the finishing touches, I used black and white paint to give the ghosts and tombstones their spooky, yet charming, appearance. This step allowed for some creative expression, making each piece unique.
Eco-Friendly Halloween Decor
Our homemade decorations will likely last for many more Halloweens, serving as a testament to the power of recycling and creative ingenuity. Let’s turn scary paneling into spooky, eco-friendly art, one Halloween at a time!
How to Make Halloween Silhouettes: Tools and Materials
Tools:
- Jigsaw
- Screwdriver or screw gun
- Bucket
- Ruler
- Sharpie pen
Materials:
- Sheets of used paneling (1/4”)
- Screws
- Stakes
- Sandpaper
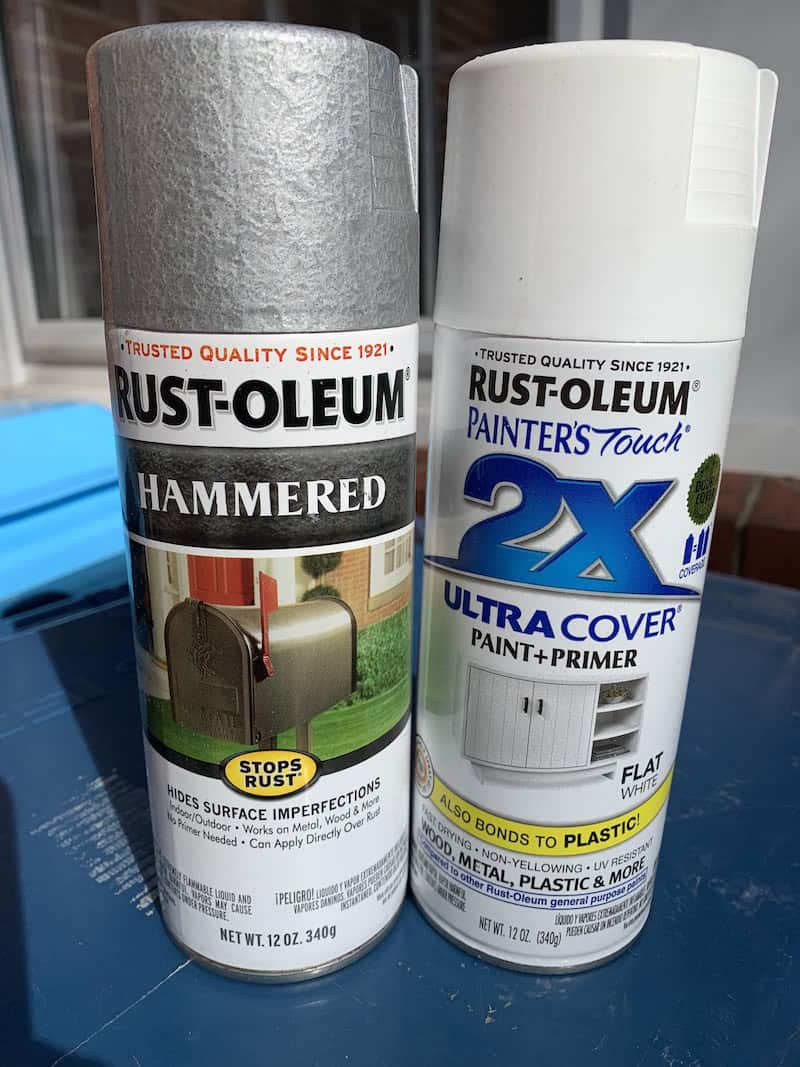
- Rust-Oleum spray paint
How to Make Halloween Silhouettes: Step-by-Step Process
- Trace Shapes: Freehand trace ghost shapes with a Sharpie pen.
- Trace Tombstones: Use half a bucket to trace the tops of tombstones and a ruler for the sides.
- Cut Out Shapes: Cut out ghosts and tombstones with a jigsaw. Irregularities add to the spooky effect!
- Sand Edges: Sand the sides with heavy-duty sandpaper to smooth out rough edges.
- Attach Stakes: Screw stakes into the bottoms of the shapes.
- Paint: Spray paint with two to three coats of Rust-Oleum all-purpose spray paint.
- Install and Enjoy: Set up your decorations in your yard and enjoy!
Overall, this project took about 6-8 hours over a few days, allowing paint coats to dry in between. When not in use, we store our ghost family and tombstones in the garage, serving as a happy reminder of our eco-friendly creativity.
Have fun and Happy Halloween!