There’s a moment every parent knows too well. The kids are restless, and suddenly every toy in the house feels “boring.” You want something hands-on but not something that ends in paint on the walls and a full cleanup operation. Here’s the good news: All you need is an old t-shirt and a household iron. Welcome to the 15-minute blank canvas.
Why This Simple DIY Wins For Parents and Kids
This is one of those rare activities that checks every box. First, it solves boredom fast. Kids get to design something they can actually wear, which immediately makes the activity feel exciting. Second, it keeps the mess to a minimum.
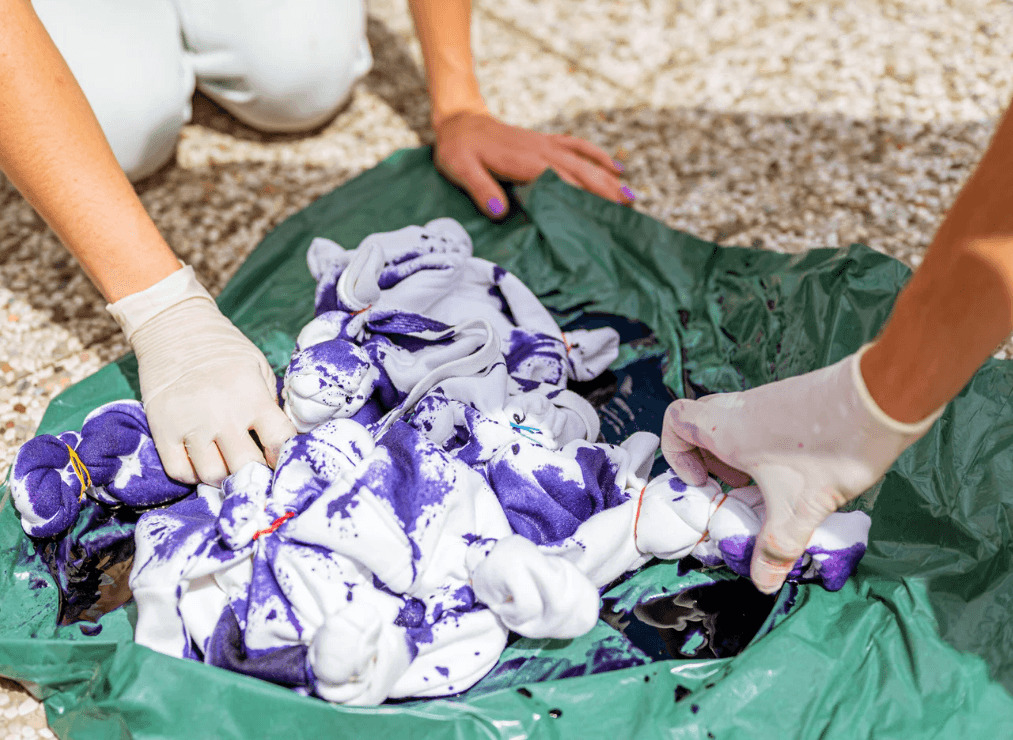
Unlike dye, iron-on art is clean, contained, and easy to manage, even with younger kids involved. And third, it teaches something bigger: how to reuse what you already have. That “ruined” shirt with a small stain? It’s now the perfect base for a custom design. You’re giving clothes a second life instead of tossing them out, and showing your kids how creativity can solve everyday problems.
The Magic of Iron-On Art
One of the biggest frustrations kids face with DIY clothing is this: what they imagine doesn’t always match what they can draw. That gap can turn excitement into disappointment fast. Iron-on transfers remove that barrier completely.
They allow kids to work with bold, colorful, professional-looking designs without needing advanced skills. The final result looks polished from a favorite animal to a cool graphic. And the best part? Kids still feel ownership. They chose it. They placed it. They made it theirs.
What You’ll Need
This project works because it’s refreshingly low-effort. Most of what you need is already at home.
- An old cotton t-shirt, hoodie, or tote bag
- Pre-made iron-on transfers or ready-to-press designs
- A standard household iron
- A flat surface (like a table or an ironing board)
- Parchment paper or protective sheet (often included with transfers)
That’s it.
You can explore ready-to-use options from sources like DTF Transfers Miami or browse designs directly at dtftransfersmiami.com for inspiration if you don’t already have transfers on hand.
Step-by-Step: From “Old” to “Awesome” in 15 Minutes
Step 1: Pick the “Canvas”
Let your child choose the item they want to redesign. This step matters more than it seems. A shirt they already like but stopped wearing becomes instantly exciting again when they get to transform it.
Pro tip: Small stains or faded spots make great placement targets for designs.
Step 2: Choose the Design
Lay out a few transfer options and let your child decide what speaks to them.
You can guide them with simple prompts like:
- “Do you want something bold or small?”
- “Should it go in the center or off to the side?”
- “Do you want it to cover that stain or decorate around it?”
This turns the activity into a mini design challenge rather than just a craft.
Step 3: Position Before You Press
Place the design on the fabric and step back before turning on the iron. Encourage your child to look at it from a distance. This helps them feel involved in the creative decision-making process. It’s a small moment, but it builds confidence.
Step 4: Press and Transform
Let your kids apply heat according to the transfer instructions with adult supervision. This is the “wow” moment. There’s something genuinely exciting about lifting the sheet and seeing a clean, vibrant design fused onto fabric. It feels instant and a little bit magical.
Step 5: Let It Cool
Once the design is set, let the shirt cool for a minute or two. Then comes the best part: the reveal. Kids see something they created, and that sense of pride sticks.
Turning It Into a Family Design Challenge
Turn it into a friendly competition if you want to stretch this beyond 15 minutes. Give each child a theme: “Nature explorer”, “Superhero in disguise,” or “Favorite animal remix.” On the other hand, you can let everyone redesign one item and do a mini “fashion show” at the end. This adds storytelling, imagination, and a shared experience without adding complexity. Below are a couple more ideas to make it fun for the whole family:
Let Kids Design Their Own Iron-On Patch
Turn this project into a fun activity by letting kids create their own custom designs before applying them to their clothes.
Start by giving them paper, markers, or crayons and ask them to draw something they love. This could be their name, favorite animal, shapes, or even a simple pattern. Once they are happy with their design, you can help transfer it onto iron-on paper or choose similar ready-made designs together.
Let kids help pick where the design should go on the clothing. Placing it over a stain or worn-out area can make the piece feel brand new again.
With supervision, older kids can also take part in the ironing step. Younger children can help by pressing the fabric flat or checking that the design is in the right place.
This activity not only refreshes old clothes but also gives kids a sense of pride in something they helped create.
Make a Mix-and-Match Design Game
Before choosing the final look, turn the process into a game.
Cut out a few different iron-on shapes or print several small designs. Let kids mix and match them on the clothing without ironing yet. They can move pieces around, layer ideas, and try different combinations.
This helps them explore creativity without pressure and makes the final design feel like their own idea.
Create a Theme Outfit
Encourage kids to design around a theme they love.
This could be:
- Animals
- Space
- Rainbows
- Sports
- Their favorite colors
Let them pick designs that match the theme and place them across the clothing. It turns a simple repair into a mini creative project.
Add a Personal Touch with Names or Initials
Kids love seeing their name on things they use.
You can:
- Add initials to pockets or sleeves
- Place a name on the back or inside label
- Combine letters with small icons
This makes the clothing feel special and helps kids take ownership of their creation.
Before and After Reveal
Make the transformation part of the fun.
Before starting, take a quick photo of the old clothing. After finishing, take another photo and compare the two.
Kids enjoy seeing the difference, and it helps them feel proud of what they made. It can even become a small tradition for future projects.
Why Parents Love This
There’s a deeper reason this activity works so well. It meets kids where they are. You’re giving them a starting point and letting them build from there. At the same time, it removes the common barriers that stop parents from saying yes to crafts:
- No complicated setup
- No expensive machines
- No overwhelming cleanup
- No frustration over “messing it up.”
It’s approachable, repeatable, and adaptable for different ages.
A Small Lesson in Sustainability
Kids might not think about “waste” in the same way adults do, but they understand the idea of giving something new life. They learn this when they take an old shirt and turn it into something they’re proud to wear:
- Not everything old needs to be thrown away
- Creativity can solve problems
- Making something yourself feels better than buying something new
That’s a powerful takeaway from such a simple project.
Conclusion
At the end of the day, this is about giving kids a quick win they can feel proud of. In just 15 minutes, you’ve turned boredom into creativity and helped your child create something they’ll actually want to wear again.
A simple, meaningful project that works. So the next time the rain starts falling or the “I’m bored” chorus begins, grab an old shirt and turn it into something new. You might be surprised how something so small can turn the whole day around.