In a few days I’ll be joining the best design bloggers around at Alt Summit in Salt Lake City. I’m honored to be selected as a speaker on the DIY panel with three other amazing art and design bloggers (Meg Reardon of Not Martha, EZ of Creature Comforts and Marie LeBaron of Make and Takes). We’re all going to share some insight into how we research, prepare, photograph and publish do-it-yourself projects online. I honestly can’t wait to hear what everyone else says as I know they will be dropping some serious knowledge.
If you are going to the Alt Summit please stop me and say hi (I can almost guarantee I’ll be the only Asian guy with long hair).
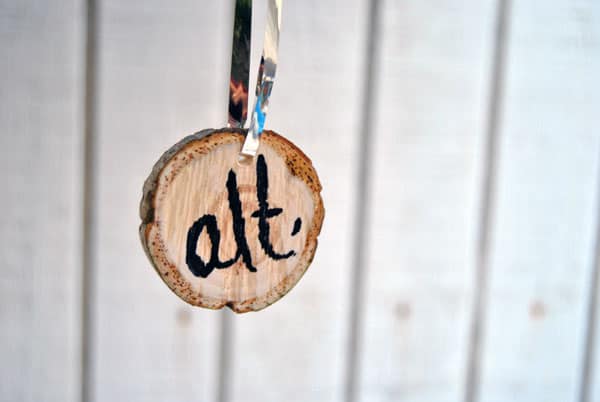
Before traveling to Alt I had plans to make wood badges out of this years Christmas tree and I plan on gifting them with Hunter’s name as an ornament for the grandparents to commemorate Hunter’s first Christmas. Those ornaments can wait but Alt Summit is this week so I figured why not make a wood badge with an Alt Summit “brand”. Here’s how I did it.
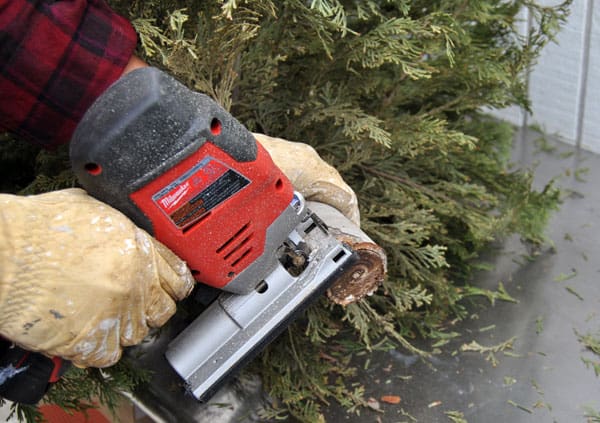
1. Cut the Tree
Make sure your tree is completely dry and use a saw of your choice (we used a jigsaw) to cut pieces from the bottom of the tree. Go for 3/4 of an inch and you’ll have a nice thin disc.
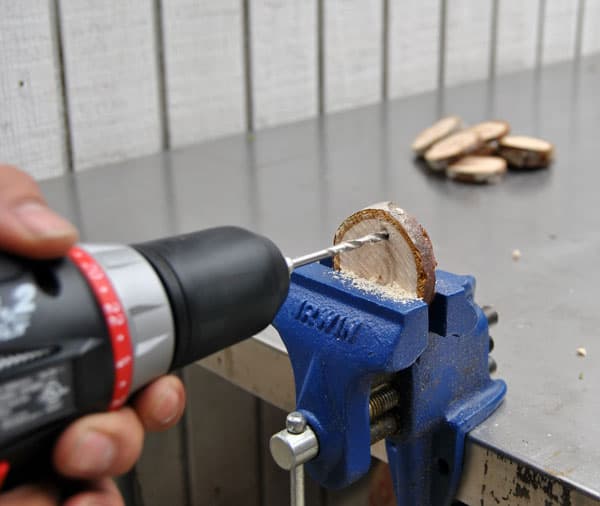
2. Drill a Hole
Using a small table vise, clamp your wood disc and drill a hole through the disc. Keep it small as you can always go bigger. This will be where you thread your twine or ribbon through.
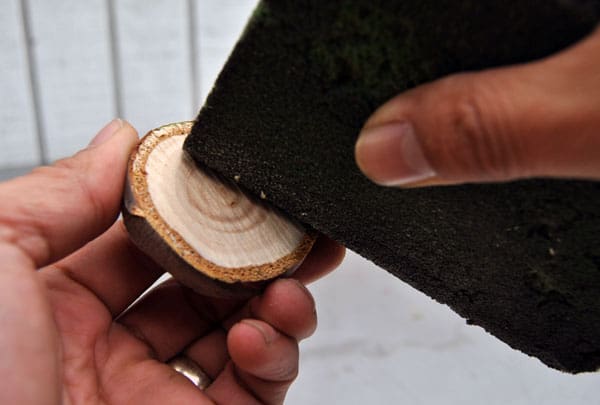
3. Sand Your Wood Badge
Take a sanding block and smooth out each side of the wood disc. You can decided how smooth of a finish you want. Don’t sand the outside of the disc as you want to leave the live edge and bark.
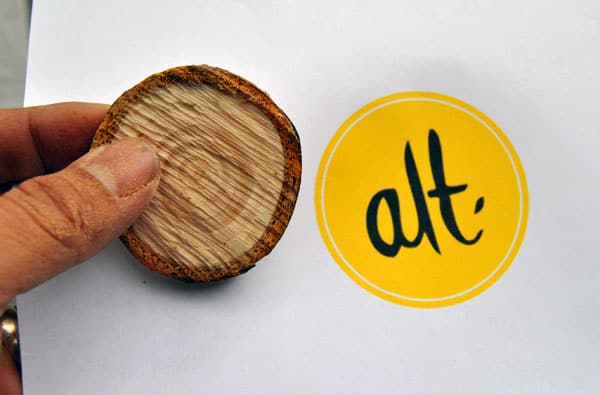
4. Print Alt Logo (or logo or image of your choice)
Make sure the size of your printout lines up to the size of your wood disc.
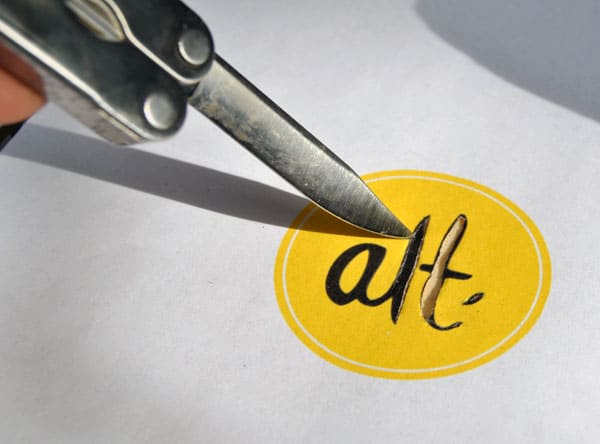
5. Cut the Stencil
We used our handy Leatherman but a razor blade might work better and be more precise. Cut out the stencil so you have a reverse to draw through.
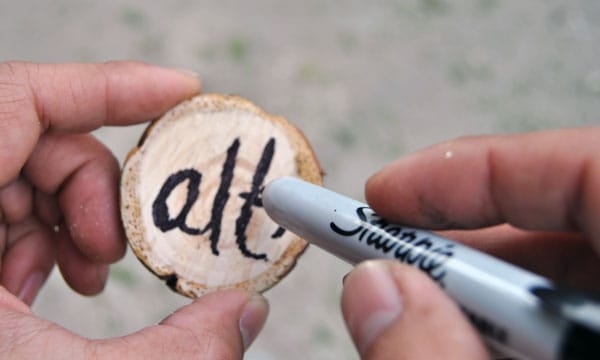
6. Color in the Stencil
We are short on time so we branded our wood badge with a black sharpie. You can use paint, colored pencils or whatever else would adhere to wood and give you the look you want to achieve. Once you’ve got the main image worked out you can remove the stencil and then customize the image.
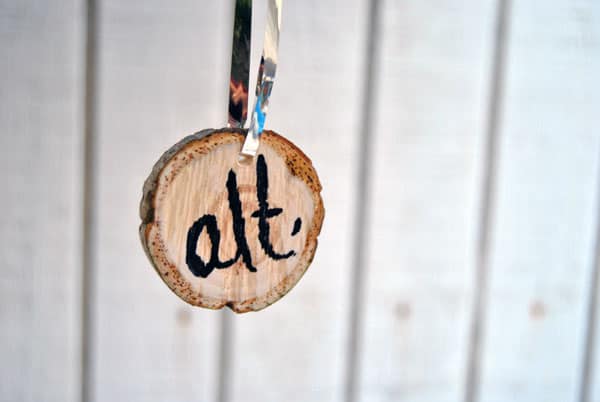
7. Thread the Ribbon
Take your ribbon or twine and thread it through the hole you drilled and enjoy your new wood ornament or badge.
If you are attending Alt Summit please check out our panel on Friday and if you see me say hi!

