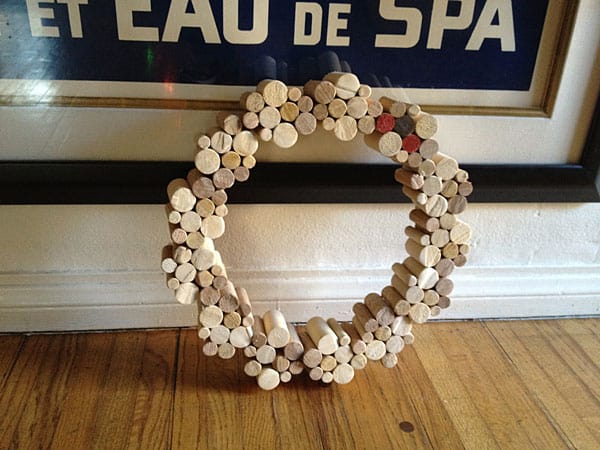
I love wreaths of all types but I have a particular fondness for simple and clean wreaths made of natural materials. This year I decided to make a wood wreath which is something I’ve always wanted to do. It’s an easy project that took an afternoon to put together and now we have a sharp looking wreath that will last for years.
Here’s how I did it.
Materials:
10 dowels of various diameter
zip ties
Tools:
Circular saw or wood saw or chop saw
Hot Glue
Outdoor pot or bowl
Step 1: Arrange your dowels together in a fairly close to circular pattern as possible. I used zip-ties to keep them close
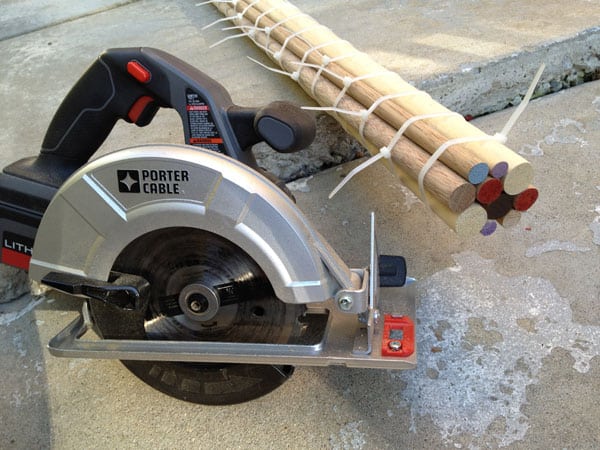
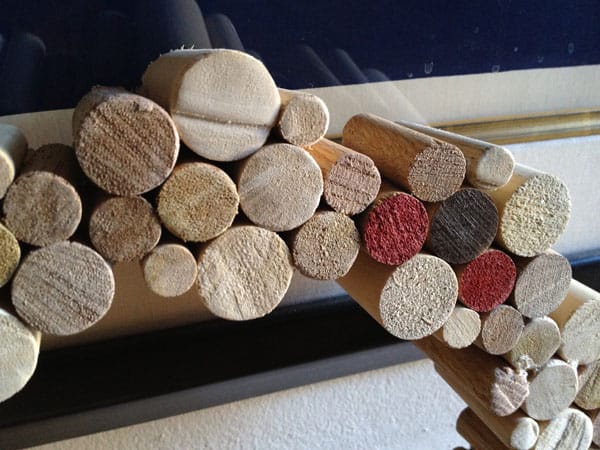
Step 2: Use a saw of your choosing to cut through dowels and make the cut as clean as possible. I made each cut every 3 inches but you can also choose the width of the dowels you prefer.
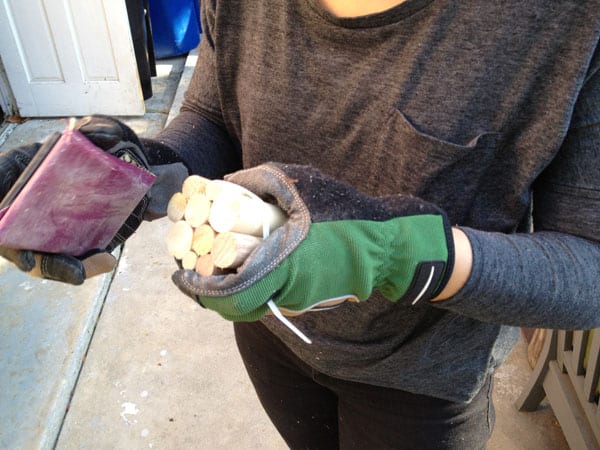
Step 3: Sand the dowels and paint if you choose to do so. I just left some of the red that was on the end of the dowels as a little accent but otherwise left it raw as I loved the natural color of the wood.
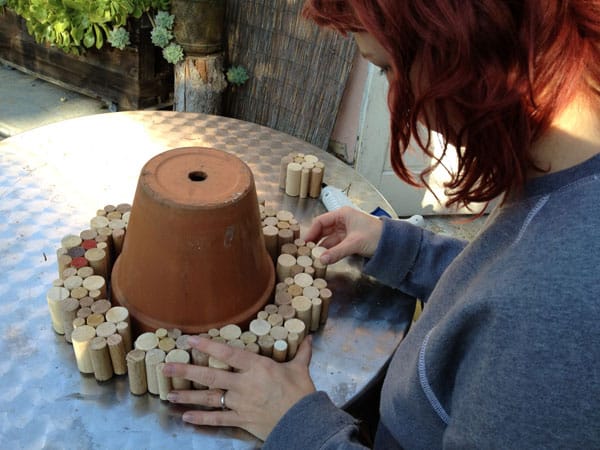
Step 4: Arrange the sections around a pot and then attach them to each other using hot glue. Let this dry overnight and if your wreath needs extra support you can add more glue or a backing of plywood.
I like how simple the wreath looks and it would also make a great mirror if I could find the proper sized glass.
Check out the photo wreath we made last week which is a great way to display all of your favorite Christmas cards.
Enjoy your wreath and Merry Christmas!


Mercedes
22 Dec ’11 at 9:50 amI’ve seen this done with corks turned on end also. But I think I like the different thicknesses of the dowels.
Any intentions of painting it? or sticking with the more organic bare wood look?
Built by Kids
22 Dec ’11 at 10:11 amCorks would work great and be easier to work with. We are going to stick with the bare wood but we do like the random red that we left. Merry Christmas!