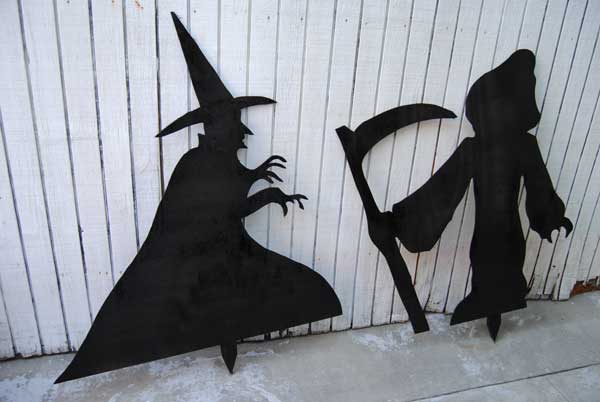
Halloween kicks off the holiday season and we like making our own Halloween silhouette decorations instead of buying them off the shelf. You not only save money but can customize your creations any way you want!
For this project, we chose to invite the Grim Reaper and a Wicked Witch to take up residence in our yard for a few weeks in October and on Halloween, they welcome all the trick or treaters with their own scares.
First, we have to build the Grim Reaper and Wicked Witch and that will require a few tools and materials that you may already have around your house but are also readily available at your local home center.
This project only takes a few hours in an afternoon and kids of any age can help you with it except for operating the jigsaw which we only recommend to skilled teenagers and adults who observe proper safety when using.
A hand saw can be replaced by the jigsaw but it will take a bit longer to cut out the shapes.
How to Make Halloween Silhouettes
Tools and Materials
Tools
Jigsaw
Screwdriver or screw gun
Tracer
Sharpie pen
Materials
1 sheets plywood (1/4”) or cabinet backing (each character needs 4’x4’)
6 self-tapping wood screws
2 stakes
Patterns
Paint
Step-by-Step
Find Your Patterns
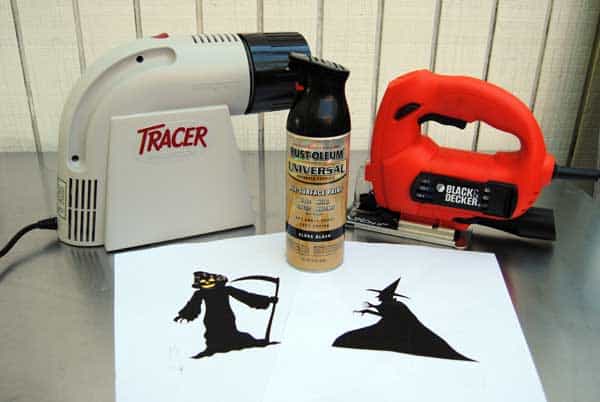
You can search the web for silhouettes, as there are plenty available. We found a witch and grim reaper, which we’ve included here. Print both at 5 inches across.
Download the Witch and Grim Reaper patterns we used.
Trace Your Characters
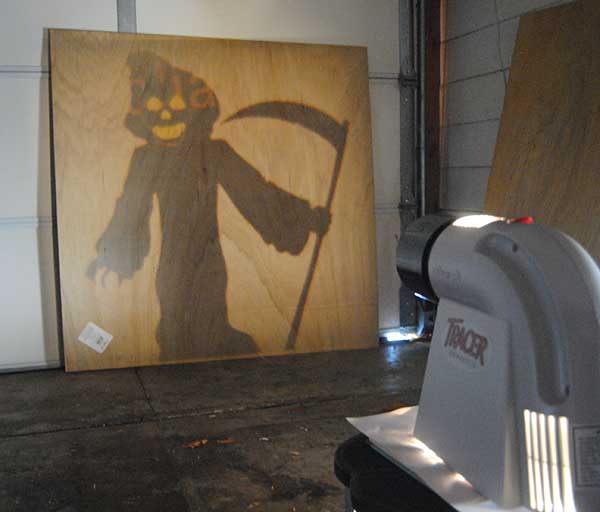
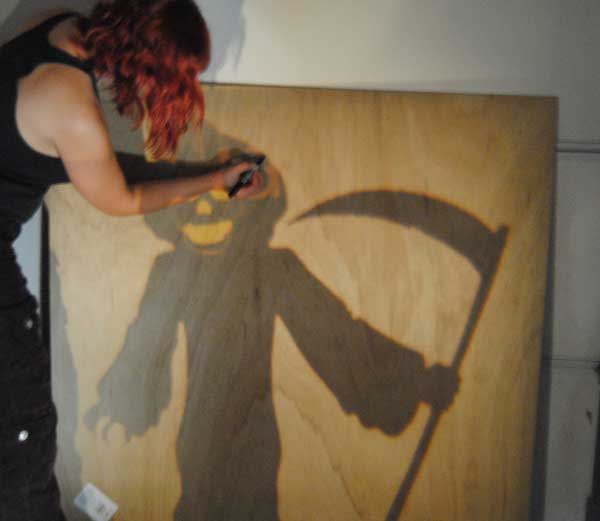
Tracers can be picked up at any hobby or craft stores and make creating larger-scale projects much easier. We set up ours in our garage and placed the plywood against the door and traced the shadow using a Sharpie pen.
Cut Out the Characters
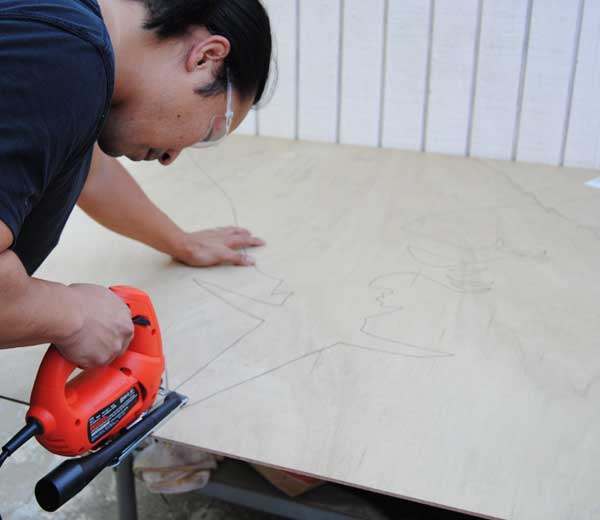
Using eye protection and gloves we cut along the outline using our jigsaw. Make sure you have adequate room to turn your wood and be careful not to cut into your table or fingers by always keeping your hands even or behind your cuts and always cut away from you.
Tip – cut out the larger pieces first then go back and cut the smaller details.
Attach the Stakes

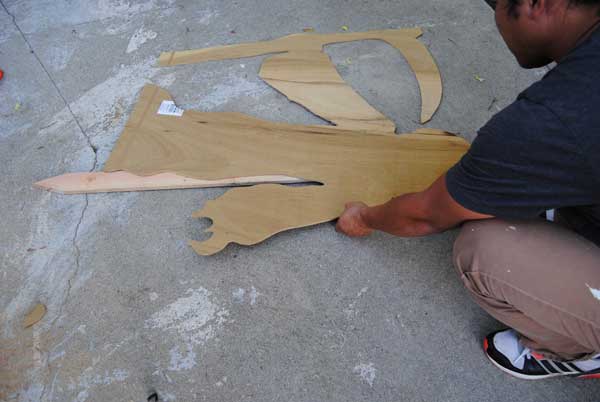
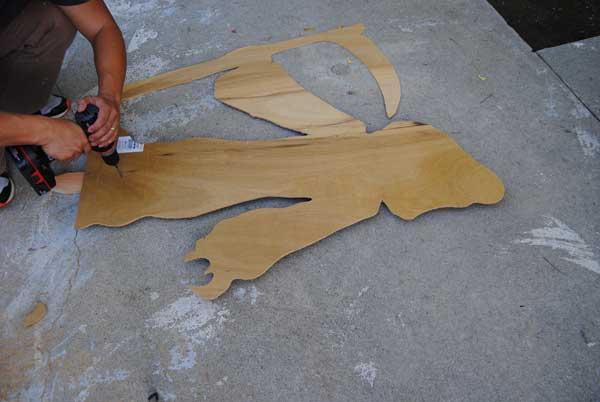
If you will be leaning these characters on the floor or against a wall then skip this step but if you’d like to secure these into the ground then attach the stakes to the plywood using wood screws.
Make sure your screws aren’t so long that they will go through the back of the stake, which could cut your hand.
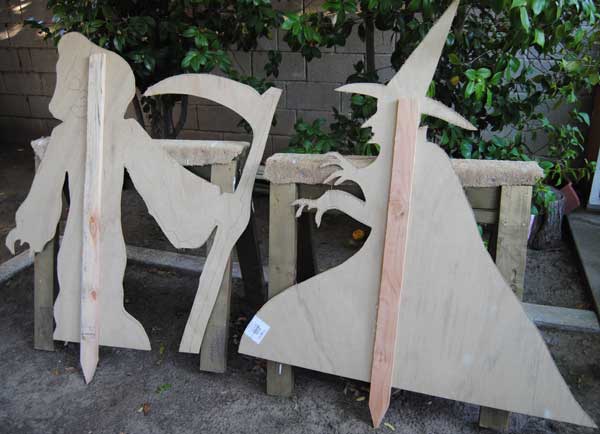
Paint
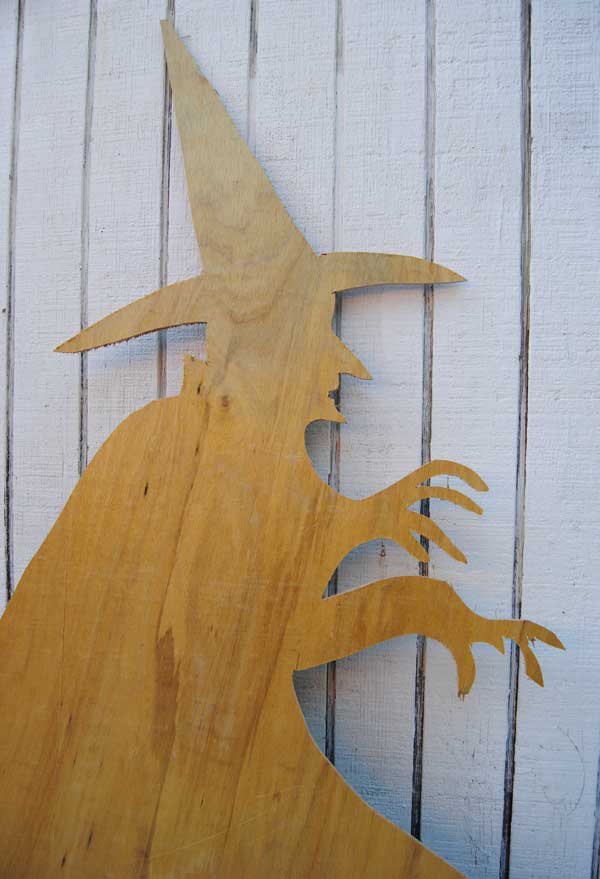
We used Rust-Oleum all-purpose spray paint which is great for easy application and is good in all weather. If you’ve got other colors available then go for it! You may want to primer first if you are going with a lighter color so the grains in the plywood don’t show through.
Dry and Setup
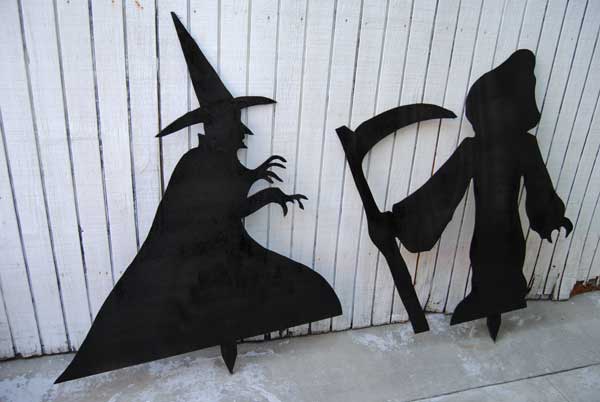
Let the paint dry overnight then choose the best location in your yard to create the most scares and set up your characters.


Shannon Brown
16 Oct ’11 at 11:24 pmThis is one scary Halloween craft!