Have you ever watched a movie where the characters look like toys or clay figures that magically move on their own? What if your child could create one of those movies at home? Making a claymation movie is one of the most engaging DIY activities you can do as a family. It’s like bringing a lump of clay to life.
With a little patience and imagination, kids can turn simple shapes into walking dinosaurs, dancing robots, or talking animals. Along the way, they learn storytelling, problem-solving, and basic video skills without even realizing they are building real-world abilities.
The best part? You do not need fancy equipment or special training. With a smartphone, some clay, and a creative idea, your family or classroom can create a short animated movie step by step.
What Is Claymation
Claymation is a type of stop-motion animation made with modeling clay. Instead of recording one continuous video, you take many individual photos. After each photo, you move the character slightly. When you play the images in order, they create the illusion of movement.
This process teaches children that motion happens frame by frame. It builds patience and attention to detail. Professional studios use this method, but beginners and young creators can easily use it for small DIY projects.
Materials You Need
You do not need expensive equipment to create a Claymation movie. Most basic household items work perfectly.
You will need:
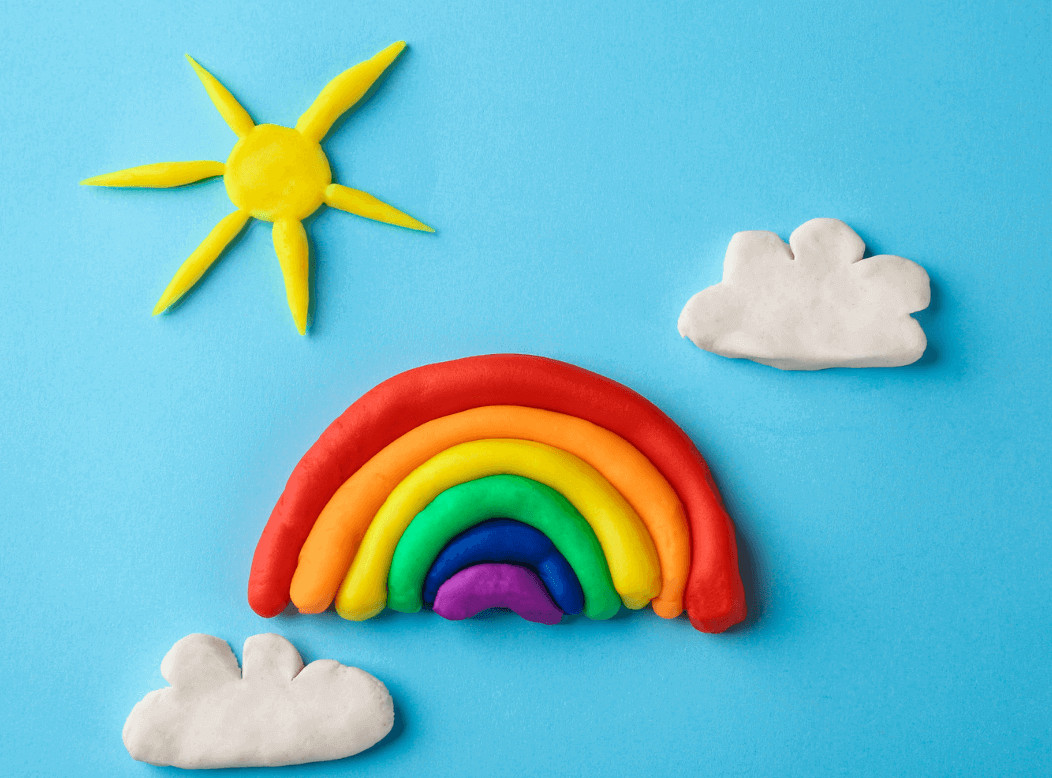
- Modeling clay in several colors for characters and scenery
- A smartphone or digital camera to take photos
- A tripod or stable surface to keep the camera still
- A simple background like paper, cardboard, or fabric
- Steady lighting, such as desk lamps
Natural sunlight may change during the day, so artificial lighting works better.
You will also need a computer later to assemble the final video. Optional tools like toothpicks, small wires, or mini props can help make characters more stable and expressive.
Setting Up Your Shooting Space
A stable setup is essential for smooth animation. Choose a quiet space where you can leave your project untouched for several hours or even days.
Place the camera on a firm surface and make sure it does not move. Use consistent artificial lighting to prevent shadows from shifting. Keep the background simple and remove extra objects from the frame.
You can mark important positions with small pieces of tape. This makes it easier to reset anything that moves by accident. Let children help design the scene. When they build the world themselves, they feel more connected to the project.
Taking Photos Frame By Frame
This step brings your Claymation movie to life.
Start by placing your character in the first position and take a photo. Move the character slightly, then take another photo. Repeat this process carefully.
Small movements create smooth animation. Large movements make the action look jumpy.
Even a short video may require hundreds of photos. Review your images from time to time to make sure nothing shifted and the story flows well. Encourage children to think about timing, pauses, and facial expressions as they work.
Patience here leads to better results.
Importing Photos To Your Computer
After taking all the photos, transfer them to your computer. Keep the images in order and make sure they are clearly numbered.
Before building the video, review each image. Remove blurry or accidental shots. This step teaches children how to evaluate their work and improve details before finishing the project.
Trimming And Arranging Clips Using A Simple Video Cutter For PC
Now the animation starts to take shape.
Import the photos into an editing tool and arrange them in order. Adjust how long each image appears so the motion looks smooth and natural.
You may need to remove extra frames or fix timing issues. A simple video cutter for PC is usually enough to organize images, clean up small mistakes, and combine scenes into one finished video.
Watching the characters move on screen for the first time is often the most exciting part. It shows children that their patience and effort paid off.
Adding Music And Titles
Sound adds personality and atmosphere to your Claymation movie.
You can include soft background music, simple sound effects, or recorded narration. Keep the volume balanced so it supports the visuals instead of overpowering them.
Add a short title at the beginning and simple credits at the end. This makes the project feel complete and professional. Many children enjoy recording their own voices, which builds confidence and makes the story more personal.
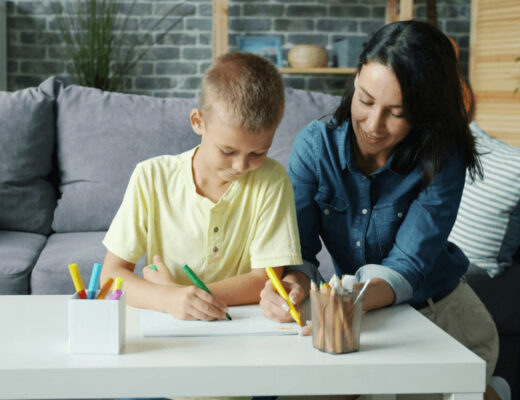
How Kids Can Participate by Age: A Parent’s Guide
One of the best things about a Claymation project is that children of different ages can take part in different ways. You can adjust the level of responsibility based on their skills and attention span.
Ages 4–6: Little Creators
At this age, focus on hands-on fun.
Children can:
- Shape simple characters like animals, balls, or basic figures
- Choose colors and create small props
- Help move the character slightly between photos
- Suggest simple story ideas
Keep sessions short, around 10 to 15 minutes. At this stage, the goal is creativity and fine motor practice, not perfection.
Ages 7–9: Story Builders
Children in this group can take on more structure.
They can:
- Plan a short beginning, middle, and end
- Create more detailed characters
- Help position the camera on a stable surface
- Move characters carefully between frames
- Review photos to check for mistakes
Encourage them to think about how emotions show through movement. This builds storytelling and problem-solving skills.
Ages 10–13: Young Directors
Older kids can manage most parts of the project with guidance.
They can:
- Write a simple script
- Design full scenes and backgrounds
- Take responsibility for frame-by-frame shooting
- Organize files on the computer
- Edit the photos into a finished video
At this stage, children can experiment with camera angles, pacing, and sound effects. You may only need to supervise and help troubleshoot technical issues.
Teens: Full Production Team
Teens can treat the project like a real film production.
They can:
- Plan storyboards
- Build detailed characters with supports
- Control lighting for consistent results
- Edit timing, sound, and titles independently
- Reflect on what worked and what could improve
This level builds patience, digital skills, and creative confidence that can transfer to school projects and future media work.
Reminder for Moms & Dads
Let your child lead whenever possible. Offer guidance, but allow them to make creative choices. Mistakes are part of the learning process. The goal is not a perfect movie. The goal is growth, creativity, and shared experience.
Final Tips For Parents
Keep the first project short and simple. Small goals prevent frustration and help children stay motivated.
Work in short sessions, especially with younger kids. Focus on creativity rather than perfection. Small imperfections are part of the charm of stop-motion animation.
Encourage teamwork and experimentation. Save your project files in case you want to improve the video later.
A Claymation movie teaches storytelling, planning, and how individual photos turn into motion. For parents and teachers, it offers a structured yet flexible DIY activity that builds both creative and practical skills.
With simple materials, patience, and imagination, children can turn small pieces of clay into a complete Claymation movie and see their creativity come to life step by step.