Rain is hammering the windows. The kids are restless. You’ve already vetoed another round of tablet time, and now four little eyes are staring at you, waiting for a better idea. Here’s one: build a miniature town from scratch using simple craft materials and a few offcuts of thin board.
This project works for kids aged five and up, takes about two hours, and produces something they’ll actually want to keep playing with long after the rain stops.
What You’ll Need
Gather your supplies before you start. Nothing kills creative momentum faster than a scavenger hunt for glue sticks halfway through building a tiny post office.
A sheet of 3mm mdf (one A3-sized piece is plenty for several buildings)
PVA glue or a low-temperature glue gun
Acrylic paint and brushes
A pencil, ruler, and craft knife (for adult use only)
Scrap cardboard from cereal boxes or delivery packaging
Felt-tip markers, stickers, and washi tape for decorating
Small sandpaper squares for smoothing edges
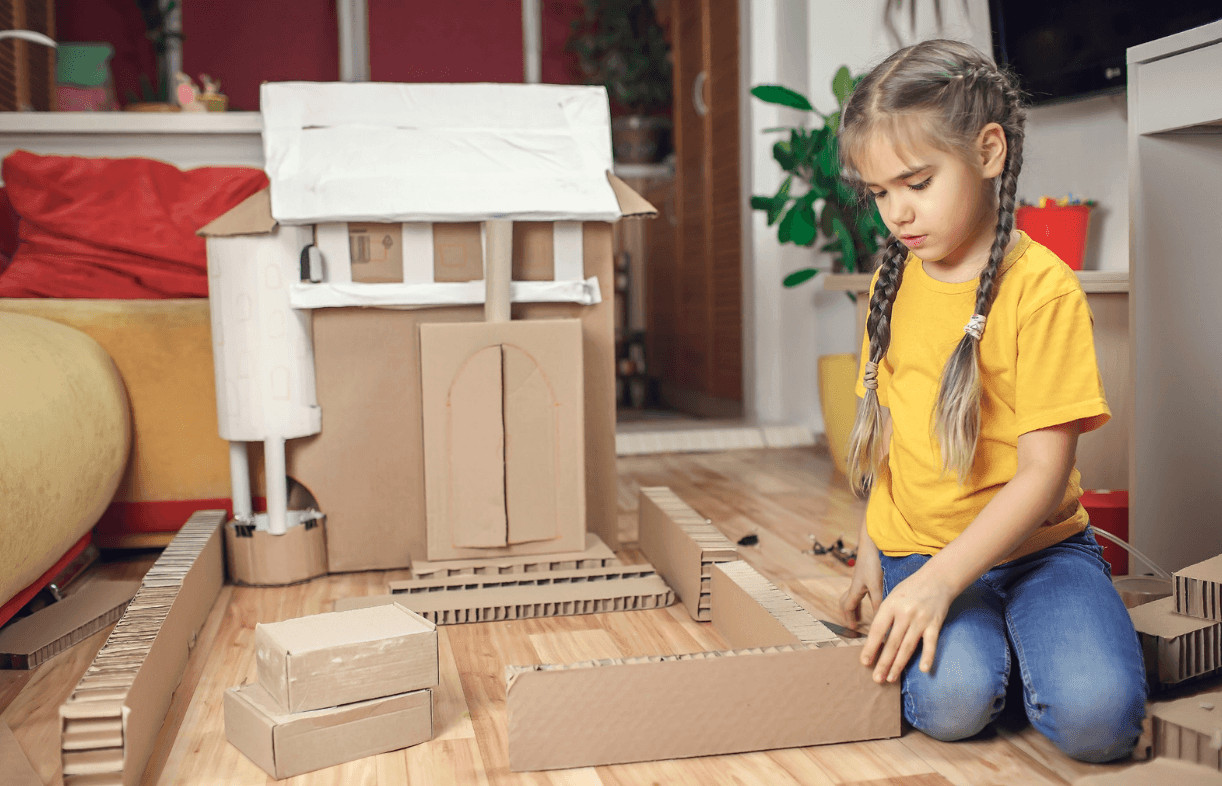
The MDF serves as the base and structural walls. It’s sturdy enough to stand up on its own but thin enough to score and cut without power tools. Cardboard fills in the rest. Between the two materials, you can build surprisingly detailed little structures.
Planning Your Tiny Town
Let the Kids Lead
Resist the urge to design everything yourself. Ask your kids what buildings their town needs. A seven-year-old will have strong opinions about whether the town requires a pizza shop or a dragon hospital. Go with it. The goal is creative ownership, not architectural accuracy.
Sketch It Out
Grab a scrap of paper and rough out a simple map together. Four or five buildings is the sweet spot. More than that and you’ll lose steam before everything is painted. Fewer and the town feels empty. Think about a main street with buildings on either side, maybe a park in the middle made from green felt or painted cardboard.
Each building only needs four walls and a roof. Draw simple rectangles on your MDF sheet and label them. Adults handle the cutting; kids handle everything else.
Building and Assembling
Cut the MDF pieces for the walls first. For a small building, four rectangles of roughly 6cm by 8cm work well. Score a line along one edge with the craft knife so pieces sit flush when glued together. A triangle of cardboard on top creates a peaked roof, or you can go flat-roofed for a more modern look.
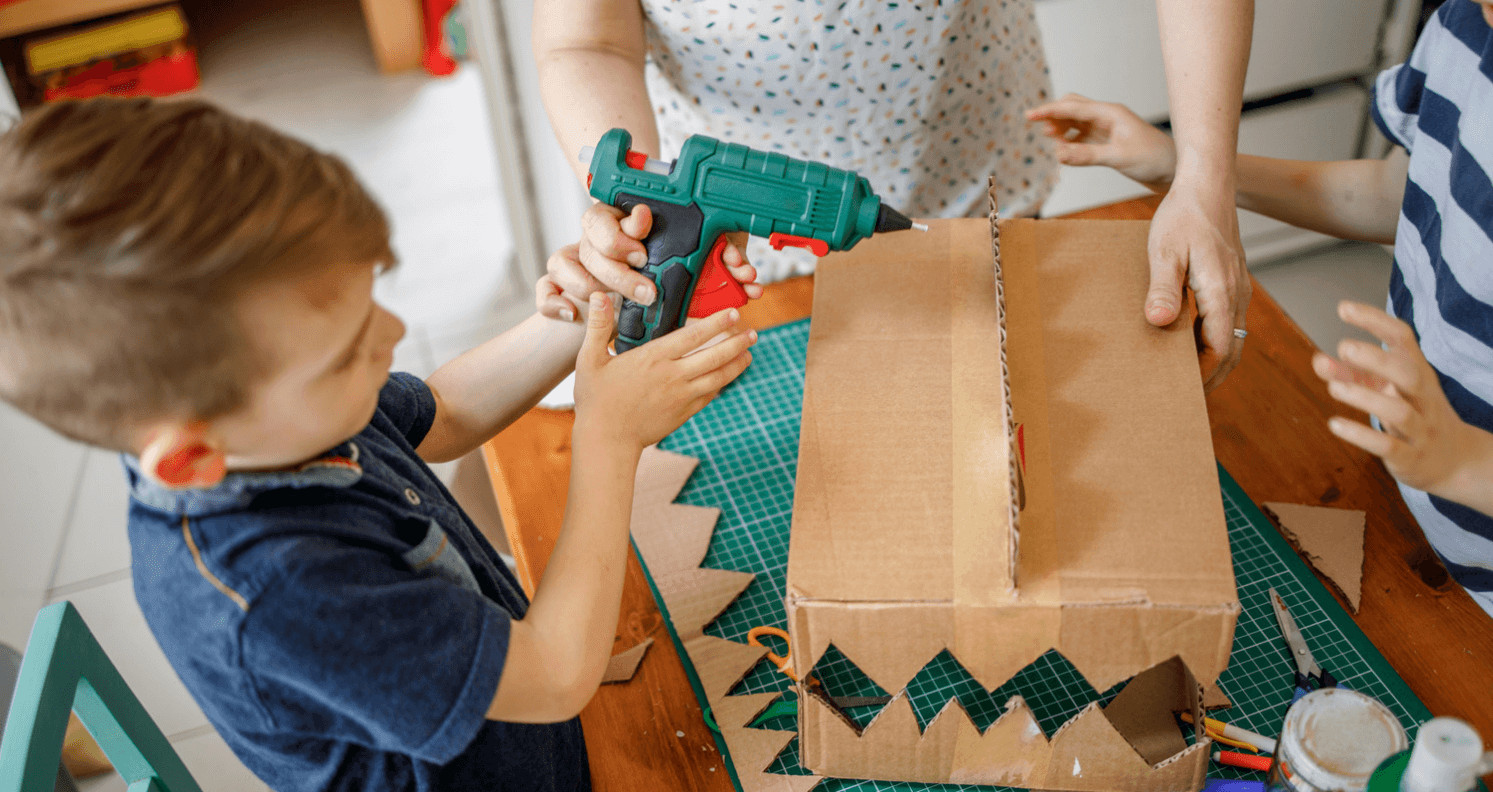
Hot glue bonds MDF to MDF almost instantly, which is satisfying for impatient builders. PVA works too but needs clamping time, so have a few clothespins handy. Let kids hold pieces together while you apply the glue. They feel involved, and you keep fingers safely away from the hot tip.
Adding Character
This is where the project really comes alive. Once the structures are standing, hand over the paint and markers. Windows drawn in black felt-tip look surprisingly realistic. Tiny doors cut from colored paper and glued on add dimension. One family I know made a bakery with a miniature chalkboard menu written in their six-year-old’s handwriting. It was the best part of the whole town.
Washi tape makes excellent awnings and striped shop fronts. Toothpicks become flagpoles. Cotton balls glued to rooftops turn into chimney smoke. Small details transform basic boxes into something genuinely charming.
Why This Project Works So Well
Screen-free activities often fail because they can’t compete with the instant gratification of a game or a video. This one works because it delivers visible, tangible progress every few minutes. Kids see a flat board become a wall, then a box, then a painted shop with a name and a story behind it. That feedback loop keeps them engaged.
There’s also genuine skill-building happening beneath the fun. Measuring, spatial reasoning, fine motor control, collaborative problem-solving. You don’t need to announce any of that. Just let it happen naturally while they argue about whether the fire station should be red or orange.
Keeping the Fun Going
The best thing about a miniature town is that it’s never really finished. Next rainy afternoon, add a bridge. The weekend after, build vehicles from bottle caps and cardboard tubes. Some families keep their towns set up on a shelf and expand them over months.
You could also introduce small figurines, toy cars, or hand-drawn paper people. The town becomes a stage for storytelling, which extends the play value far beyond the original crafting session.
So next time the forecast looks grim, skip the screen negotiation. Lay out some board, grab the glue, and build something together. The rain will stop eventually, but the little town on the shelf will stick around.