Stainless steel is a popular finish for most refrigerator doors as it’s easy to clean and looks sharp with most kitchen designs.

But a drawback for households with kids is that you can’t use magnets to attach your kid’s photos or drawings to the fridge as magnets don’t attach to stainless steel.
Our friend Nathaniel from our local hardware store in the West Village, Garber’s Hardware, shared a great do-it-yourself project for making any flat surface in your home a place to attach magnets, including your refrigerator.

He offers a couple different solutions that will have your favorite magnets and kid drawings back up in no time.
Magnets are everywhere. They store data on our hard drives, facilitate voltage variables in our cell phone chargers, and levitate trains. In a world without magnets, we’d have no credit cards, no electrical motors, and the weather patterns would be downright crazy.
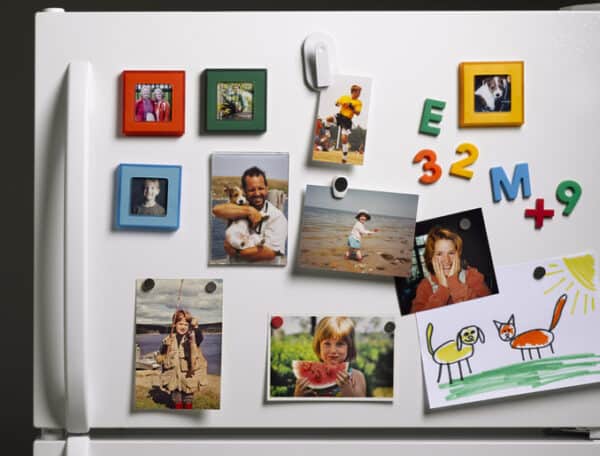
Magnets permeate almost every aspect of our modern lives, but it is in their basic form that they are most functional.
I am sure that I could last a week or two without my charge card, but without magnets holding all the riffraff to my fridge I’d maybe last a day… two tops.

Thankfully, magnets are in no short supply. Magnetic surfaces around the house, however, can be valuable real estate.
There was a time when refrigerators were the go-to surface area for this sort of thing, but times have changed. Now, our ice boxes are tucked under kitchen counters in order to maximize space, rendering them a sad choice for a favorite photo or an important note.

Stainless steel is the top selling finish for many new refrigerator models, and although there is nothing cooler than a tall, sleek, stainless steel fridge, magnets just aren’t attracted to it.
If you’re not fortunate enough to possess one of these space-saving and/or stainless appliances, it is likely that your refrigerator’s surface is at or near its capacity for stuff.
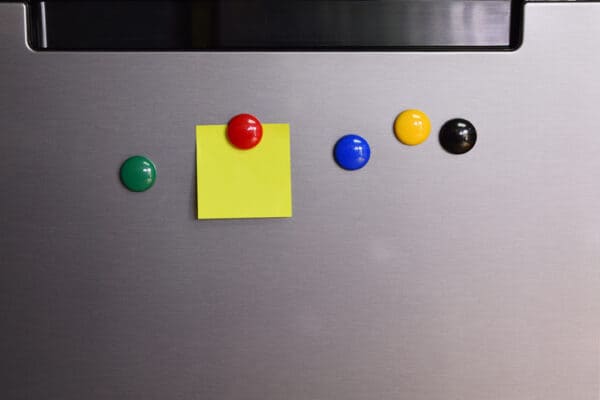
Luckily, adding a magnetic surface to your living space is simple, inexpensive, and you can put one just about anywhere that is convenient.
Add a few extra steps, and you can even hide a magnetic surface discretely flush with the wall.
Tools & Materials
Let’s get to work. For this project you will need the following items:
– 1 or more pieces of 1/16 or lighter sheet steel (dimensions of your choice)
– House hold degreaser/cleaner (Easy Off, Simple Green, etc.)
– Foam double stick tape
– Spray or brush on primer
– Spray or brush on paint
– Magnets
– Stuff to stick to your cool new magnetic surface
If you plan on concealing your magnetic surface flush with the wall, you will also need:
– Coarse sanding screen
– Spackle
– Putty knife
– Liquid nails adhesive
– Painter’s tape
First, thoroughly degrease your piece of sheet metal. It will be noticeably greasy, so scrub it well.
Second, brush or spray on the primer. Prime both sides. If there is one question I hear all the time, it would have to be, “Do I have to use primer?” The answer is simple. No, you don’t have to use primer, but it is always a good idea. Always. So, embrace the primer. Do not fear it.
Once the primer is dry, paint the sheet metal the color of your choice. If you plan on concealing your magnetic surface flush with the wall, skip this and follow the additional steps.
After your top coat has dried, apply an appropriate amount of double stick tape to the back of the sheet metal. The tape will adhere better if you primed. If you plan on concealing your magnetic surface flush with the wall, skip this and follow the additional steps.
Finally, Stick It!
In order to conceal your magnetic surface in the wall, trace a line in pencil around your sheet metal while holding it against the wall. If you didn’t take my advice and prime, you’ll dirty up your wall. Yet another reason to prime!
Now, use the sanding screen to gently erode away a depression in the wall a little greater than the depth of your sheet metal. A palm sander helps but is not necessary.
Next, use the liquid nails adhesive to glue the sheet metal into the depression you created. Remember, a little goes a long way, and although there’s no use crying over spilled milk, glue doesn’t clean up quite as easily.
Use the painter’s tape to hold the sheet metal in position while the glue dries.
Now that the glue has dried, remove the tape and spackle around the edges. When the spackle has dried, sand it smooth with your sanding screen. You can now paint the area to match the rest of your wall.
After the paint has dried, your new stealth magnetic surface is ready for use!
A note on magnetic paint:
Some of you may be familiar with magnetic paint. For those of you who aren’t, magnetic paint is an oil-based paint laced with metallic elements that can be applied to any paintable surface.
I am not a big fan of magnetic paint as it can contain trace amounts of lead, and besides, it’s just never quite like the real deal when it comes to using a magnet.

