We love decorating pumpkins with tools so we wanted to share a great pumpkin carving technique that is perfect for our pumpkin decorating contest with Lowe’s.
One of our favorite sources of great DIY projects is Fresh Home Ideas and and their cookie cutter pumpkin project not only creates an awesome Halloween pumpkin but utilizes some fun tools that kids of any age can use.
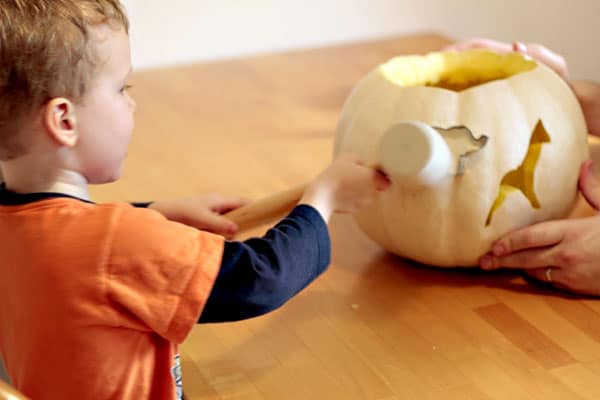
Steph of the beautiful blog, Modern Parents Messy Kids, has followed the tutorial (with the help of her son) from Fresh Home Ideas and entered her pumpkin in our contest. We think she’ll be a tough act to follow but we’d love to see what you come up with.
Tools
1. Rubber mallet
2. Cookie cutters of various shapes and sizes
3. Pumpkin carving knife/paring knife (really gets the details)
4. Needle nose pliers
Step-by-Step

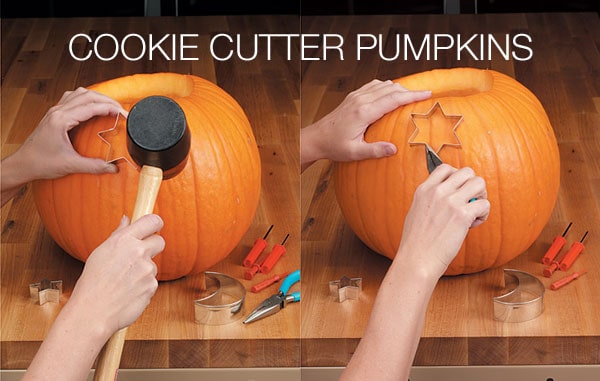
1. Cookie Cutter Time
Layout where you’d like your cutout shape to be and place your cookie cutter in that spot. Take your rubber mallet and give the cookie cutter a couple of good whacks. On a small pumpkin you could drive the cookie cutter all the way through but on a larger pumpkin you’ll just need enough to make a good impression.

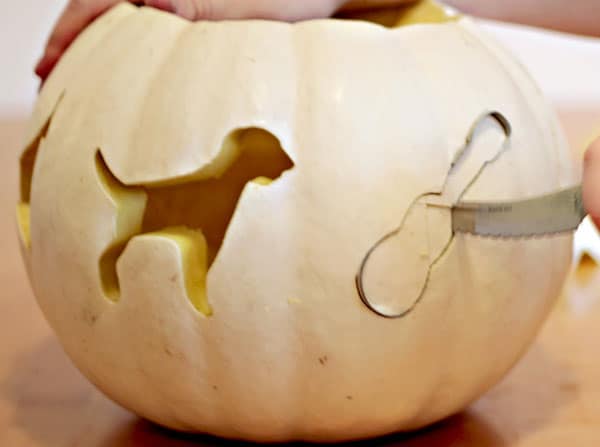
2. Carve It
Remove the cookie cutter from the pumpkin and if it’s in their too deep use your needle nose pliers. Take your knife and carve along the outline of where the cookie cutter made a dent in the pumpkin.
3. Clean It
Pop-out the piece of cut pumpkin and clean the inside of the pumpkin so there is nothing hanging in the way of the new hole.

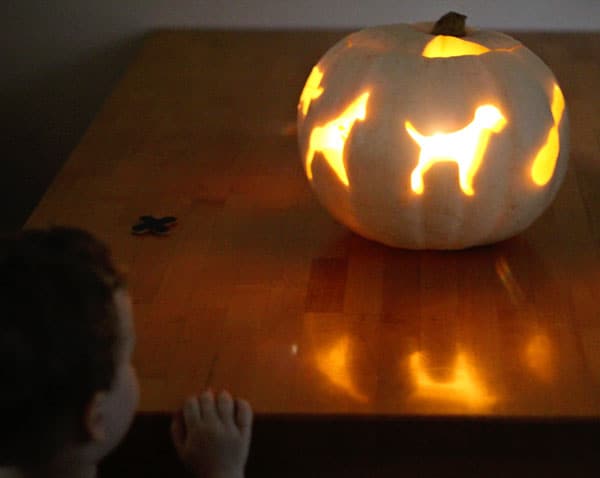
4. Lights
Insert a tea light (we recommend the battery powered fake candles), and enjoy your perfectly carved pumpkin.


Mercedes Kamencik
29 Oct ’11 at 11:06 amThis is a pretty neat idea! I have yet to carve a pumpkin this year, so maybe this’ll have to wait until next year though….
Will Hull
23 Oct ’12 at 1:53 pmWow. Too cool. I think I am going to share this one with my kids.