

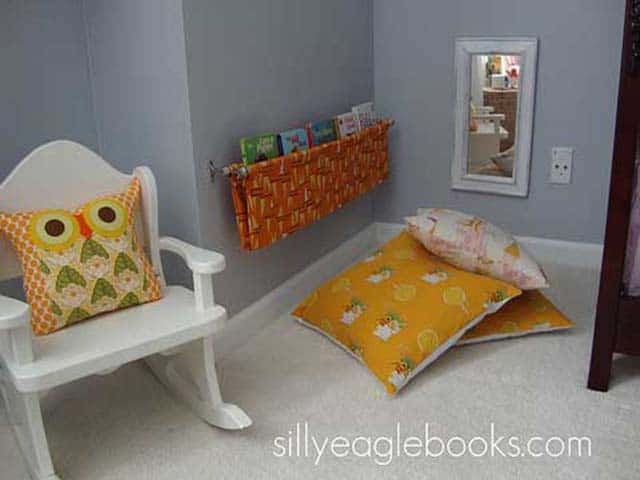
We’re re-imagining our current studio and considered using chalkboard paint and dry erase boards, but both options weren’t ideal for what we had in mind which was outlining a central panel around the entire room that we could write/draw on. Well there is a third option which is IdeaPaint. With IdeaPaint you can take any smooth surface and turn it into a dry erase surface! It’s perfect for kids playrooms (see above) but also great for any space adults need to get creative on. The walls of our studio aren’t that smooth but this solution sounded like a winner so we picked up two 50 sqft packages of IdeaPaint which comes with almost everything you need to install it and went to work.
Tools and Materials

IdeaPaint kits are sold with everything you need including:
1. IdeaPaint
2. Paint roller
3. Paint mixing stick
4. Paint can opener
5. Paint thickness gauge
But you will also need:
1. Primer (recommended Kilz 2)
2. Paint roller handle
3. 120 grit sand paper and sanding block
4. Mask to protect from dust particles
Installing IdeaPaint
Prep Work
The most important part of setting up IdeaPaint is preparing your surface. This is an important step before painting any surface but because you will be writing on the wall you need it as smooth as possible.
1. Tape off your edges and cover areas to prevent unintended coating.

2. Repair any nicks or holes in your wall then sand the surface using 120 grit sand paper. We suggest using a mask to protect yourself from dust.

3. After sanding wipe the wall with a dry cloth to remove dust.
Prime It

IdeaPaint recommends applying Kilz 2 primer until the wall color underneath disappears. It will also create a better bond to the wall for IdeaPaint. After primer has thoroughly do another light sanding.
Apply IdeaPaint
Make sure your workspace is properly vented as IdeaPaint does have a strong odor.
1. Mix the supplied two cans of “this” and “that” into one can and stir for two minutes before applying to your wall.

2. You’ve only got 1 hour to apply the paint and we found that in about 45 minutes it started really thickening so don’t dilly dally.

3. Use the included paint thickness gauge and apply as needed until it reads 4-5 mils thick which really isn’t much.
4. You only need one coat so once it’s applied don’t go back over it again as that will lead to a bumpy finish.
Wait
The install was super easy but the hard part will be waiting for IdeaPaint to dry and fully cure which is 7 days. They’ve included a large wet paint sign so use that. If your space is particularly cold the dry time can take even longer.
Update

After waiting 7 days we were ready to draw and the first thing I saw on the wall was this lovely message from Laura. Thanks IdeaPaint!
IdeaPaint is now available at Lowe’s or direct from IdeaPaint and for a limited time we’ve got an exclusive IdeaPaint Coupon Code for 25% off!
timothy
27 Jul ’11 at 1:56 amCool project