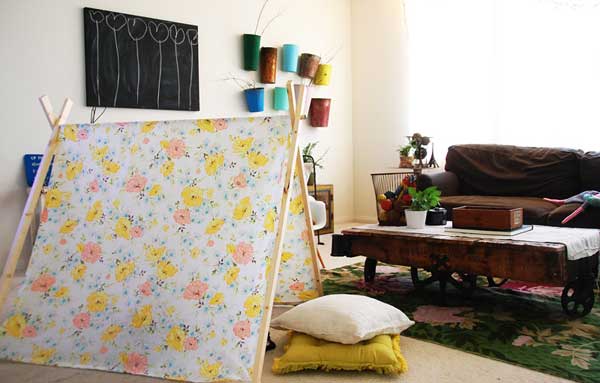
We love camping and have no shortage of beautiful places to pitch a tent here in California. We also have fond memories as a child of camping at home. Setting up a tent in the backyard and reading books with a flashlight and eating hotdogs and drinking soda (a treat).
Not everyone has the space or is inclined to “camp” in their yard, but it’s still fun to pitch a tent indoors and Rubyellen of the blog Cakies has designed and built a beautiful indoor a-frame kids tent and has shared this project with us.
Let’s start with the plan
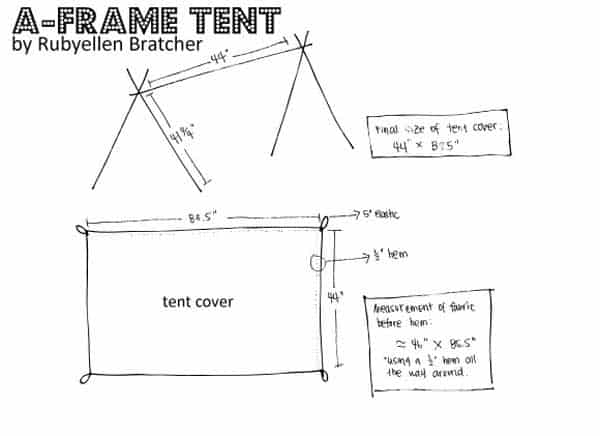
Building the Frame
Materials for the A-frame:
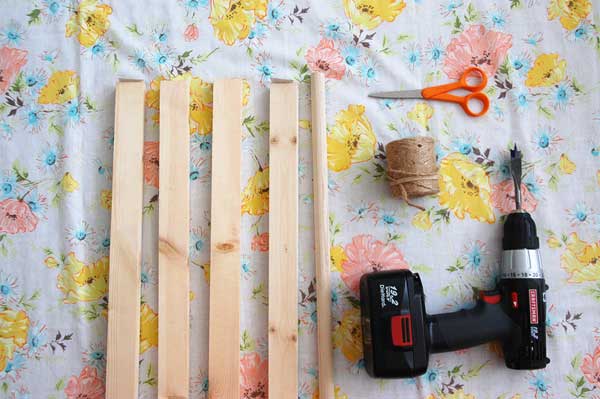
4- 1” x 2” x 48” whitewood moulding
1- 3/4” x 48” poplar dowel
drill with a 3/4” spade bit
measuring tape
pencil (marker)
(I was going to use the twine to make sure the mouldings stayed in place, but I no longer needed to because the hole already had such a tight grip on the dowel).
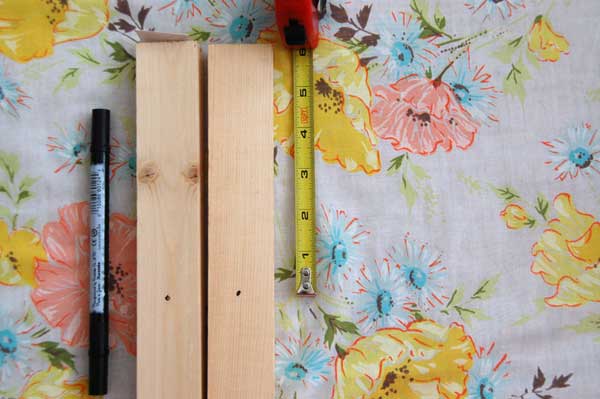
1. From the top of each of the 4 mouldings, measure and mark 6” down with your pencil.
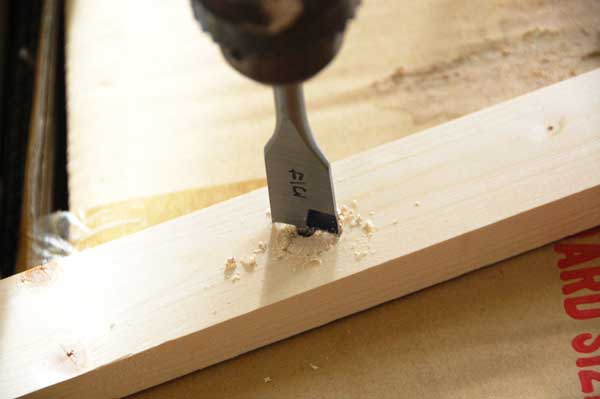
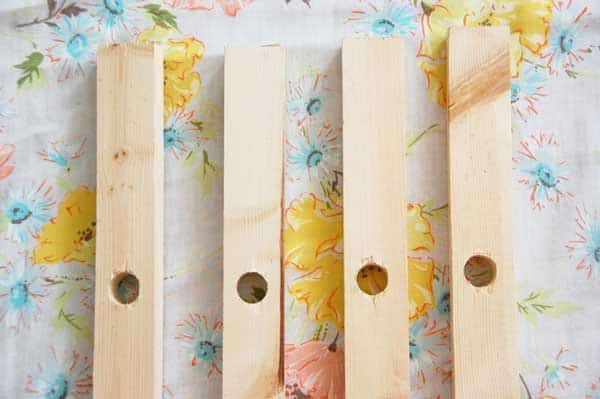
2. With your drill and 3/4” spade bit, drill a hole at your mark. Try to center the hole on your moulding by placing 2 mouldings on top of each other, make sure the holes are lined up.
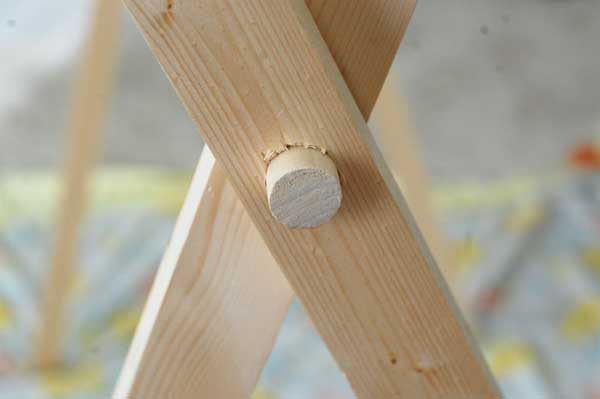
3. Push dowel through the holes of the two mouldings. The hole should have a pretty tight grip and keep the dowel in place.
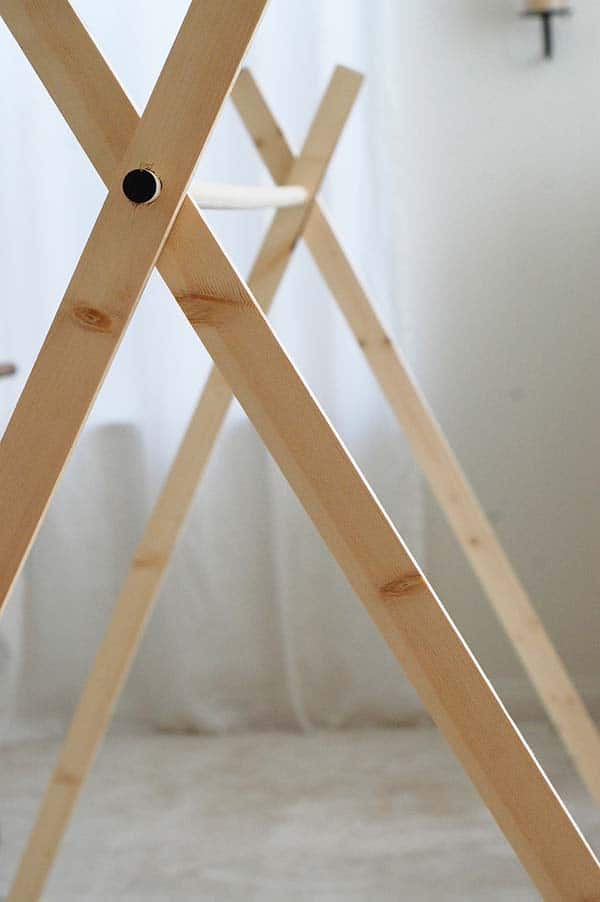
4. Repeat step 3 and put together the other side with the two remaining mouldings.
Building the Tent Cover

Materials for tent cover:
– fabric large enough to cover frame (approx. 46” x 85.5” un-hemmed; 44” x 83.5” hemmed)
– coordinating thread
– elastic
– scissors
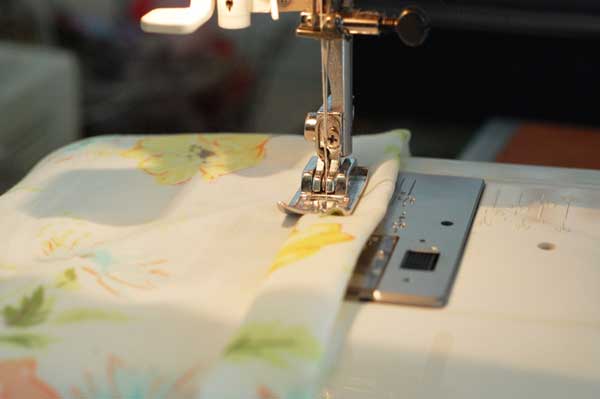
1. Hem the perimeter of the rectangular fabric using a straight stitch with a 1/2” hem. Desired size of the cover is 44” x 83.5”.
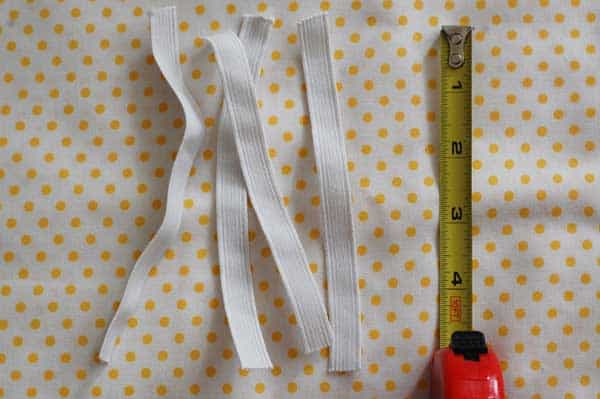
2. Cut 4- 5” inch elastic strips.
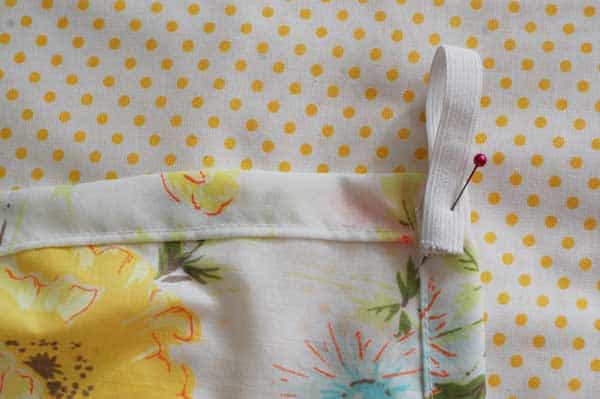
3. Fold elastic over and pin in place at each corner of the tent cover.
4. Sew elastic onto the corner of the tent cover. Repeat with the remaining 3 corners.
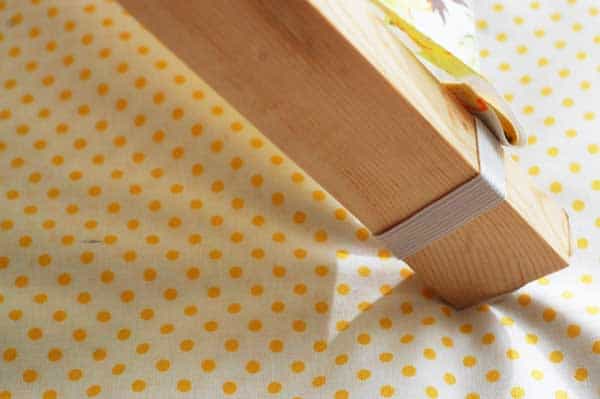
5. Drape cover over the A-frame and loop elastic to the bottom of wooden tent leg.
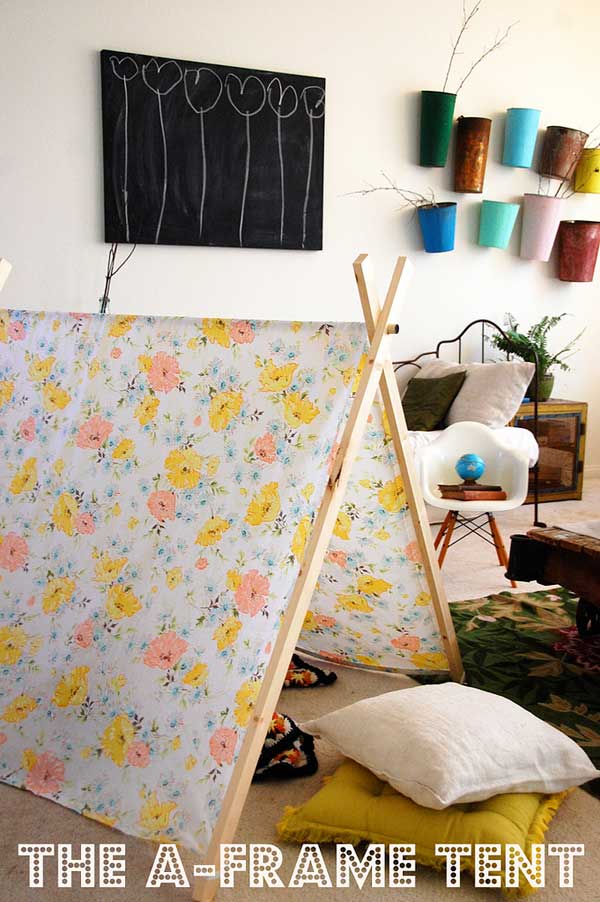
6. Arrange and straighten fabric cover. Then, spread frame to desired height and width of tent opening. Call your kids over and enjoy!!!
This tent can easily be taken apart and stored, since there are no screws or nails involved. In addition, the tent cover is easy enough to recreate in different patterns. The sizing is similar to a twin bed sheet, so if you get one of those to use (I used a vintage twin sheet), the project just got a whole lot easier!
It is a great place for reading, napping, and pretending, but most importantly making memories!
Project and photos courtesy of Rubyellen Bratcher of the awesome blog Cakies

Elizabeth Buckler
23 Oct ’11 at 1:31 pmSo exciting! I’ve been lusting over teepees but the tutorials seemed like a bit much for my beginner skills- this will be perfect! I’m planning on making this tonight for my son but instead of molding I want to use larger sticks for a more natural feel.
Anonymous
24 Oct ’11 at 1:43 amHi Elizabeth! Let us know how your tent turns out. We’d love to see your photos.
Stephanie Norris
12 Mar ’12 at 7:54 amWhat a great tutorial! I shared it on pinterest of course! My grandson is just 7 months, but when he gets older you can bet I will be referring back to this post to make him one of these.
Built by Kids
13 Mar ’12 at 12:00 amHi Stephanie- Thanks for pinning!!! I think your grandson will love this tent even at this age.
jessi flow
8 Jun ’12 at 1:30 pmHello, my kids and I just found out about this site and we love it. We made this tent today and they are having a blast with it.
Built by Kids
8 Jun ’12 at 2:33 pmAwesome!!! Send us photos!!!
jerry
23 Aug ’12 at 12:33 pmcool
Luna
23 Apr ’13 at 4:12 pmso where can I find the supplies, the whitewood moulding?