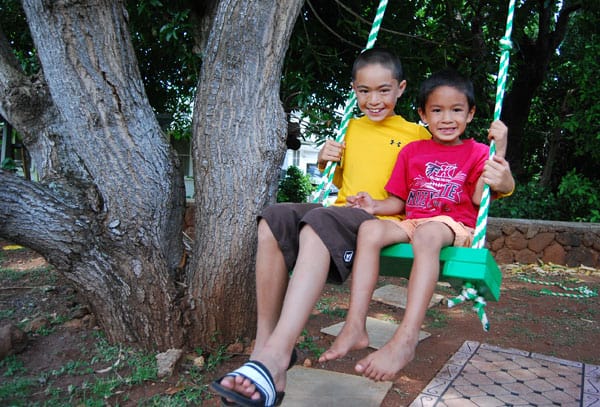
If you’re fortunate enough to have a large tree in your backyard you might be considering a treehouse, but if the tree isn’t quite right for a full fledged treehouse and you’d like to build something on a smaller scale that’s still big on fun, consider this easy to build tree swing that fits two (if the rear-ends are small enough).
Our friends in Honolulu have the perfect tree for this project. It’s mature, strong and sturdy and the branch we chose to gain maximum swing height is super brawny.
Here’s what you’ll need to build this swing.
Materials
1. Strong Tree
2. 4′ of pressure treated 2 inch x 8 inch board (we used white pine)
3. 100′ of 5/8in nylon or hollow-core braided polypropylene rope
4. 10 3″ outdoor deck screws
5. Wood glue
Tools
1. Sanding block and 120 grit paper
2. Drill with 1/2″ spade bit
3. Level
4. Circular saw or hacksaw
5. Pencil
6. Flame, lighter
We had all of the tools we needed for this project on hand but visited a home center for the wood and rope which cost us about $40, most of which went to the rope.
Building the Swing
Start with the bench
Take your desired bench measurements with you to your home center and have them cut the lumber to the size you need, or alternatively use your own circular saw to make the cuts yourself like we did. The measurements we used were:
36 inches for the length of the bench
4 inches for each end support block
The end supports are important as they provide anchor points and stabilize the bench to ease stress off the length of the board and to support a good deal of. Don’t skip out on these or dad will regret it when he wants to hop on for a swing himself.
1. Measure then cut the bench seat to 36″ and two 4″ support blocks.
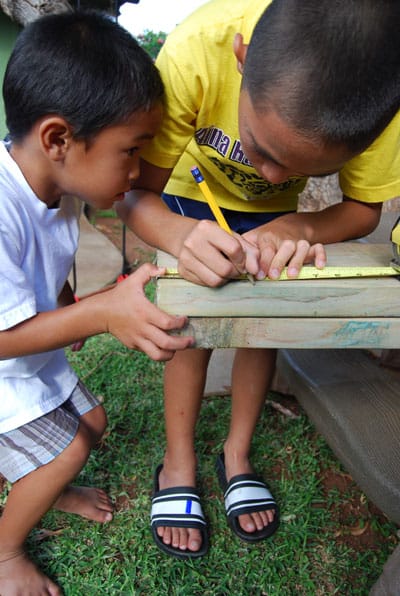
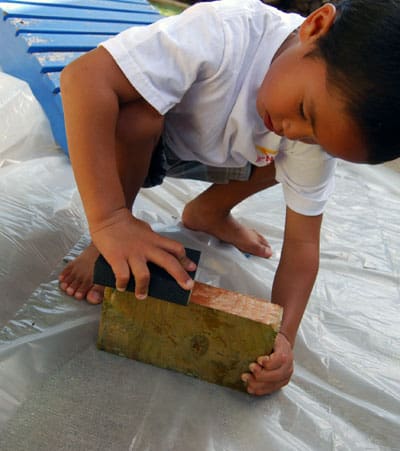
2. Sand all edges of the swing paying special attention to the seat. You can add a bevel on the edges of the top of the seat for more comfort if you want but it’s not necessary. Though they may not be strong enough to do the entire job themselves, kids love sanding, so give them a block and let them go for it!
3. Attach the support blocks to each end of the bench with wood glue and let it set. Next, drive five wood screws into the bottom of the support blocks up into the seat. Be sure to place the screws with four on the corners and one in the middle to ensure you have room to drill two rope holes. (This being Hawaii no one wears shoes, unless they’re “slippers”, but we recommend that proper safety shoes be worn for all projects).
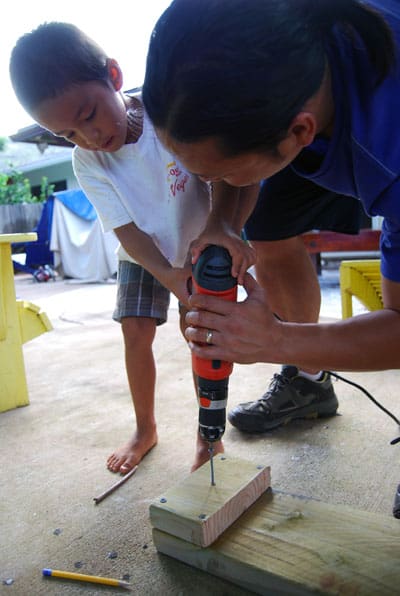
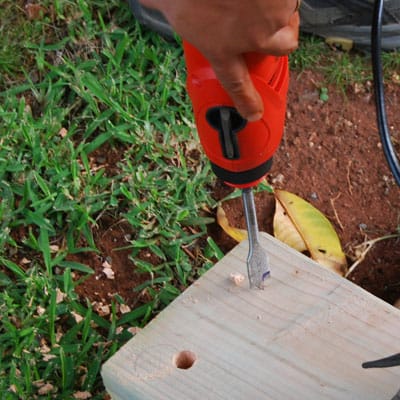
4. Measure the center point for two holes to be equidistant from each other and the edges of the seat. Using your 3/4 spade bit, drill two holes that will be used to thread the rope through.
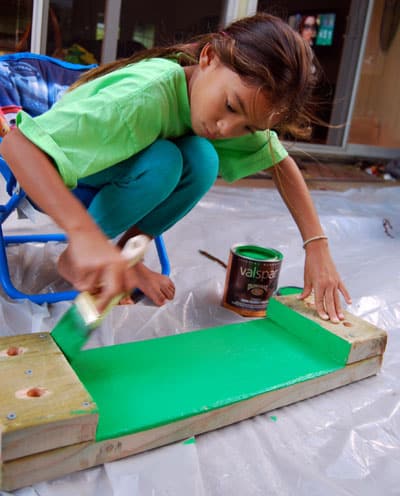
5. If you want to take it to the next level, paint or stain the bench. You can even use stencils or have the kids embrace their inner Picasso by painting it freehand. Like sanding, all kids love to paint so hand that job off to them. We used a custom Valspar paint in Mahina’s favorite shade of green. Let the paint dry for at least 24 hours before attaching it to the swing.
Setting Up the Rope
To avoid any issues with knots unraveling we decided to make a loop and throw it over the branch. We then threaded the ends through the loop twice and tightened it. Alternatively, you can tie a running bowline knot, throw it over the branch and loop it through. This would be a very secure connection but we like the double rope solution. The only potential disadvantage with our simple technique is that it can cause a bit more rubbing on the tree branch which, over time, could wear down the rope and even the branch itself. But we found that if you loop the rope tight enough it will grip onto the bark and leave the ends of the threaded rope to swing freely making any rubbing very minimal.
1. Take the full-length of rope and cut it in half.
2. Throw the looped end over the top of the branch or use a ladder to do this and thread the ends through.
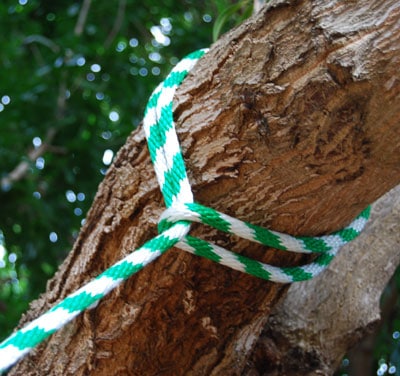
3. Thread the ends through the loop and pull tight. To minimize rubbing, thread the ends through a second time making it extra secure and taking up more slack in the rope.
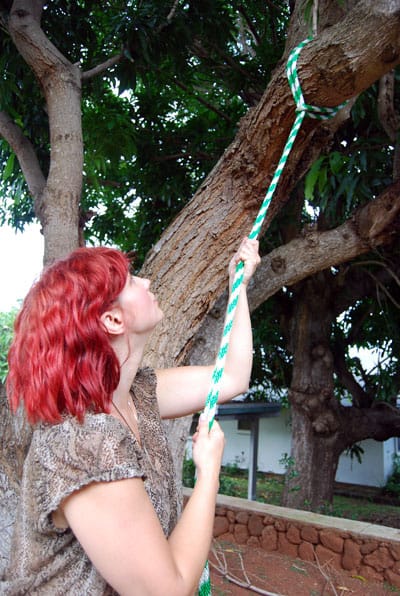
4. Taking both loose ends of the rope together, tie a knot at the desired hand-height to help with gripping.
5. Thread the loose end of each rope from the top of the bench through the bottom and tie a stopper knot at the desired height of the swing.
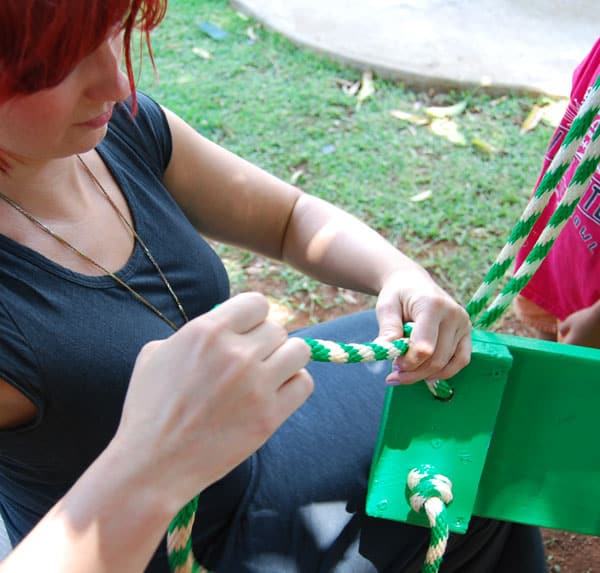
6. Use a level to make sure the swing seat is properly balanced.
7. Cut the ends of the rope to make a neat finish but leave a few inches for future adjustments. As your kids grow, simply re-knot the rope to raise the seat.
8. Using a lighter, carefully melt the ends of the knotted rope so it doesn’t fray. If you are using a natural fiber rope, skip this step or your rope, and all your hard work, could end up in flames.
Have Fun!
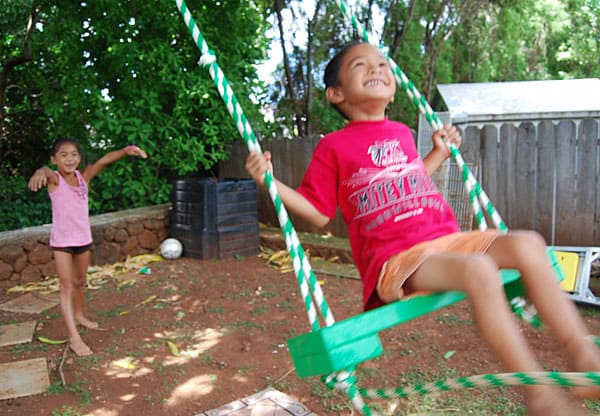
Now comes the best part, testing your swing!!! Though your kids will likely be arguing over who gets the first swing, we suggest mom or dad be the first to test it out so they can check that the branch and tree aren’t swaying and that the knots securing the seat are taught. The swing should support up to 200 lbs. but depending on the strength of your tree branch we don’t recommend more than one adult using it at a time.
Enjoy your swing and please remember to share your photos and project in our Built by You section if you decide to make one yourself.


Jesse B
21 Jul ’11 at 5:13 pmCool project!