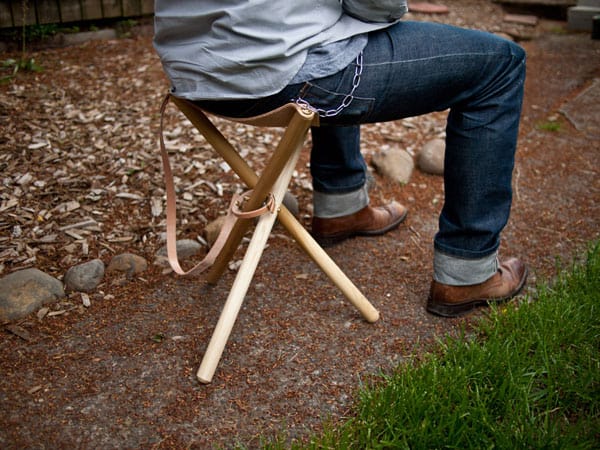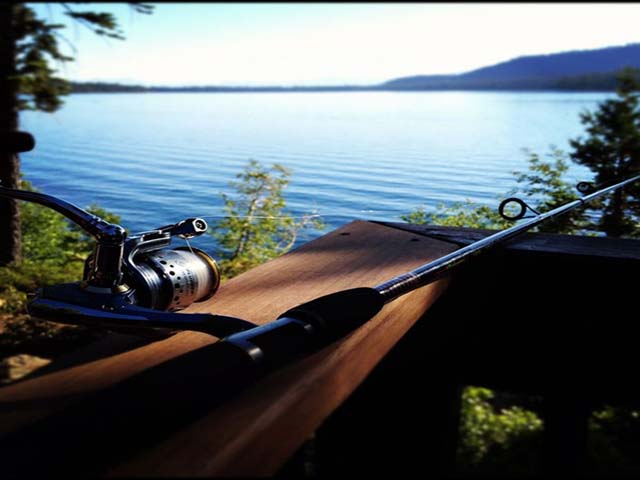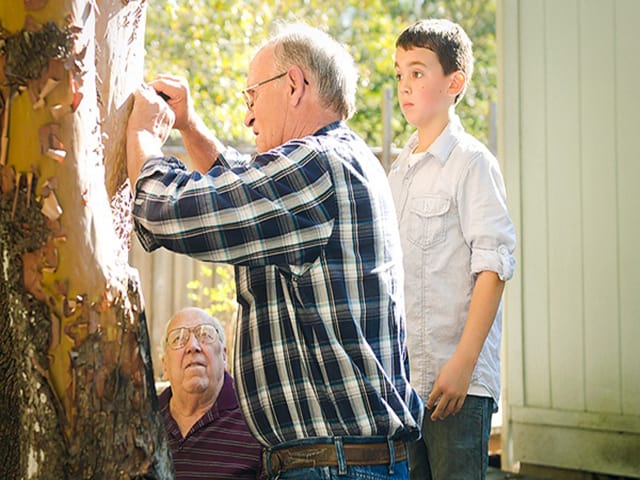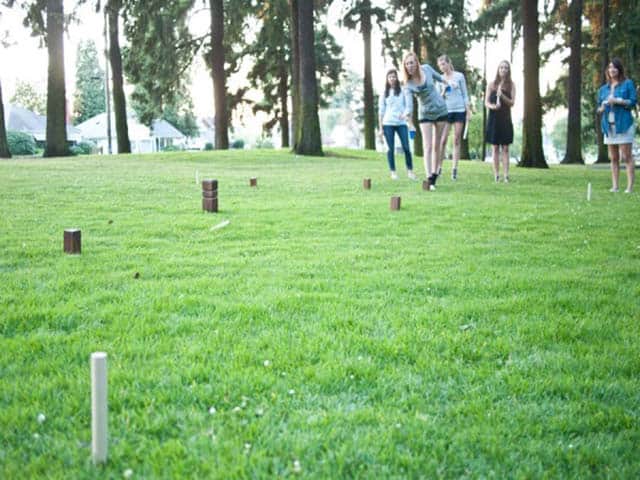
We’ve found the perfect folding chair for camping that you and your kids can build and transport with you anywhere. Courtesy of Wood & Faulk who we previously profiled for their Kubb Swedish yard game.
With the help of some hefty dowels, a little hardware and a piece of leather or heavy canvas – you’ll be sitting by the campfire in style. Also, the materials will only set you back about $25.
Tools:
- Sander
- Center-finder (optional, but helps)
- Drill
- Screwdriver
- Small socket wrench to fit acorn nuts
- Rags
- Knife
Materials:
- Three 1 1/8” Birch hardwood dowels – enough for three 24” pieces
- One brass 2.75” bolt
- One 1.5” eyehole bolt
- Two brass acorn nuts
- Three brass washers
- Three brass finishing washers
- Three brass 1” wood screws (big enough not to slip through the finishing washer)
- Finish – I used Osmo PolyX-Oil
- Leather or other heavy material for seat
[nggallery id=15]
Instructions:
1. Start by cutting your dowels to 24” or closest to that. I bought two 48” dowels, so each leg is about 23 7/8 after the saw blade’s share. Drill a hole completely through each one, 10.5” from the top of each leg. Find the center of each leg’s top, and drill a small pilot hole for your seat mounting screws. You’ll need this pilot hole to prevent your legs from splitting. Sand each of the legs smooth, and a little around the edge of the tops, and a good amount on each bottom to round it out more. It doesn’t have to be perfect, just make sure you don’t shorten any leg with too much rounding.
2. After the legs are cut, drilled and sanded, apply your choice of finish and set aside to dry. As they are drying, you can work on the seat material. I’m including a downloadable template for you to create your seat with. I chose leather because I have plenty of it around, but you could sew up a heavy canvas seat or any number of materials. Make sure it’s heavy and sufficiently reinforced since there will be a good amount of stress on each corner.
On one corner of the seat, I left a tab for the carry strap, but this is optional. Mine’s attached to a closure strap, which I recommend having regardless of a carry strap. It’ll keep your stool from popping open in storage or carrying. I edged my leather pieces and treated the smooth surfaces with carnauba wax.
3. Once the legs are dry, assemble the structure assembly by threading two of the legs together with the bolt, with the eyehole bolt in the middle. Use washers on both ends, and attach the acorn nut. I actually cut my bolt down a little bit with a hacksaw, so it fit close. You’ll need a little play in the assembly to move, but it shouldn’t be gaping. Once those two legs are secure, feed the eyehole bolt (which I cut down a little too) into the third leg and attach with a washer and acorn nut. Tighten both acorns securely with a socket wrench.
4. After the base is complete, attach your seat to each leg using a large finishing washer and the wood screw. Don’t over-tighten and strip out your holes, for you’ll need all the strength on these mounting points. After everything is secure, you can take a seat. The main bolt might bend a little to the stress, but that’s fine, it keep its bend permanently and that shape will aid in the folding-up state. Now you’re ready for your next campfire sitting in distinguished comfort.
For more great projects and beautiful photos visit Wood & Faulk.


Hal Jones
16 Apr ’12 at 1:23 pmI like this. This camp seat would be a great project for scoutmasters to teach their scouts at summer camp. The leather will be available at camp and picking up the dowels and hardware could be done in advance. The leather seat can last a lifetime if cared for and I think adding a grommet after punching the leather would prevent leather tearing around the holes.
Hal Jones
Online Media Director/Editor
Extreme How-To
Built by Kids
16 Apr ’12 at 1:37 pmGreat idea Hal! A perfect scouting project. Possibly a leather working merit badge.
Eli
1 Jun ’12 at 10:51 amWhere is the leather template?