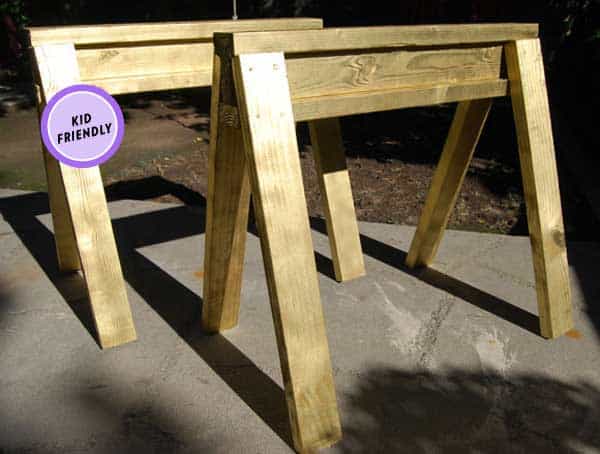
Sawhorses make great outdoor work partners. You can throw plywood on them for a work bench or use them to hold and elevate surfboards or any other household item. Any sawhorse you buy in the store will be sized for adults and be too high for children to reach over and most plans online to build sawhorses are also too tall.
We built some gold sawhorses for ReadyMade Magazine and we’ve taken those plans and down-sized them for kids.
Building these sawhorses is an opportunity to teach children how to use a few different power tools and it’s up to you to decide how comfortable you are with teaching them. There are also some hand tool skills needed such as using a hammer, measuring tape and screwdriver.
Tools
* Drill/Driver with Phillips bit or screwdriver
* Circular Saw or hacksaw
* Hammer
* Measuring Tape
* Pencil
Materials
* 8 20″ 2x4s
* 6 22″ 2x4s
* 32 16D galvanized nails
* 12 3″ wood screws
* Paint if needed
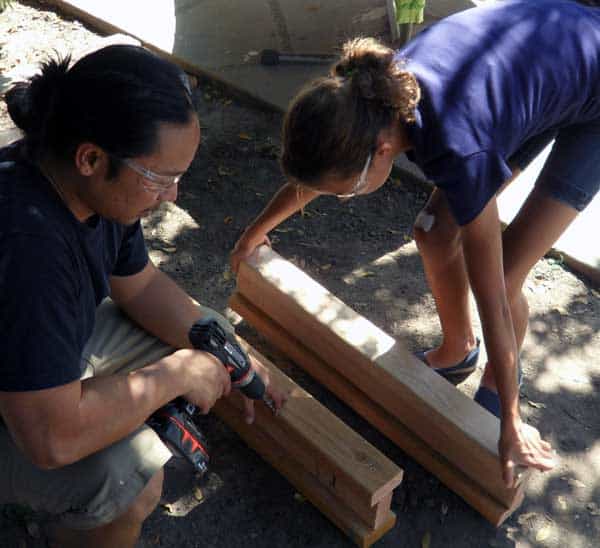
1. Measure and Cut
Measure out your 8 20″ pieces for legs and 6 22″ pieces for the I-Beam then cut 2x4s using a circular saw, chopsaw or hacksaw.
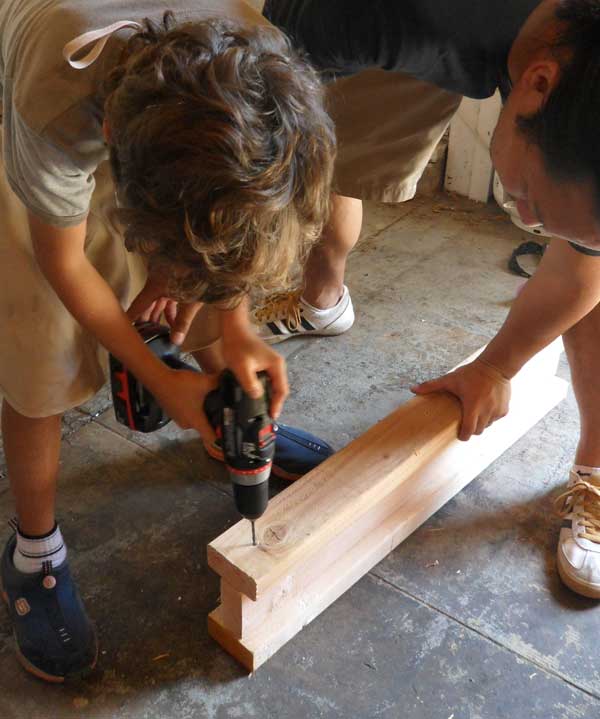
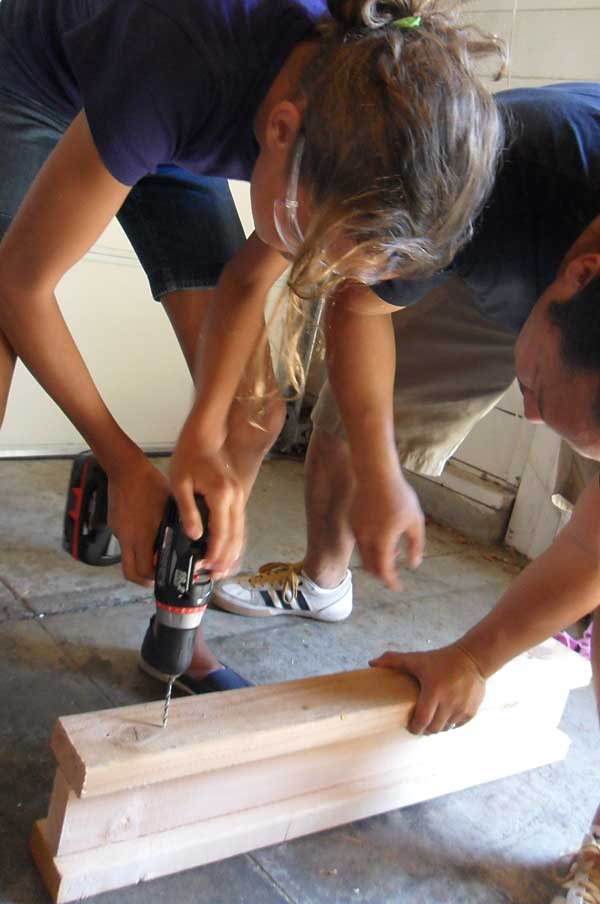
2. Build I-Beam
Using screws attach 3 of the 32.5″ pieces together as a “T” then finish as an “I”. This is a great opportunity to get kids to use a drill to pre-drill a hole then drive a screw.
3. Hammer Time
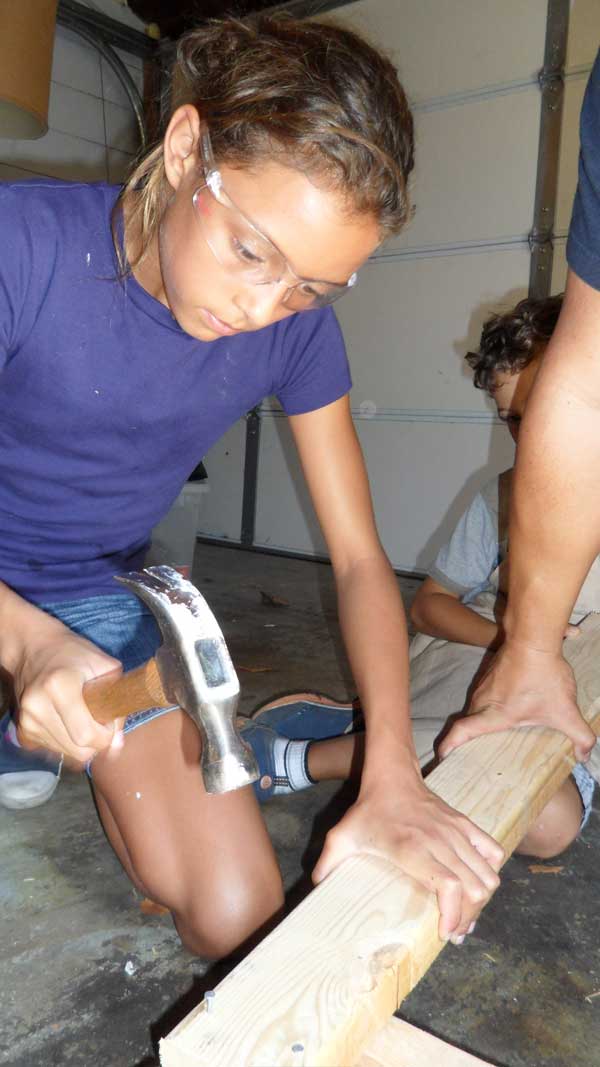
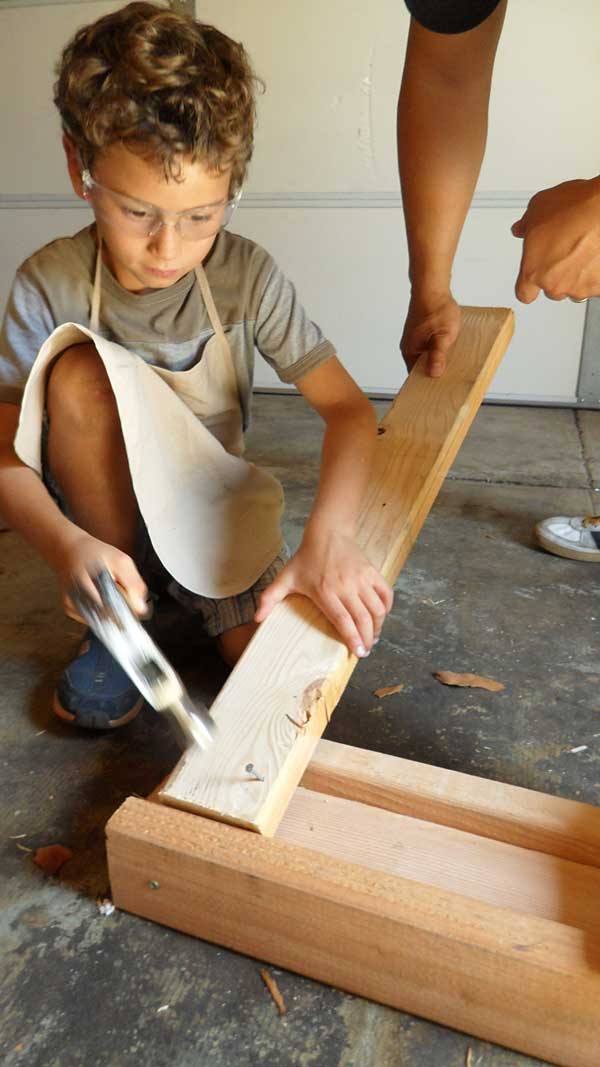
Place legs as shown and attach legs using 4 nails in a box shape. Learn to use a hammer wearing the proper eye protection.
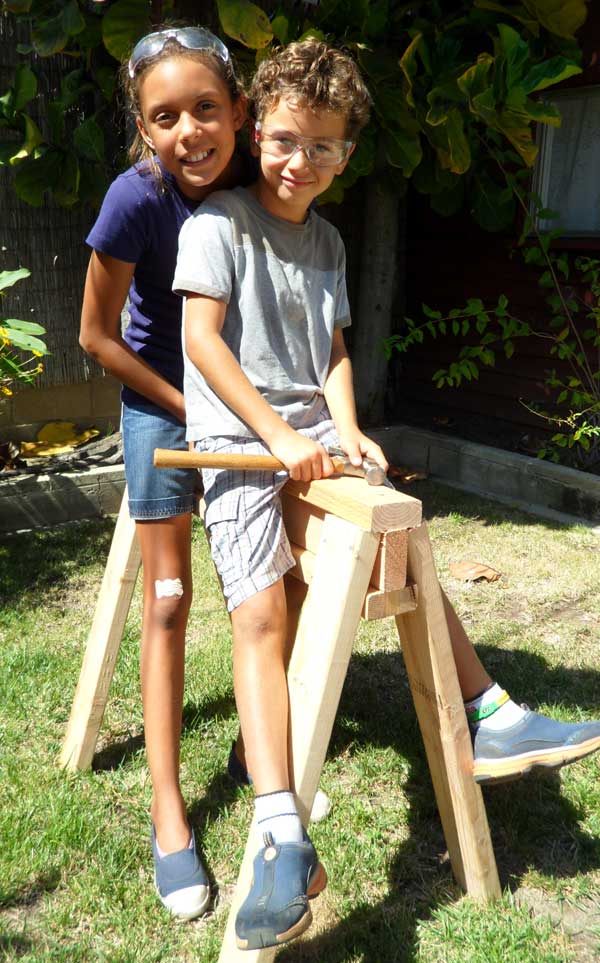
4. Enjoy Your New Kid-Sized Sawhorses!
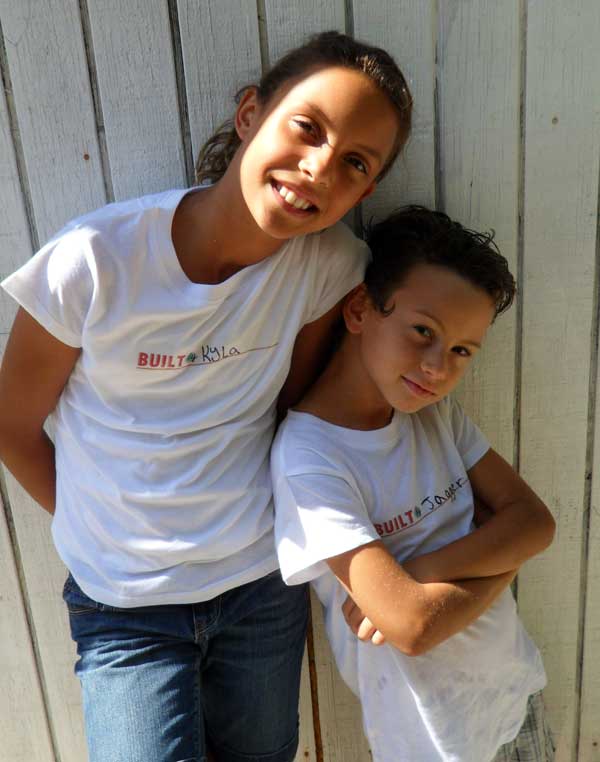
Thanks Kyla and Jagger! Love the shirts!!!


Arlene D
14 Oct ’11 at 2:33 pmMy kids love their sawhorse. We built an indoor version and painted and carpeted it.