
We searched far and wide for a playhouse that would suit our budget and backyard. We’ve got an open dirt space that is 14’x9′ and we previously used it as a seating and workshop area.
Location
It’s got great shade throughout the day which makes it perfect for a kid’s space but the loose dirt is extra dirty and full of wood chips and other workshop particles that aren’t healthy for bare baby feet.
After scouring Craigslist for weeks trying to find a playhouse that was in decent condition and preferably not plastic and not falling apart we decided that we should just build our own.
Repurposed Materials
We’d save money by using some pallets we had rescued from our friends solar business as well as some extra 2×4’s and OSB panels from our lumber pile.
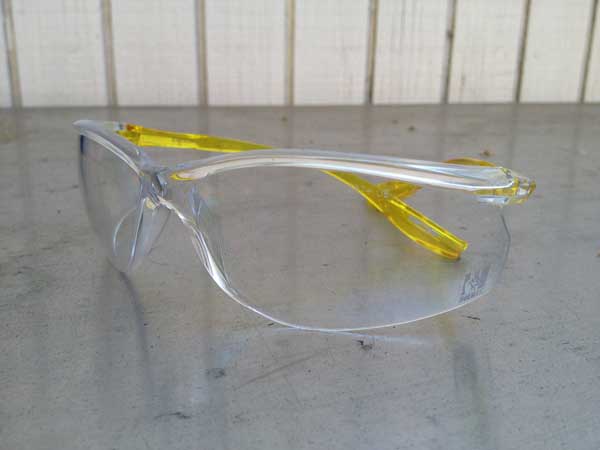
Personal Protection Equipment
3M DIY offered to help us on this project and because project safety is at the core of everything we do we wore their 3M Tekk Protection safety glasses during this entire build which do a great job protecting our eyes from airborne particles and projectiles but also don’t look bad while doing it.

Pallet Playhouse Build
We didn’t deviate much from the size of the pallets when considering the design and footprint of this playhouse. Initially, we went with a much smaller sized playhouse but it just didn’t seem practical for us so we decided to double the space and make it more open.
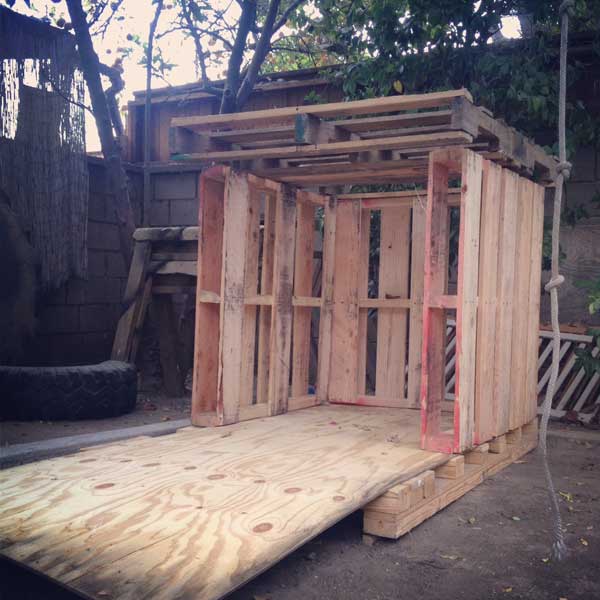
Foundation
We left one wall completely open and had debated about enclosing it but the open floor plan would allow us to sit in the playhouse and join our son during playtime. It would also be easier to clean out and install different types of furniture.
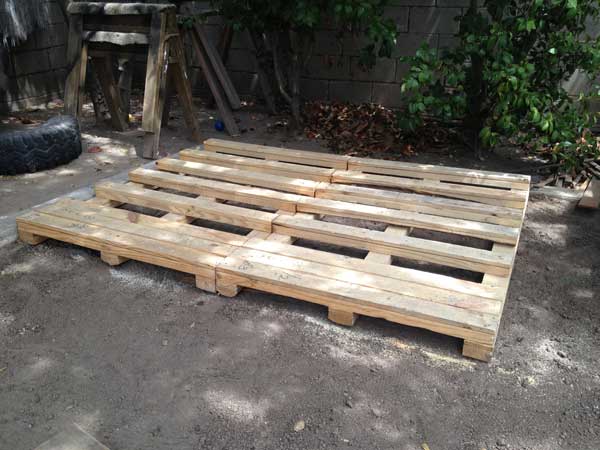

Our first step was to layout the foundation for the playhouse. The ground is uneven but after we laid out two of the largest pallets we had a level floor that was raised off the ground which was ideal for preventing water damage.
Walls
We then placed the walls and everything seemed to match up nicely. It was great to “test” out the dimensions first before installing anything.
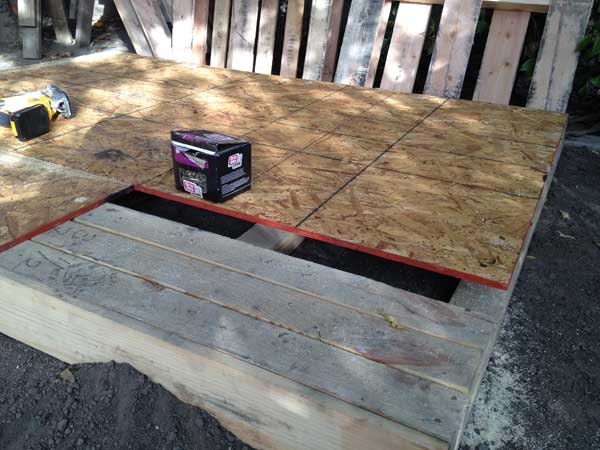
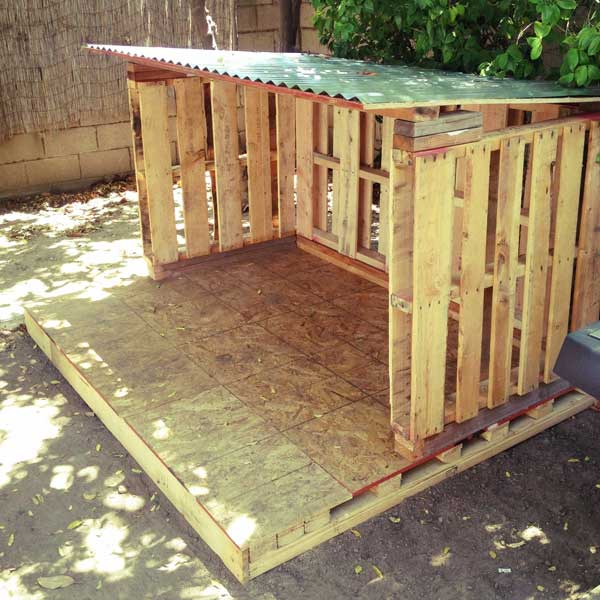
After we finally decided on the open layout and knew the basic plan we went to work on the floor. We placed a sheet and a half of OSB across the foundation pallets for the floor and kept the other sheet for our roof.
OSB over Plywood
We prefer OSB for the cost and we actually like the look but it is heavier which makes it a bit more awkward to work with. Using deck screws we secured the panels into place which also leveled out the floor.
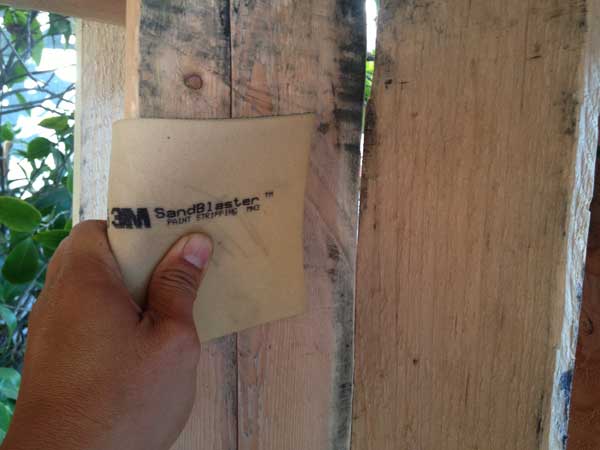
Our remaining pallets were clean but there were still some rough edges so we used our 3M Advanced Abrasives sandpaper pads and smoothed out almost every surface.

Sanding
We knew little hands would be grabbing and holding these walls and possibly using the inner boards as shelves and we wanted to keep it as splinter free as possible.
The Modern Ceiling and Roof
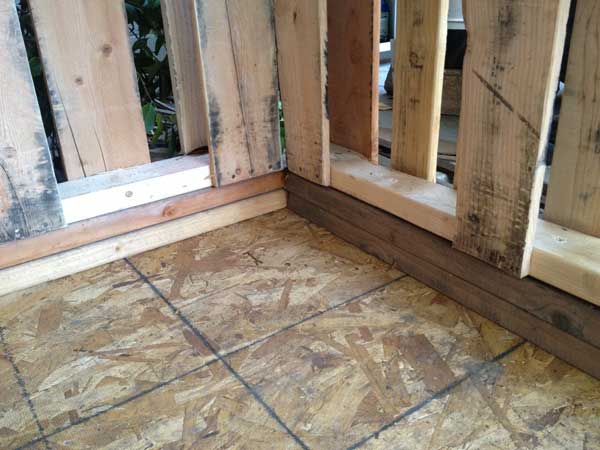
At three feet in height, the pallets were tall enough for our son to walk/stand under but it made a tight squeeze for us to sit in so we decided to raise the walls almost 4 inches by placing 2×4’s underneath the pallet walls all the way around.
We used the deck screws and secured all the riser boards to the floor and then installed the walls on top of the boards.
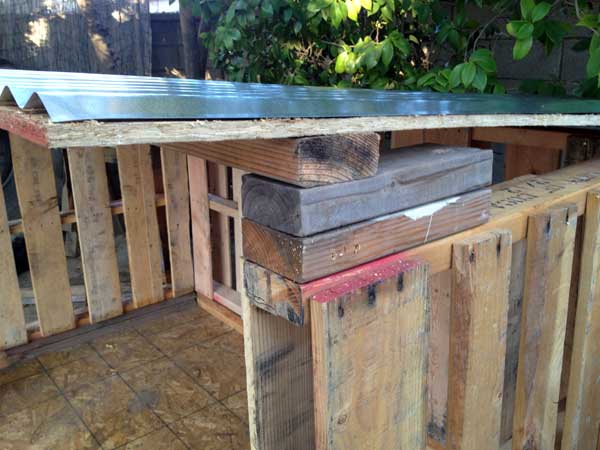
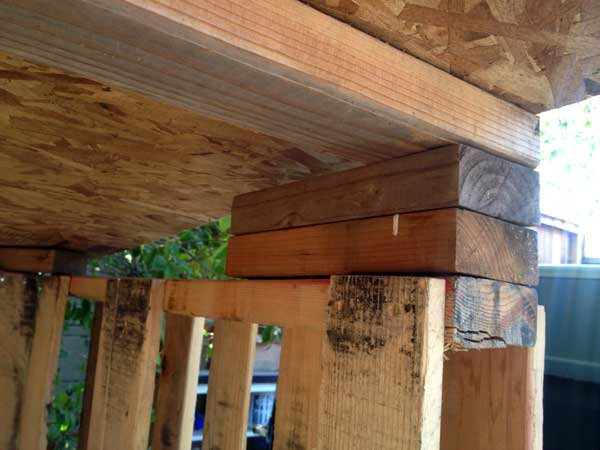
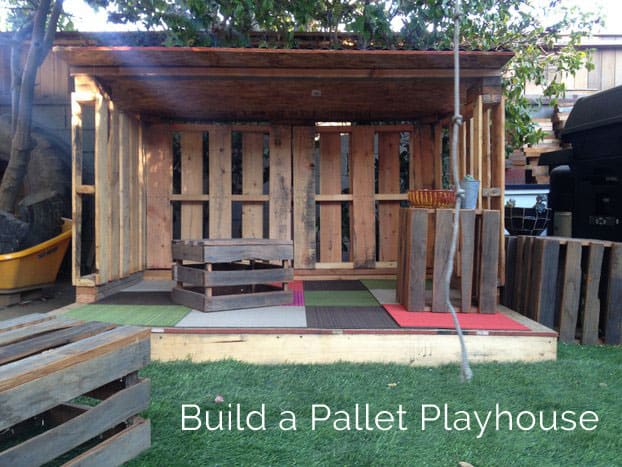
To provide a more open and stylish look we slightly angled the front of the roof up by again using cut 2×4’s. This provided a bit more headroom and some interesting detail to the roofline.
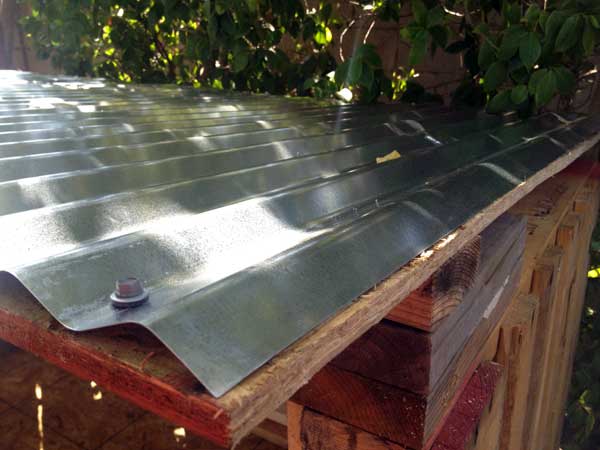
After securing the roof we purchased a couple of galvanized steel panels from our local hardware store and attached them to the roof using self-tapping screws specifically designed for galvanized steel.
They went in quickly and although it doesn’t rain much here we have dreams of hearing raindrops on our “tin roof”.

Flooring from FLOR
The final step in our pallet playhouse build is to install some type of flooring. The OSB panels are fine and as I mentioned we like the look of them but a rug or carpeting would be much more comfortable.
We’re considering FLOR carpet tiles and requested a few samples which were promptly shipped to us. They are durable and easy to install and we like that we could select a variety of different colors.
Although our playhouse lacks the traditional amenities like doors and windows we still think our son enjoys playing in it and on his own, he brought out his chair to test the structural integrity of the roof. We think he approves.
Before you drop your hard-earned money on a pre-built playhouse that will just get thrown away, consider building a play structure of your own.


This post is a collaboration with 3M DIY. To keep up-to-date on projects, products and sampling visit 3MDIY.com.
Please visit 3M DIY Twitter Page and 3M DIY Facebook Page for more great project ideas.


Shar VanDer
29 Jul ’13 at 3:41 pmSo cool! Can’t wait to see pics of you all using it.
Brittany Pearson
29 Jul ’13 at 3:41 pmI wouldn’t recommend this with any ol pallets. At least you sanded them. Well done.