Ever since we moved into our home three years ago, we have dreamed of how to build a treehouse. The problem is that we didn’t have a proper tree sturdy enough for a treehouse, and our backyard is sloped, so building a playhouse seemed like a monumental task. But we found a solution: build a raised playhouse that would give our kids the fun of an elevated structure and last for years without worrying about an unstable tree.
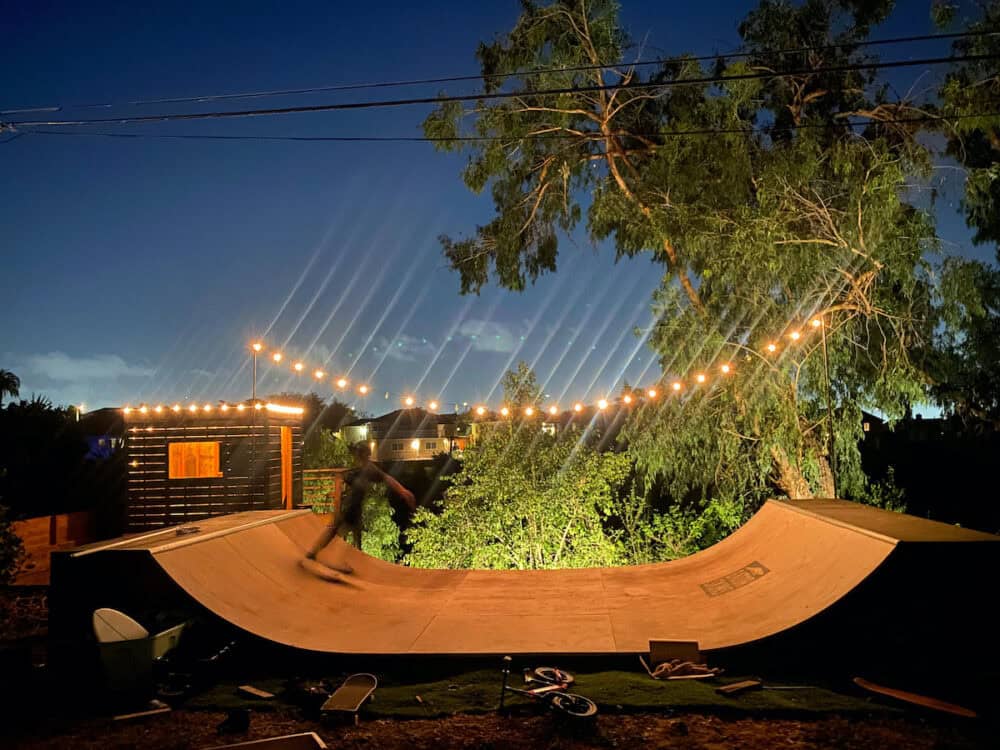
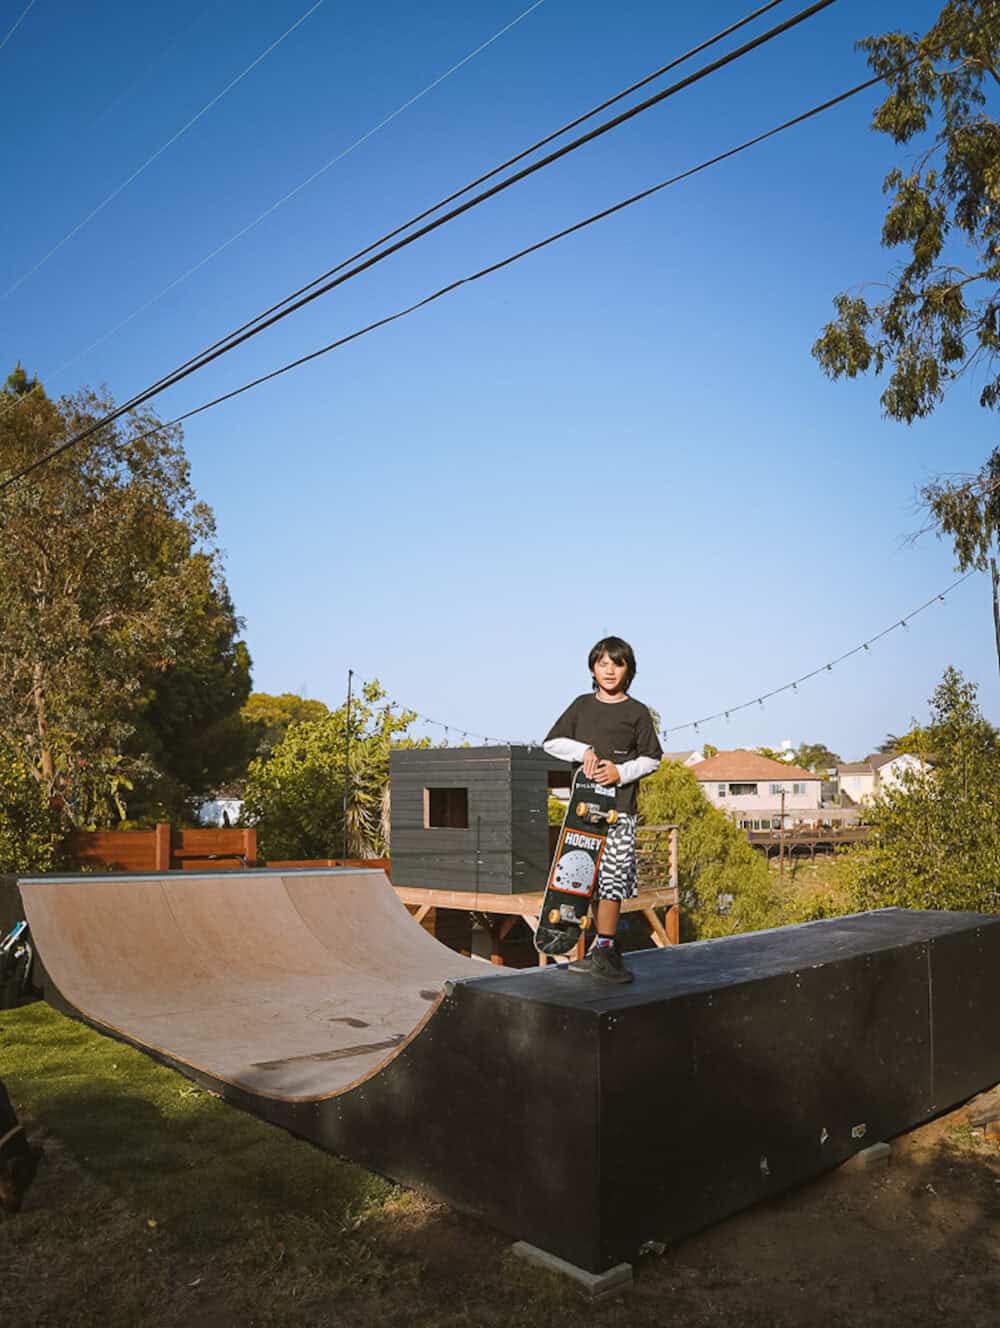
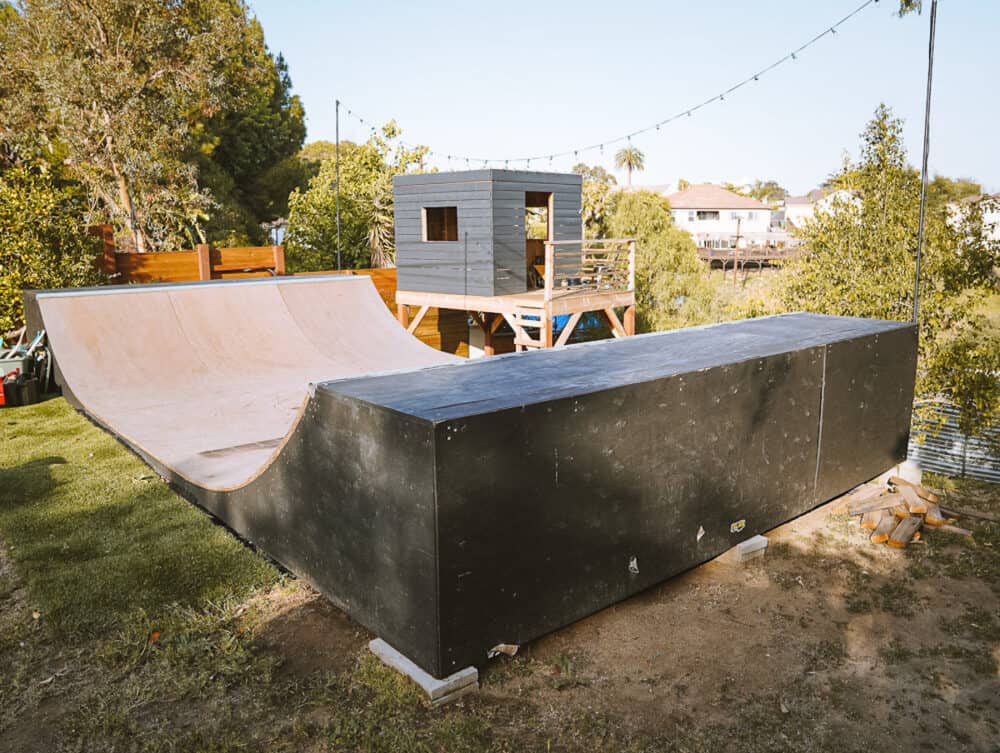
We built a mini ramp last year and cleared out some vines, which revealed a nice slope down towards the end of our property. This slope wasn’t suitable for much. We did plant a beautiful tree in the flat part of our yard, but our kids still really wanted to build a treehouse, and this young tree wasn’t close to being large enough.
Find a Good Tree (or not)
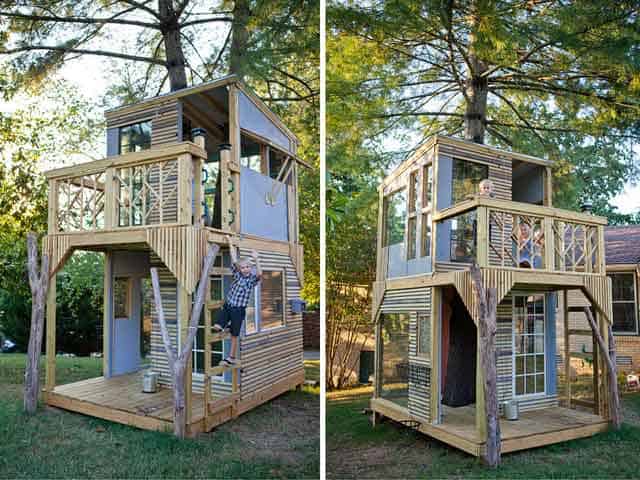
Our friend’s cabin treehouse build inspired us to finally make our own, but unfortunately, we don’t have a proper tree to build around. We considered building a treehouse around a large eucalyptus, but the softwood turned us away, and we did not want to risk damaging the largest tree in our yard, which we love.
There are also a couple of large ficus trees we could build around, but they grow so fast it would be a nightmare to build around, and part of the tree extends over our neighbor’s property line.

So, our best bet was to build a treehouse, which would basically be a raised playhouse. The process is straightforward and, in many ways, easier to build than designing and building around a tree. Our fledgling carpentry skills were tested, but anyone motivated to build this should have no problems.
Even though we didn’t build it using a tree for support, we still call it our treehouse.
Decide on Location
The first step to building a treehouse is to decide where it will go. We wanted it away from the house so the kids would have some privacy, but we also wanted to be able to keep an eye on things.
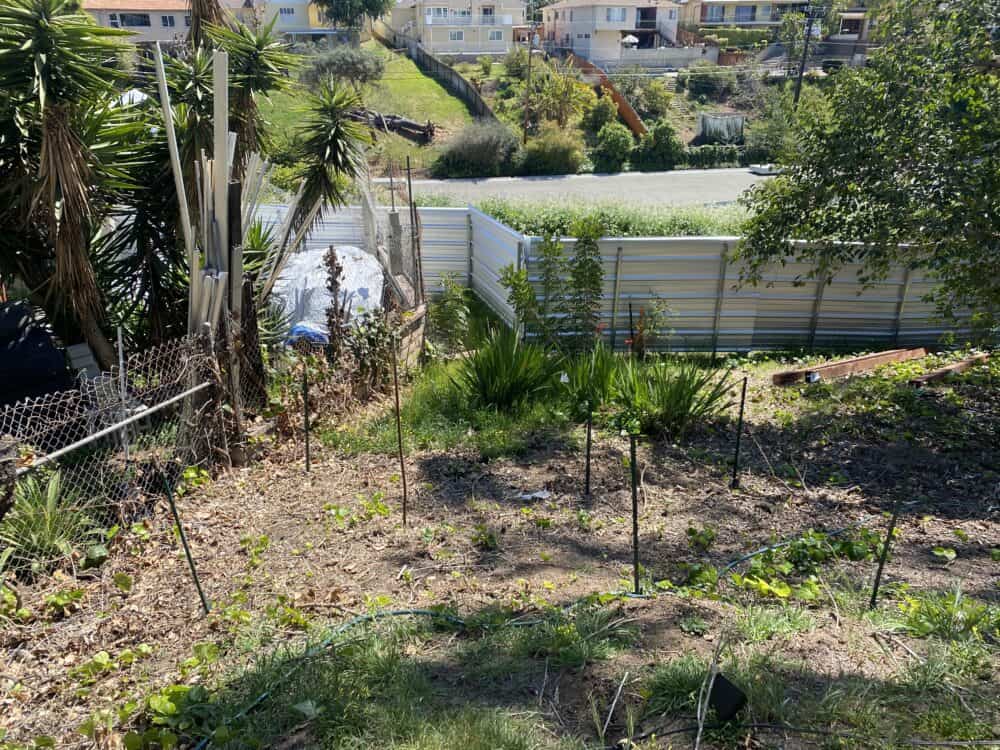
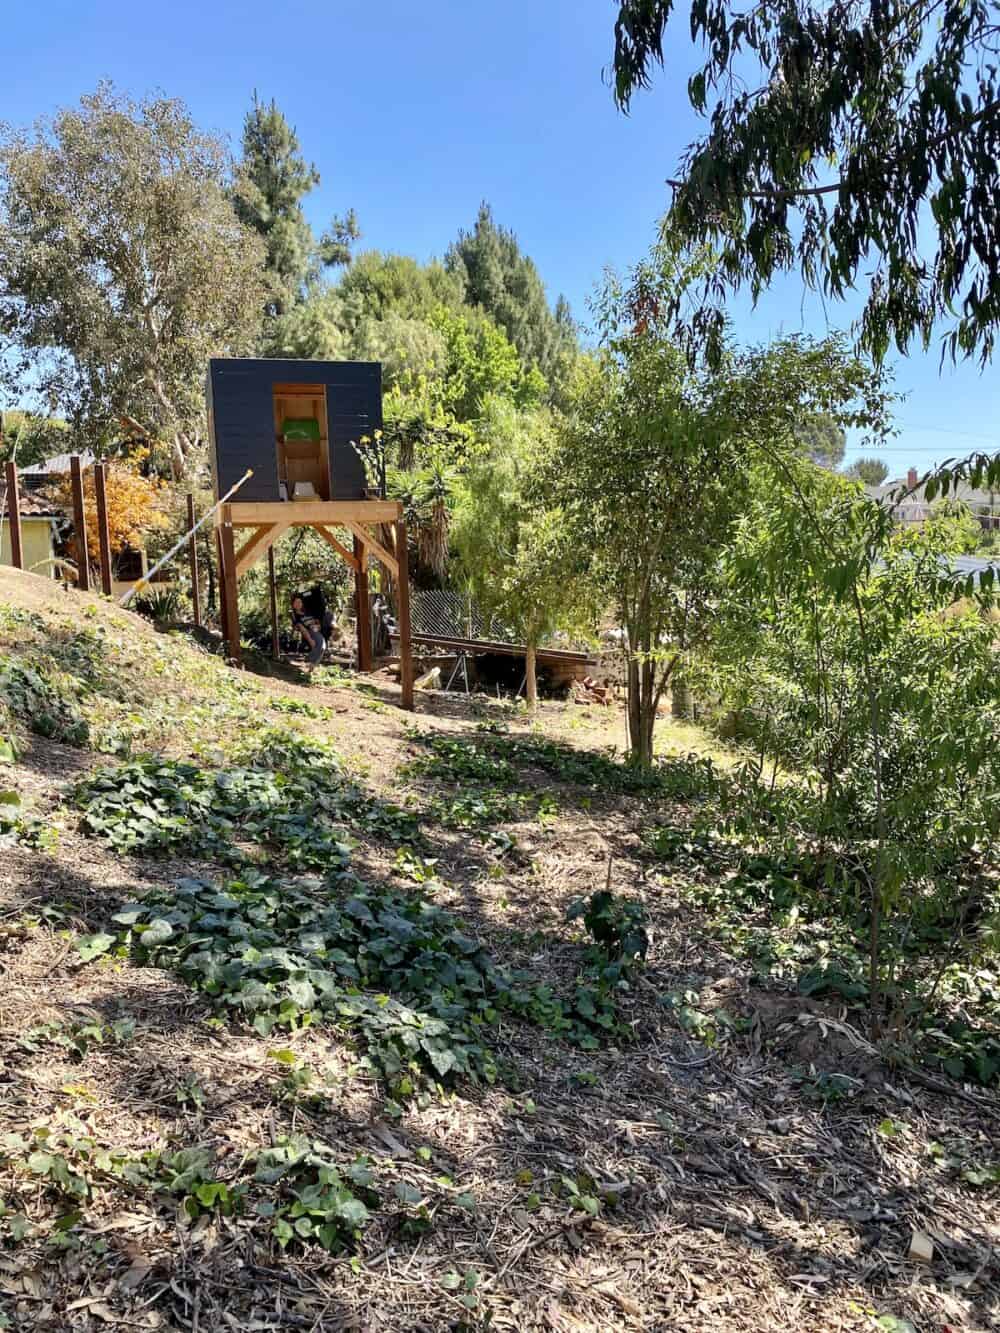
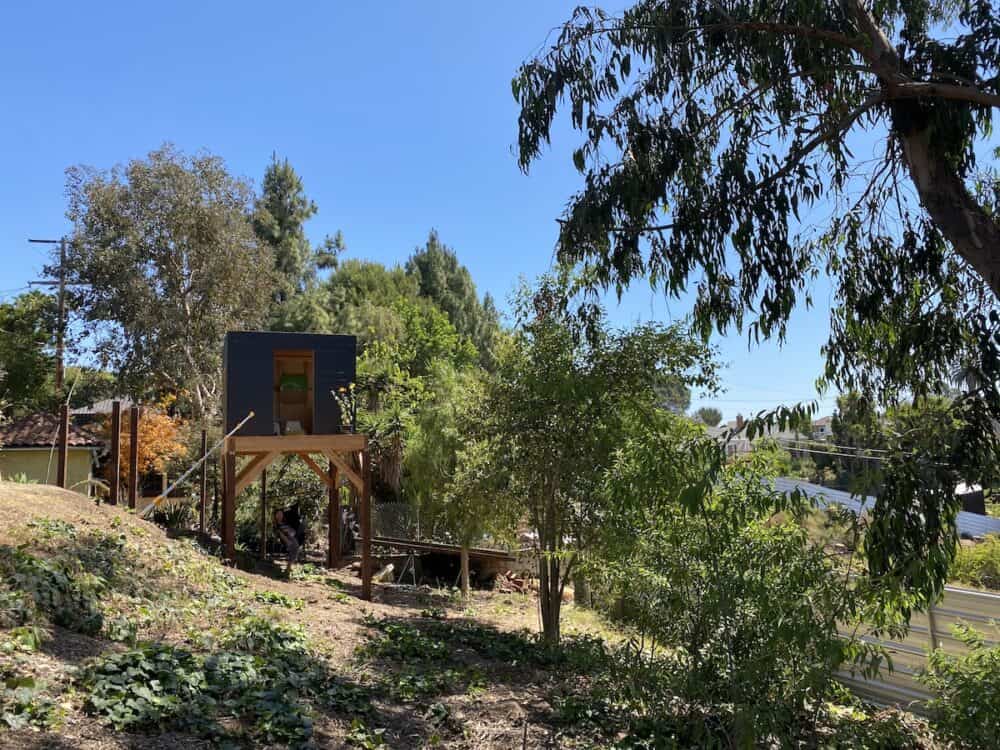
The back section of our yard is spacious and filled with beautiful trees and shade, but the area is on a slope that we knew would be difficult to build on. After considering other spots, we decided to build on the slope despite the added difficulty.
When choosing a location, be respectful of your neighbors. Some might not be keen on a treehouse overlooking their yard, so be mindful of their privacy. Our treehouse would be right against our neighbor’s yard, but it was the back part of their yard that they didn’t use much. We also didn’t cut out any windows on that side of the treehouse.
There are also laws regarding how close you can build to your property line, so take note of that before starting.
Choose a Treehouse Style
We did a ton of research regarding the style and look of our treehouse. Because we were no longer constrained by the shape of a tree, we could do whatever we wanted.
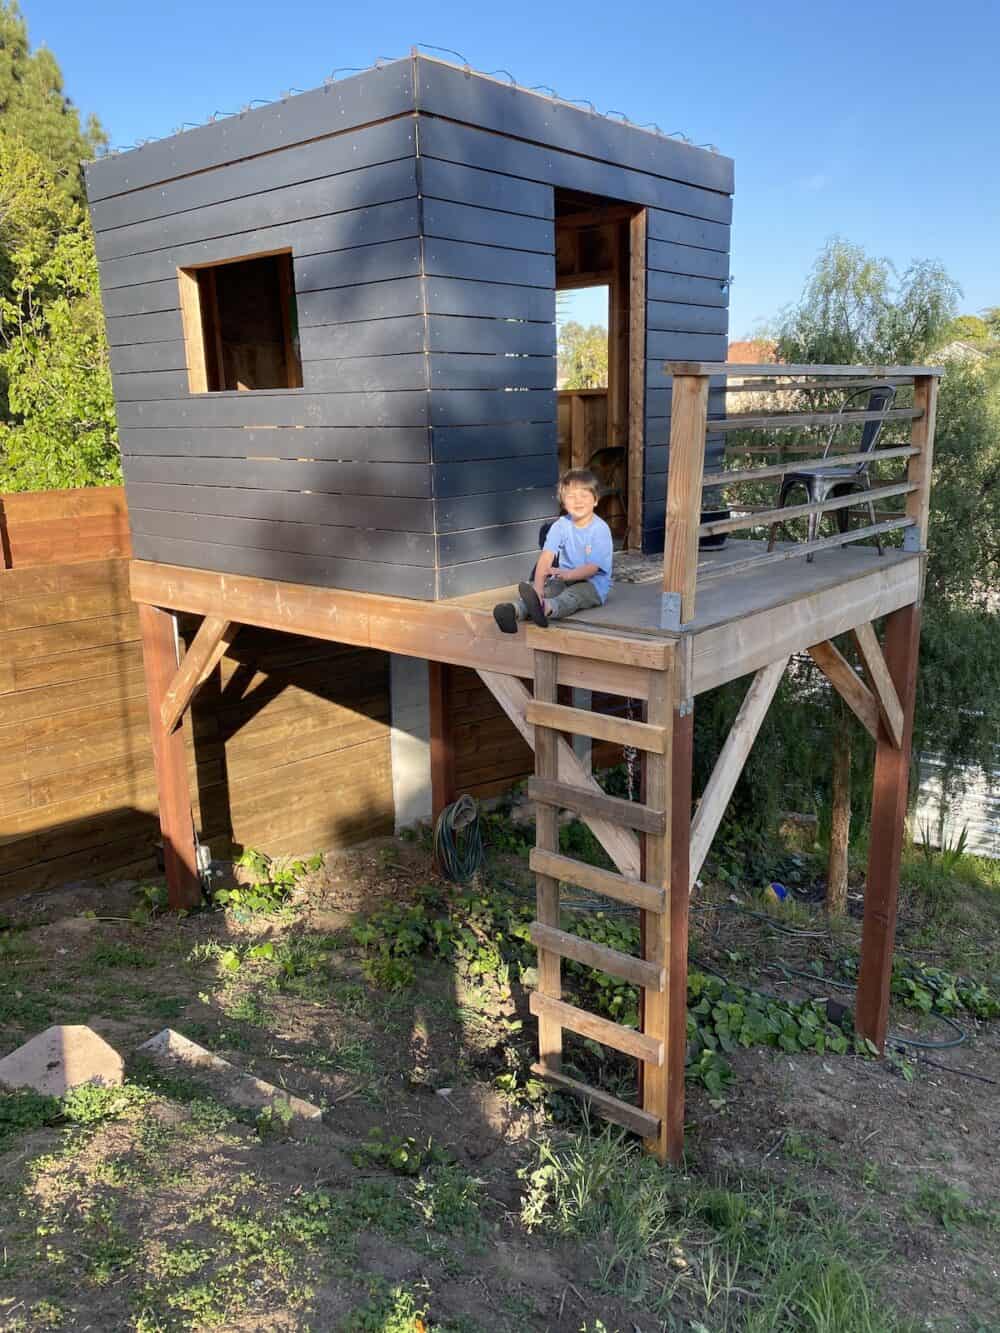
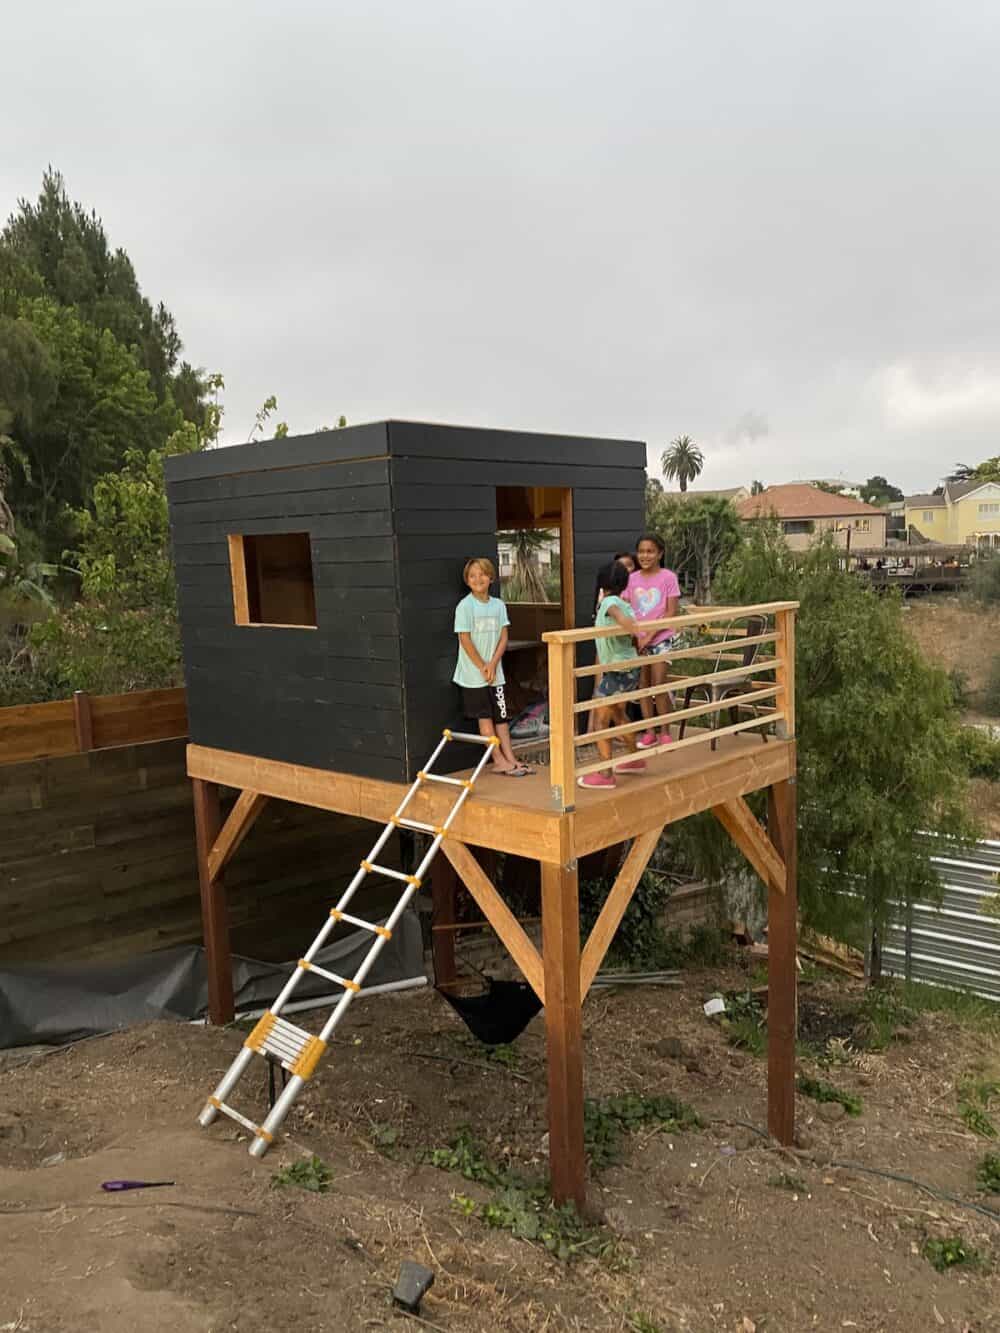
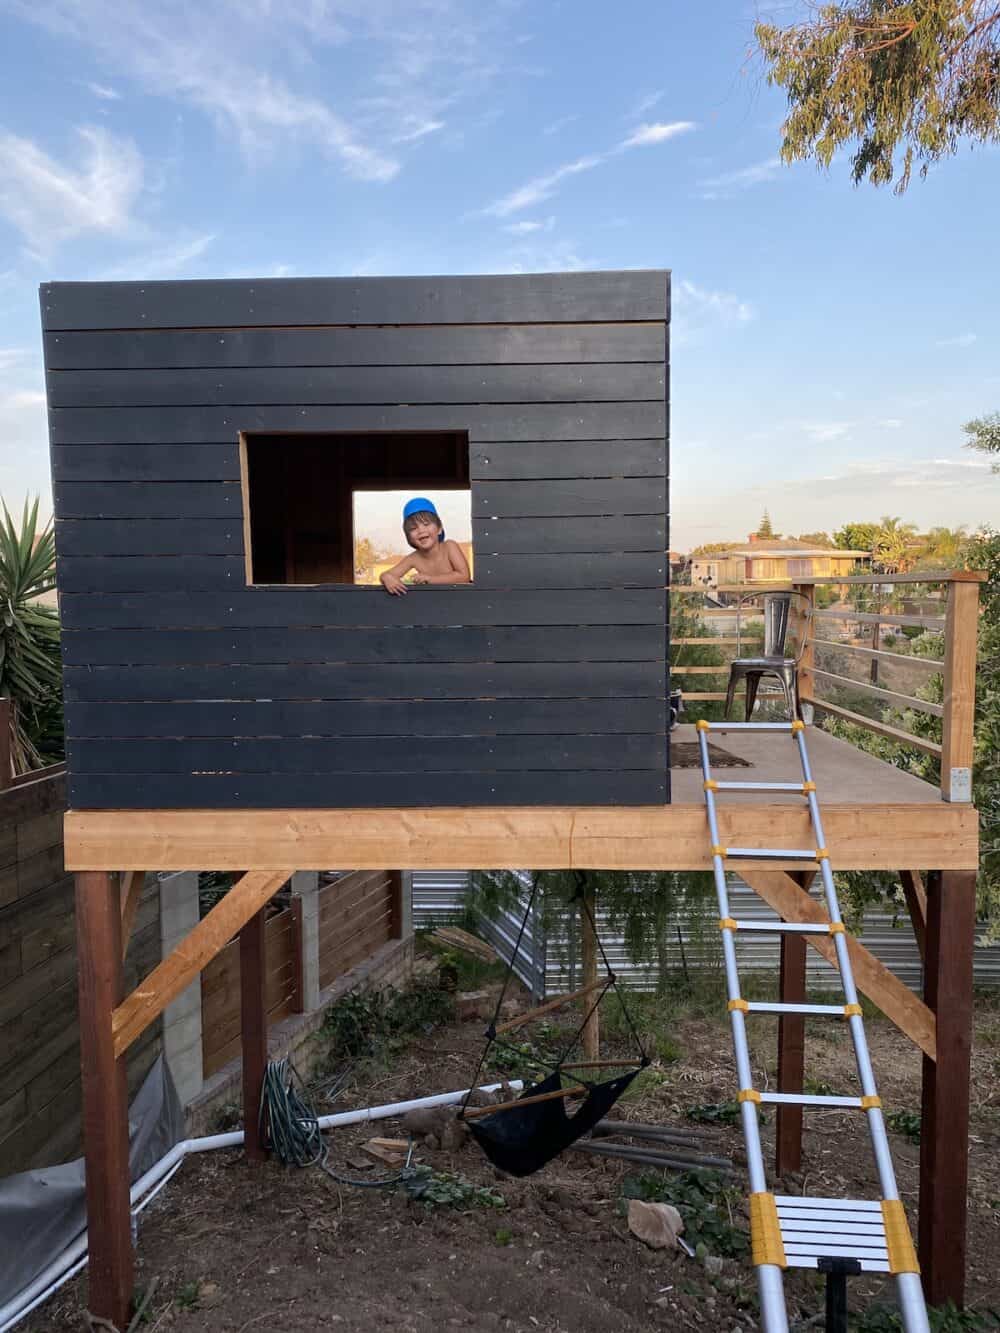
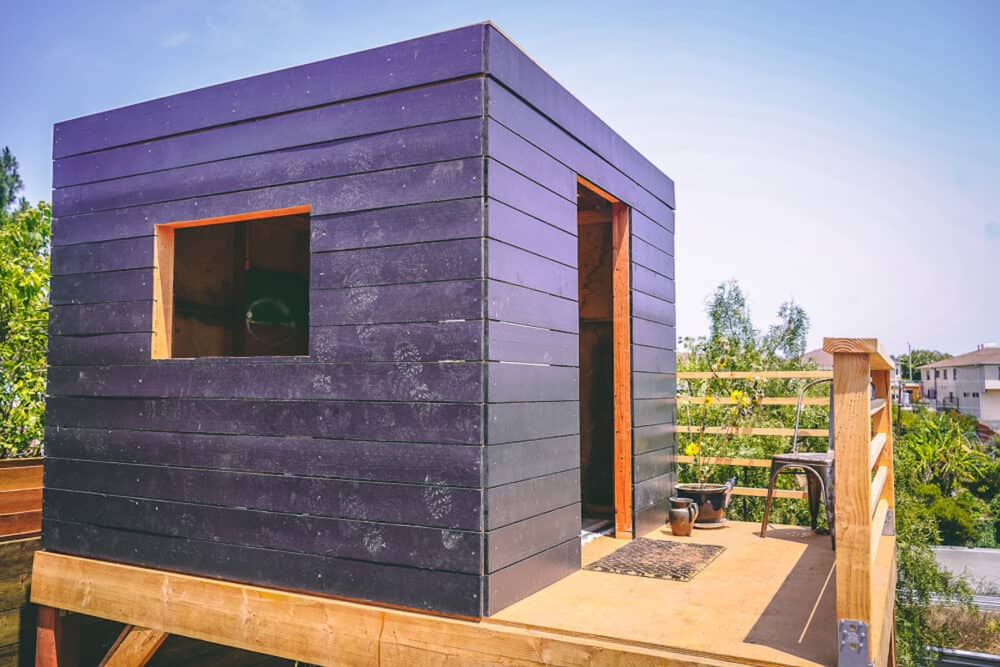
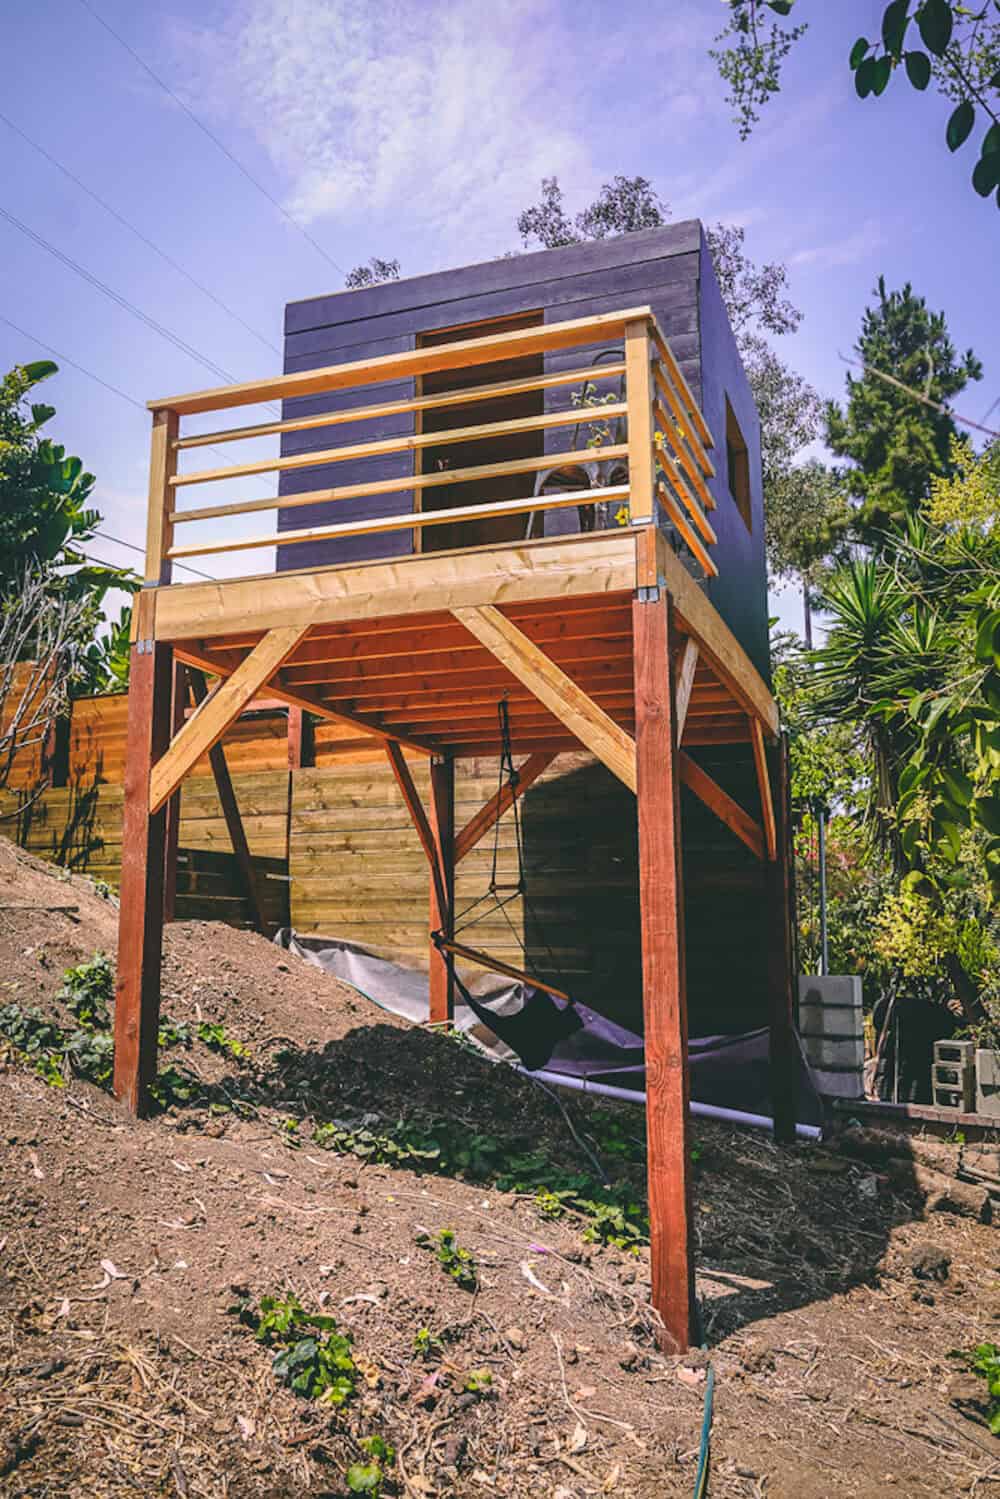
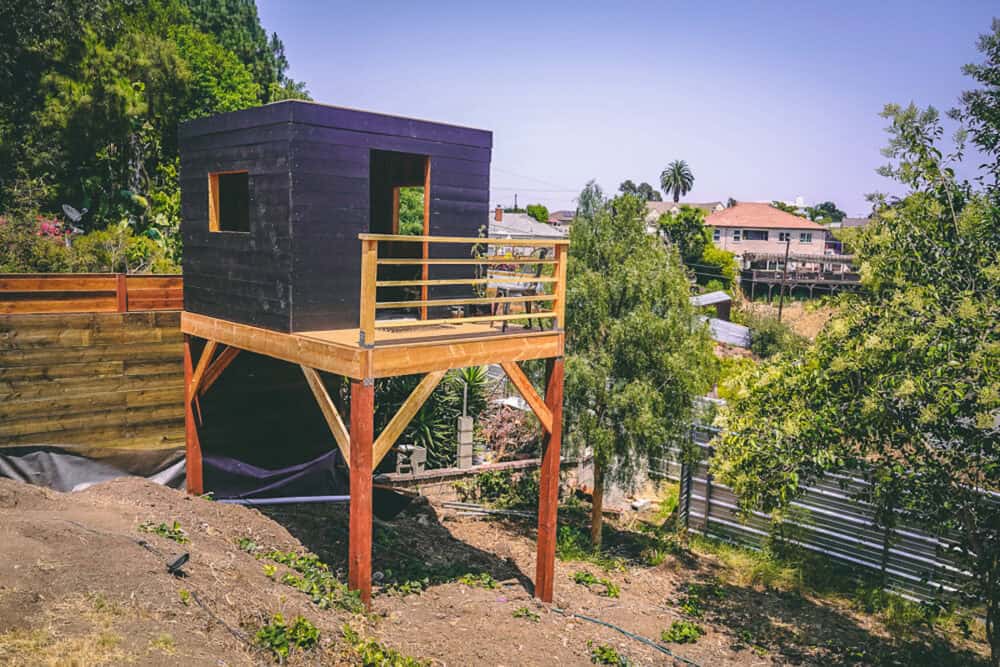
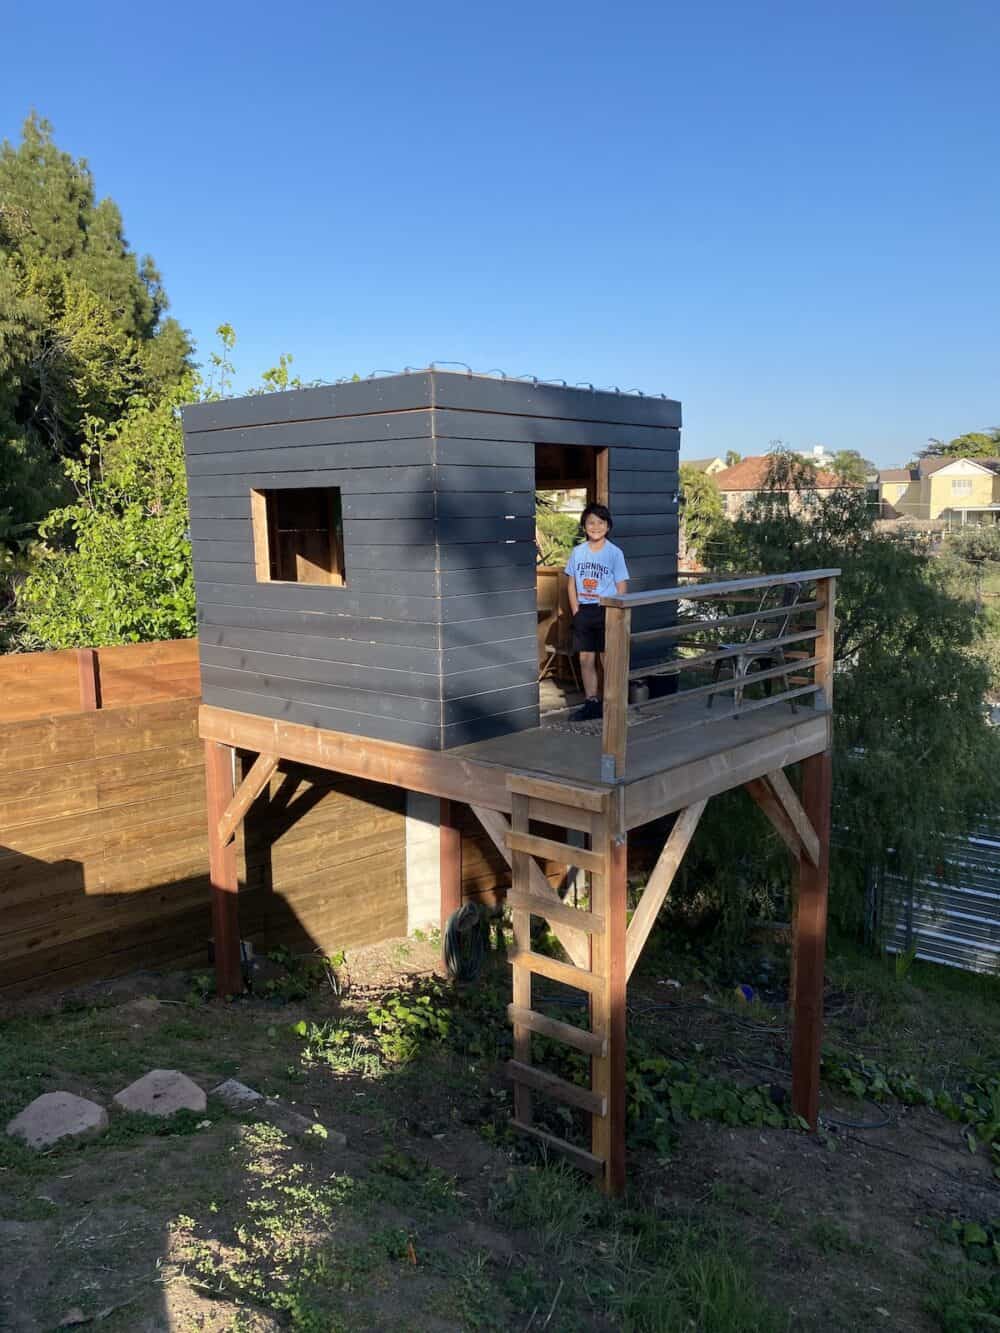
To keep things simple, we built a modern square playhouse with a flat roof that can be used as a rooftop platform. Since we don’t have to worry about snow, a flat roof works.
A square design would be the easiest to build and require the least lumber.
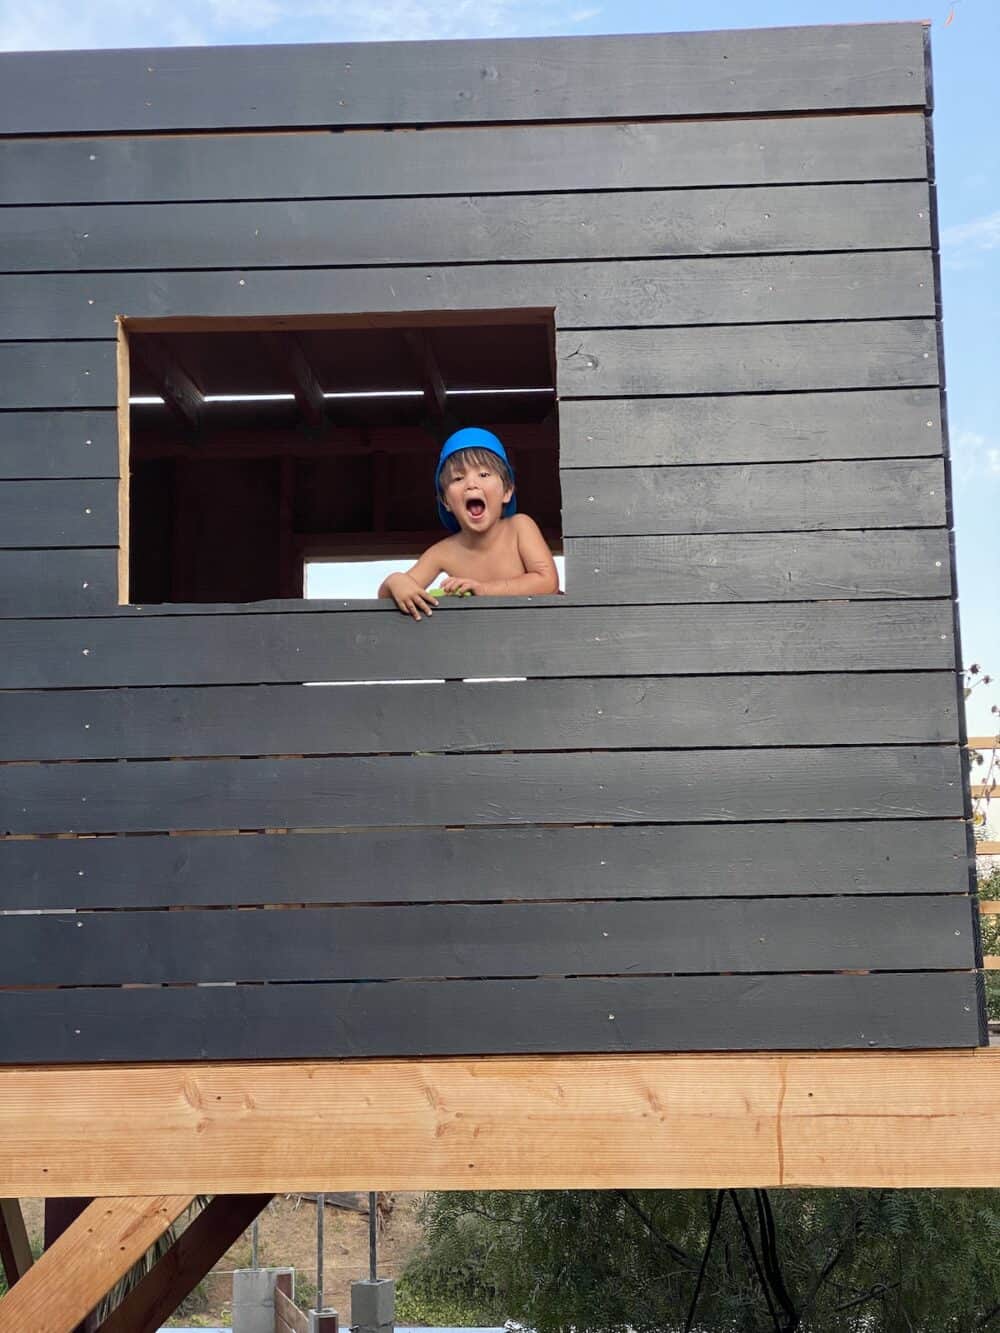
We like the modern look and built our pool shed this way, so we have applied that design to the treehouse. Black horizontal wood boards will tie everything together.
Installing the Posts
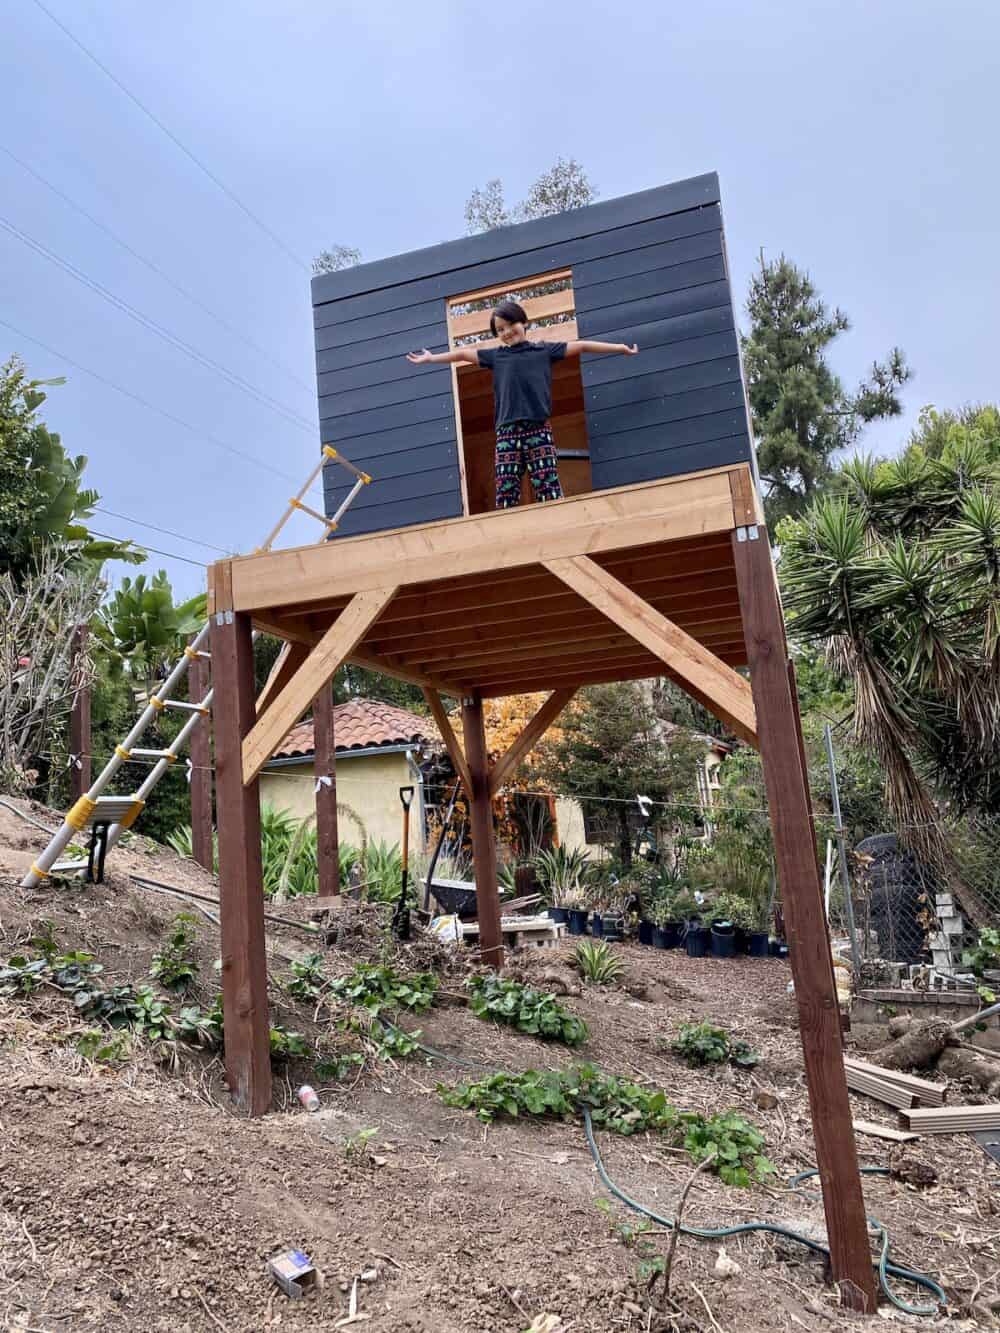
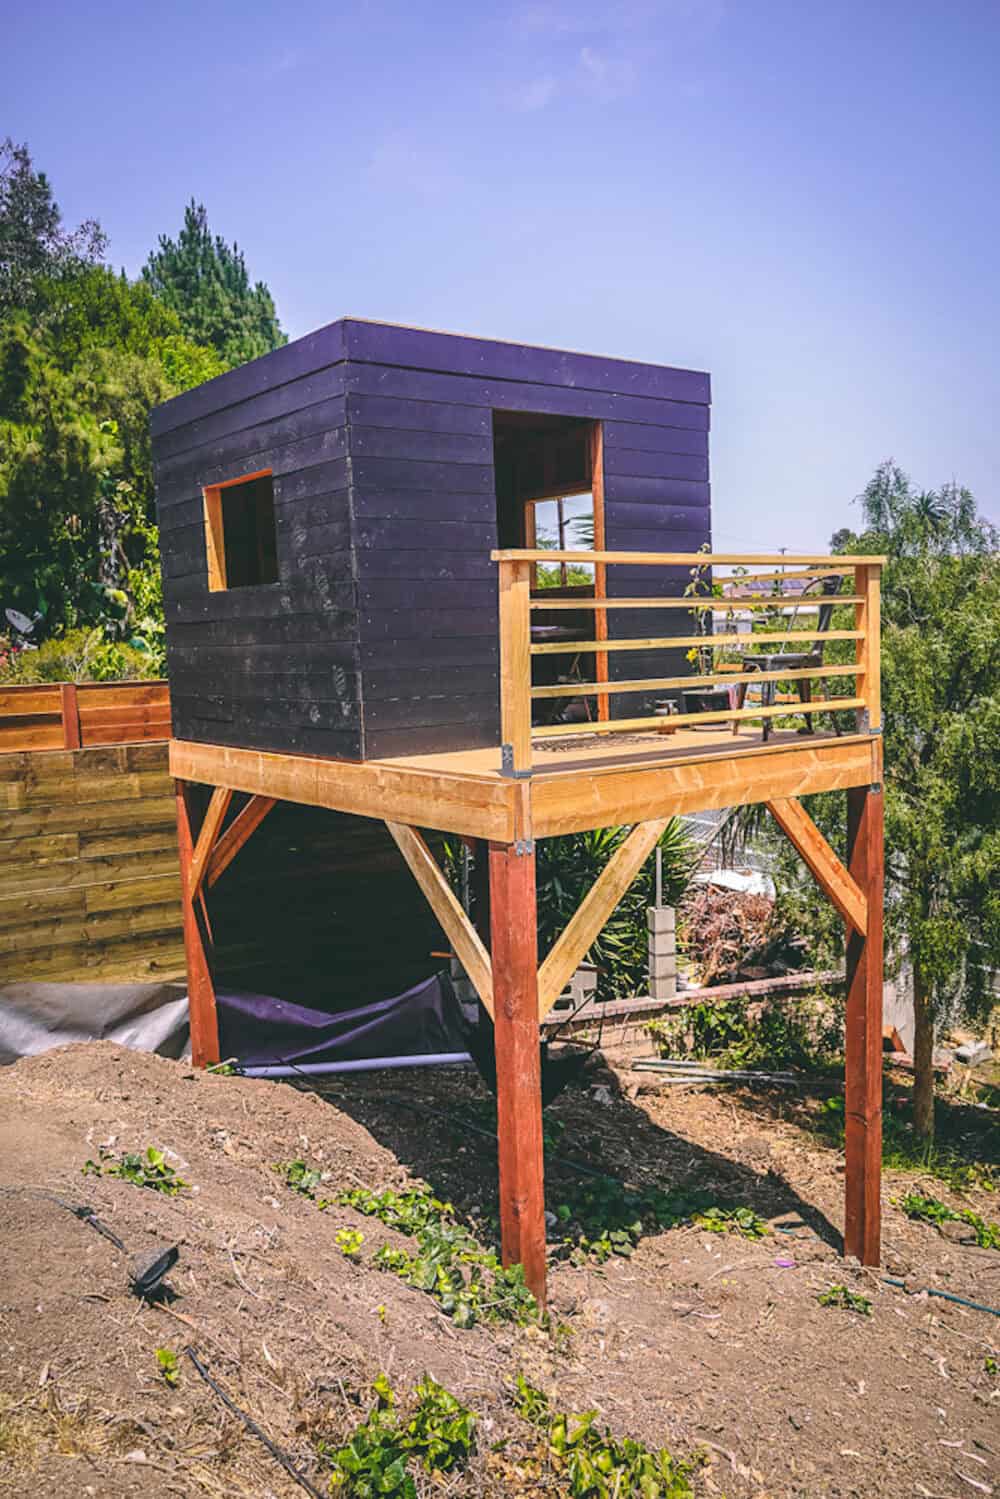
By choosing to build a treehouse ten feet off the ground, we added an extra level of difficulty, which at the time didn’t seem like it would be worth it, but we are glad we did.
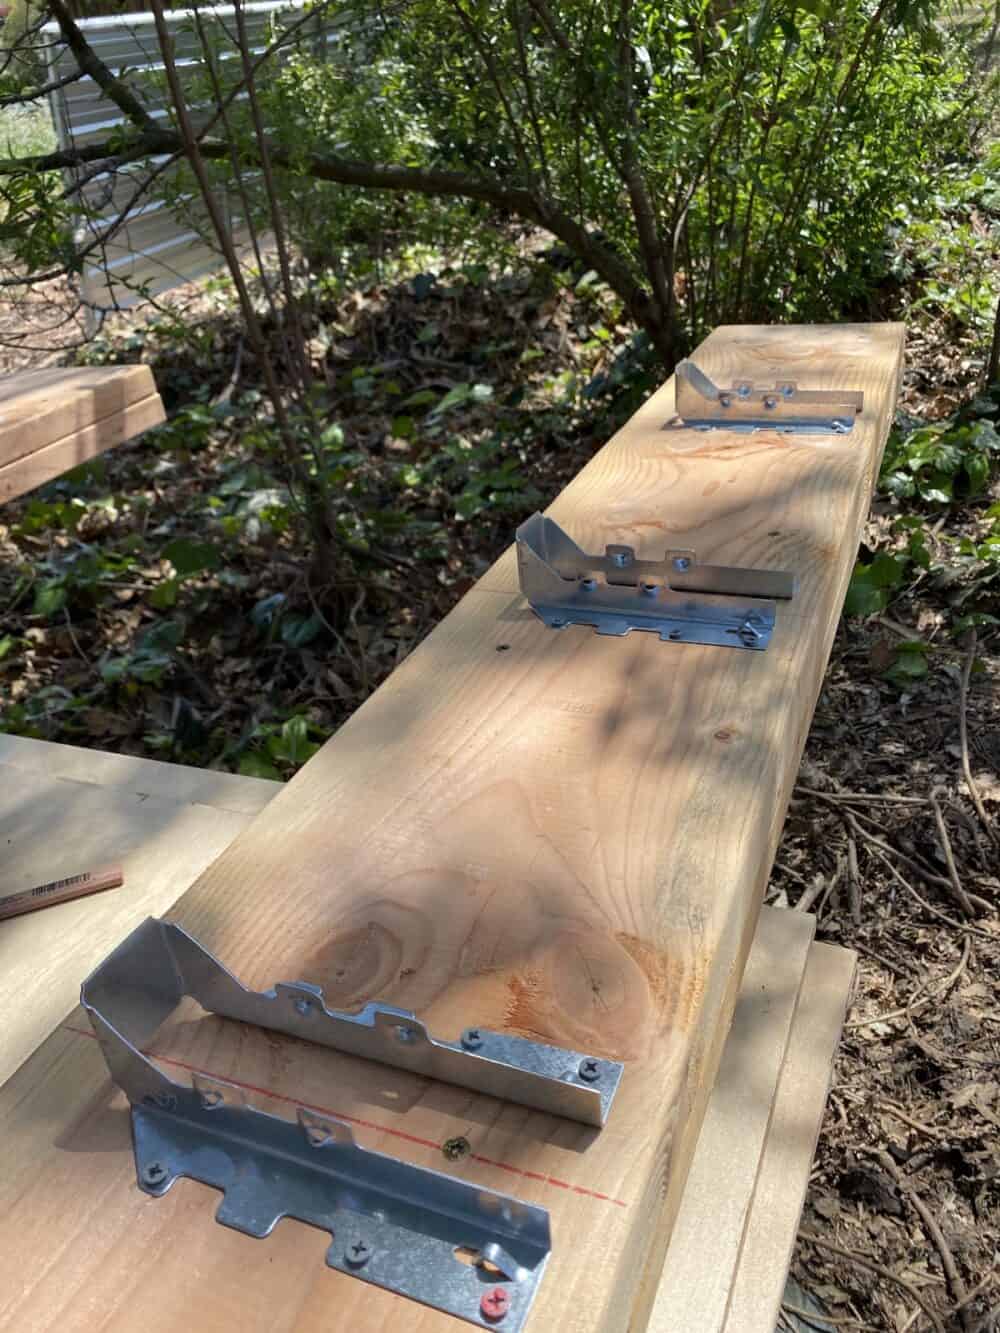
Four 12-foot-long 6×6 pressure-treated posts accounted for more than half the expense of this project. I’ve got a truck, so transporting them was not an issue, but they were definitely unwieldy and a bit too heavy for my kids to help move.
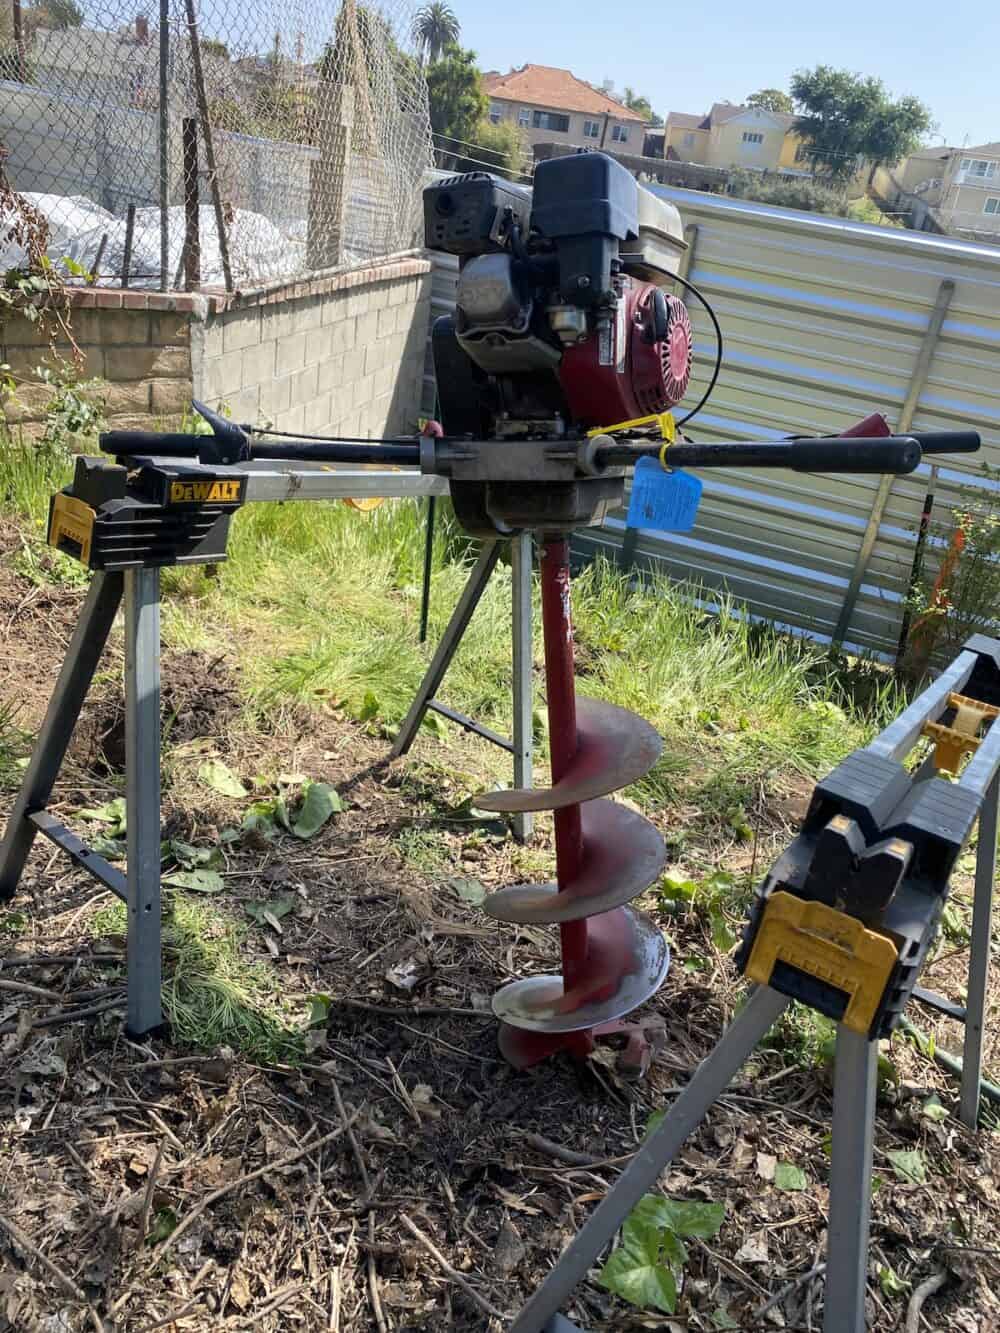
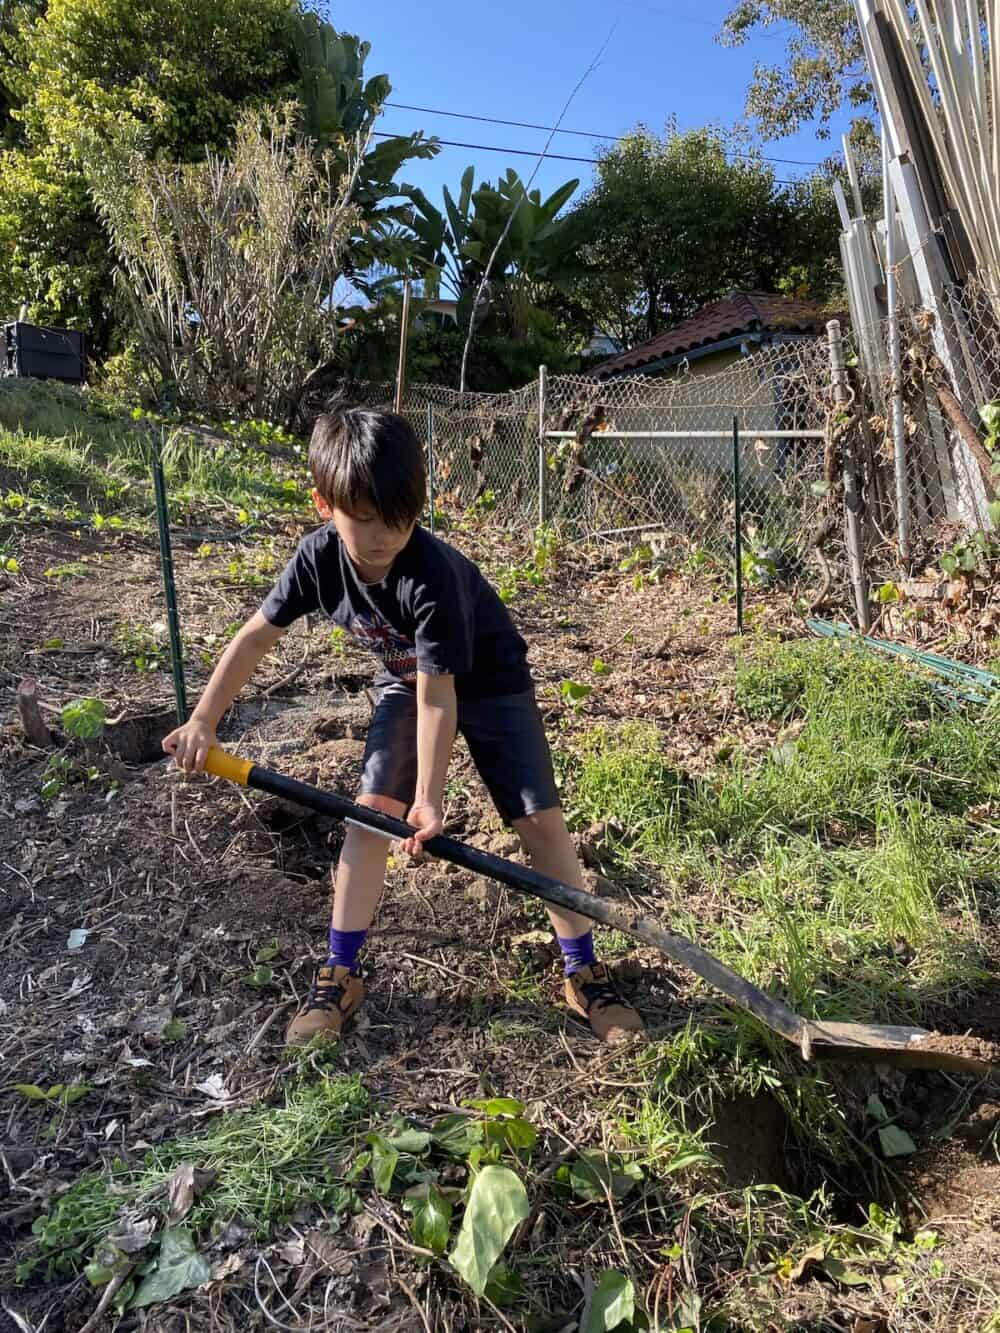
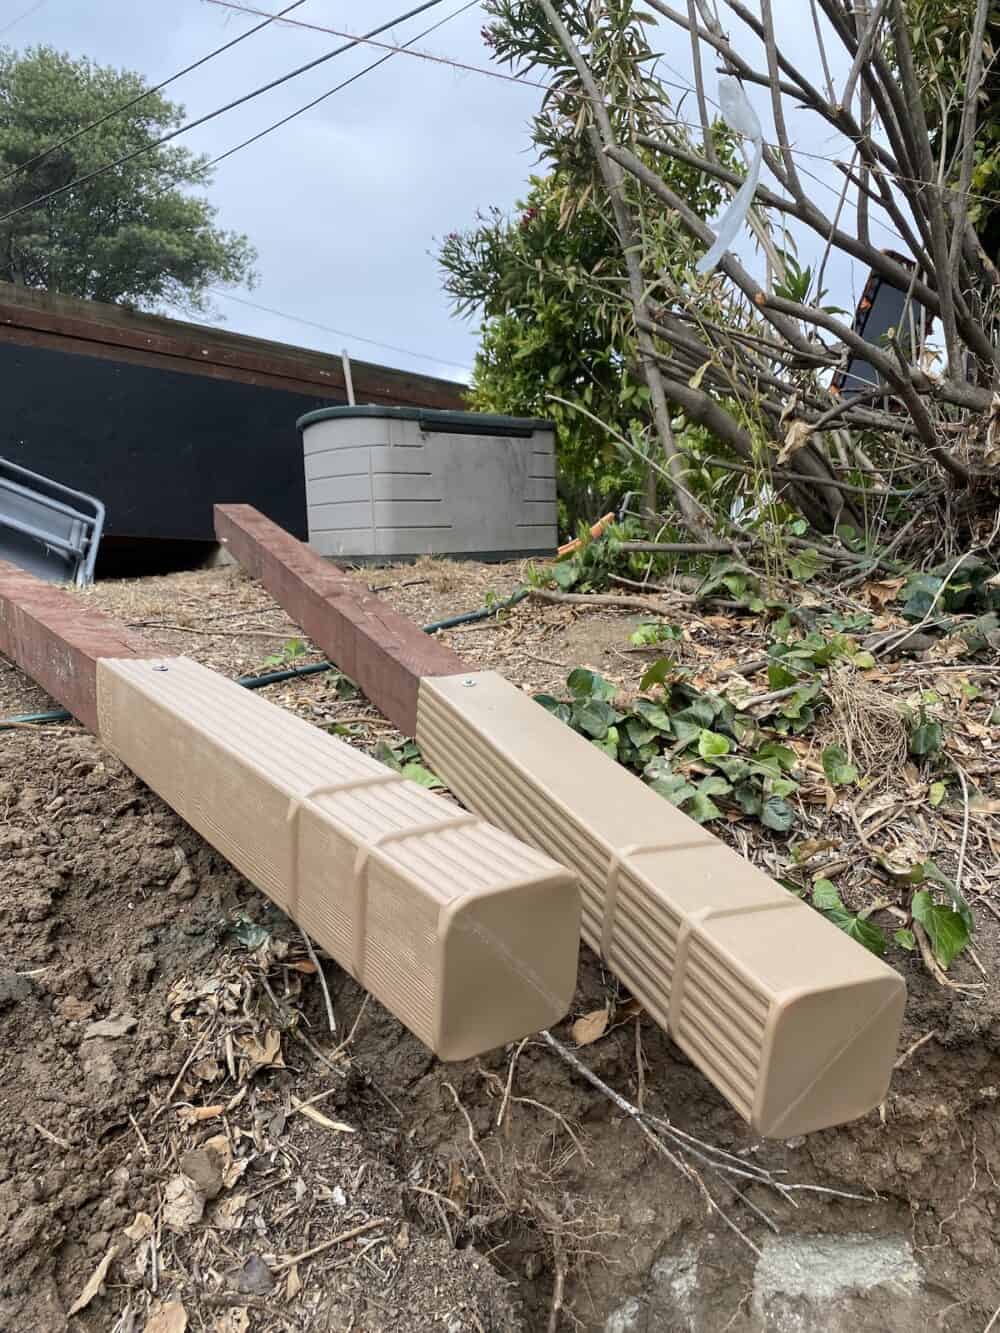
The boys did help with digging the post holes. We rented a two-man auger, but the results were mixed. We used a shovel to dig 24 x 12-inch post holes. Even though we used pressure-treated lumber, we wanted even more protection for our treehouse and wrapped the ends of the posts with Post Protectors, which were recommended by our friends at MyFixItUpLife.
Big props to Mark, who really explained a lot of my plans. Without his help, I would probably not have had the confidence to build a treehouse.

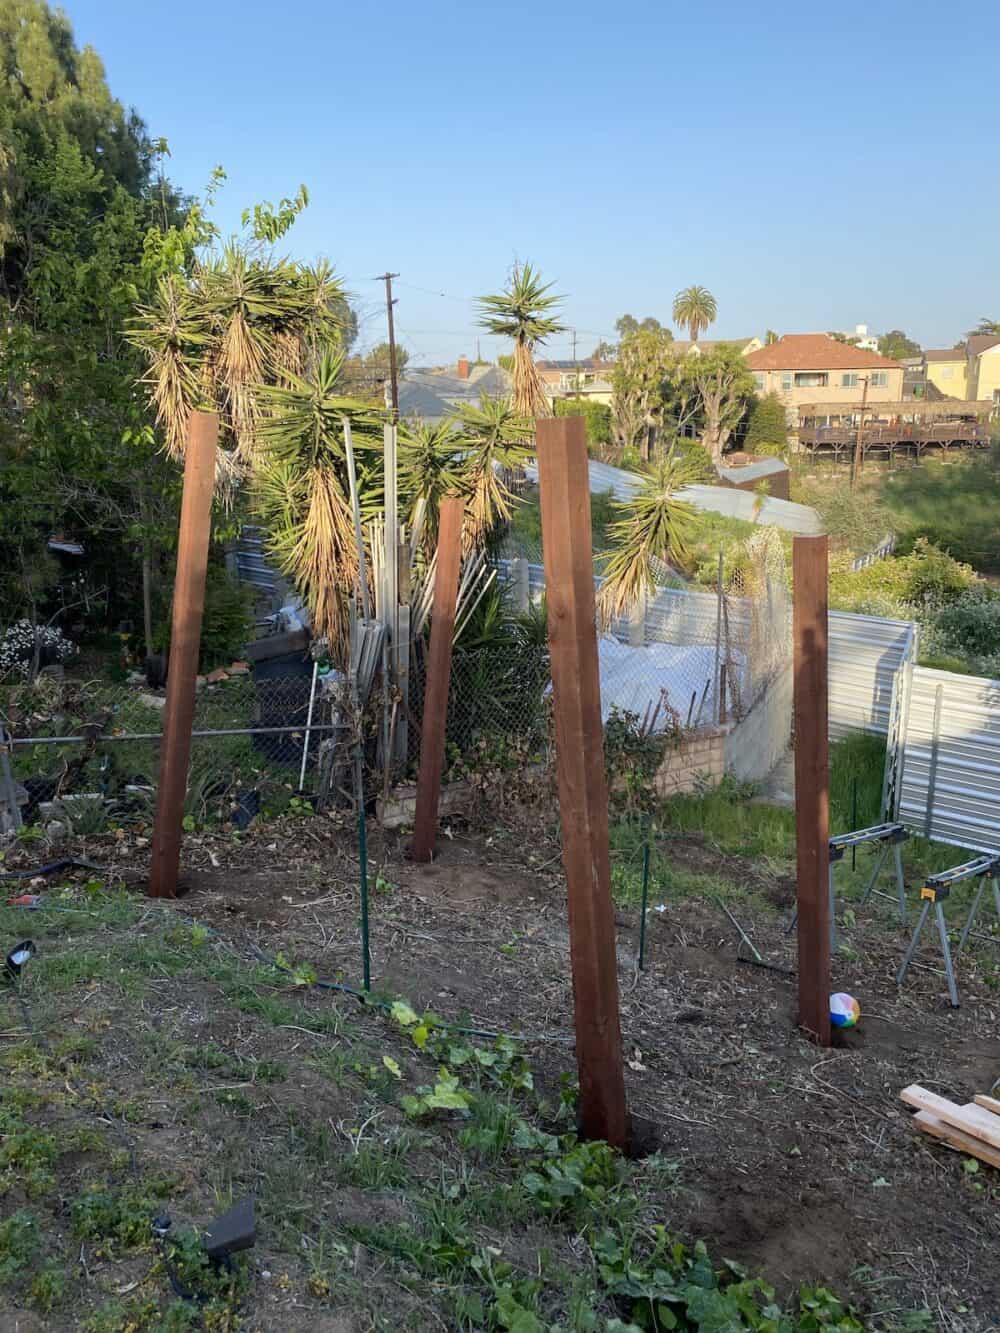
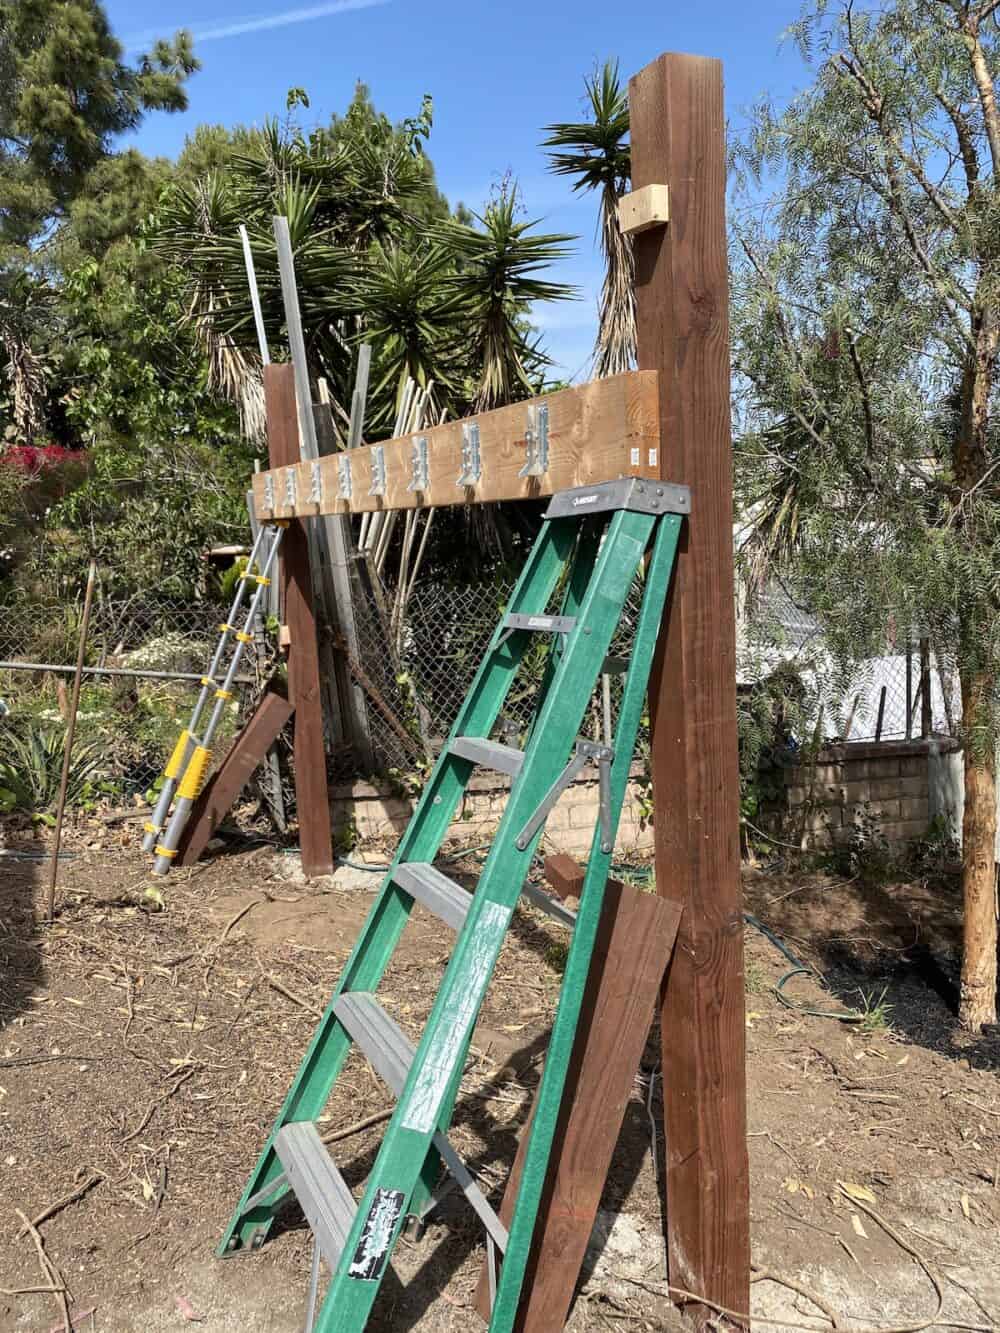
We added a small layer of gravel before dropping the posts in, dumped two bags of Quikrete into each hole, and added water. The tough part was getting the post level, but we used a small spirit level we could place on the post and then supported and adjusted the post with 2x4s until the Quikrete set.
Once the posts were cured, we used a laser level to mark our desired height and then jumped on a ladder with a worm-drive saw to cut the posts down. This part was sketchy, so always be safe when using a saw.
Getting the posts in the ground and making them square seemed like it took a lot of time, but any mistake in this step, as the foundation would throw off the rest of the build.
Building the Floor
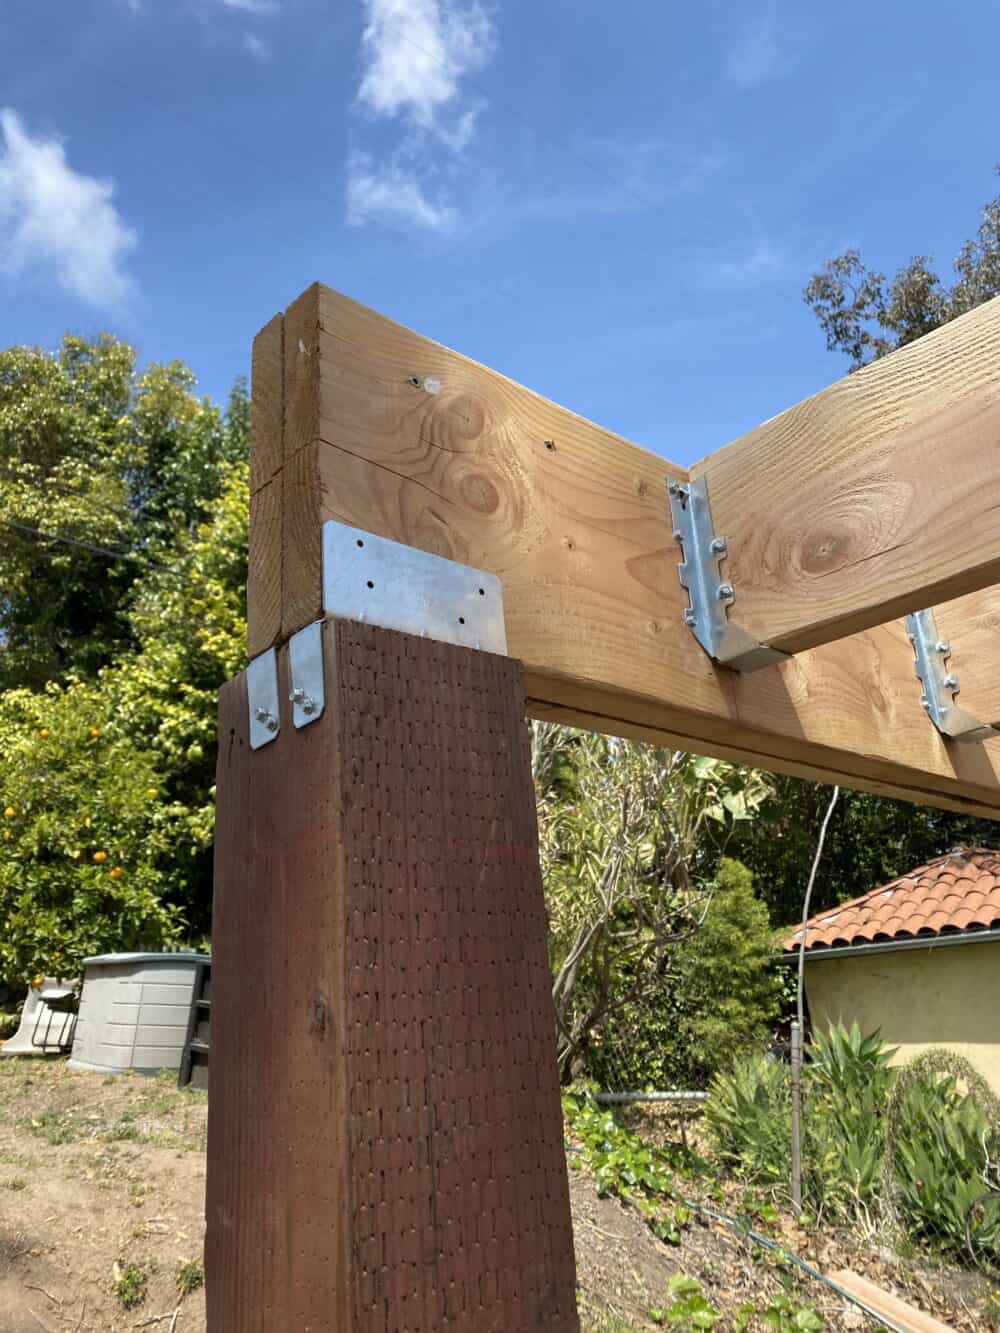
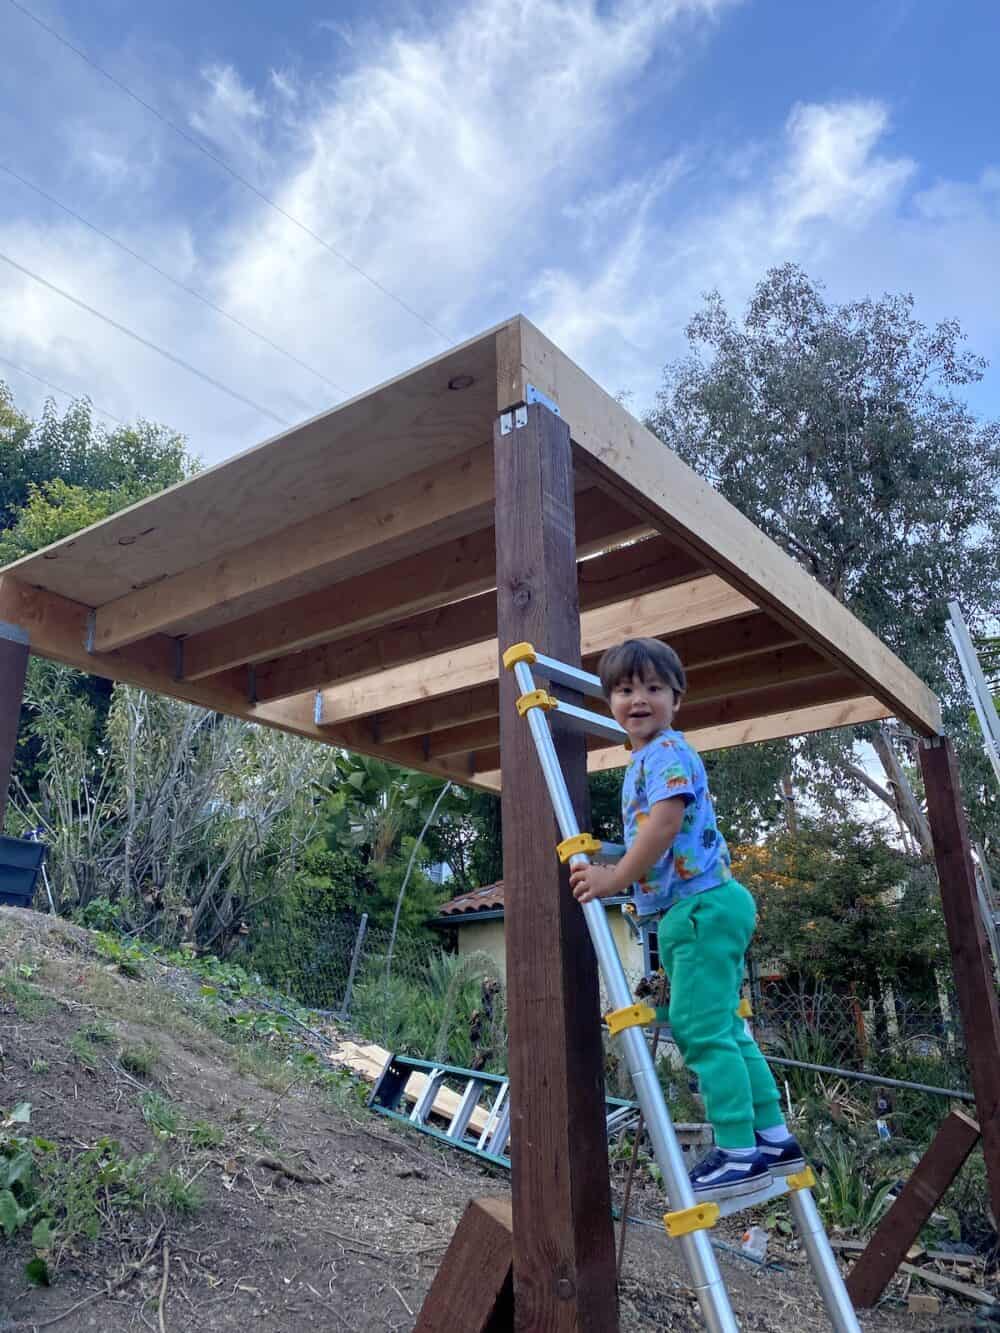
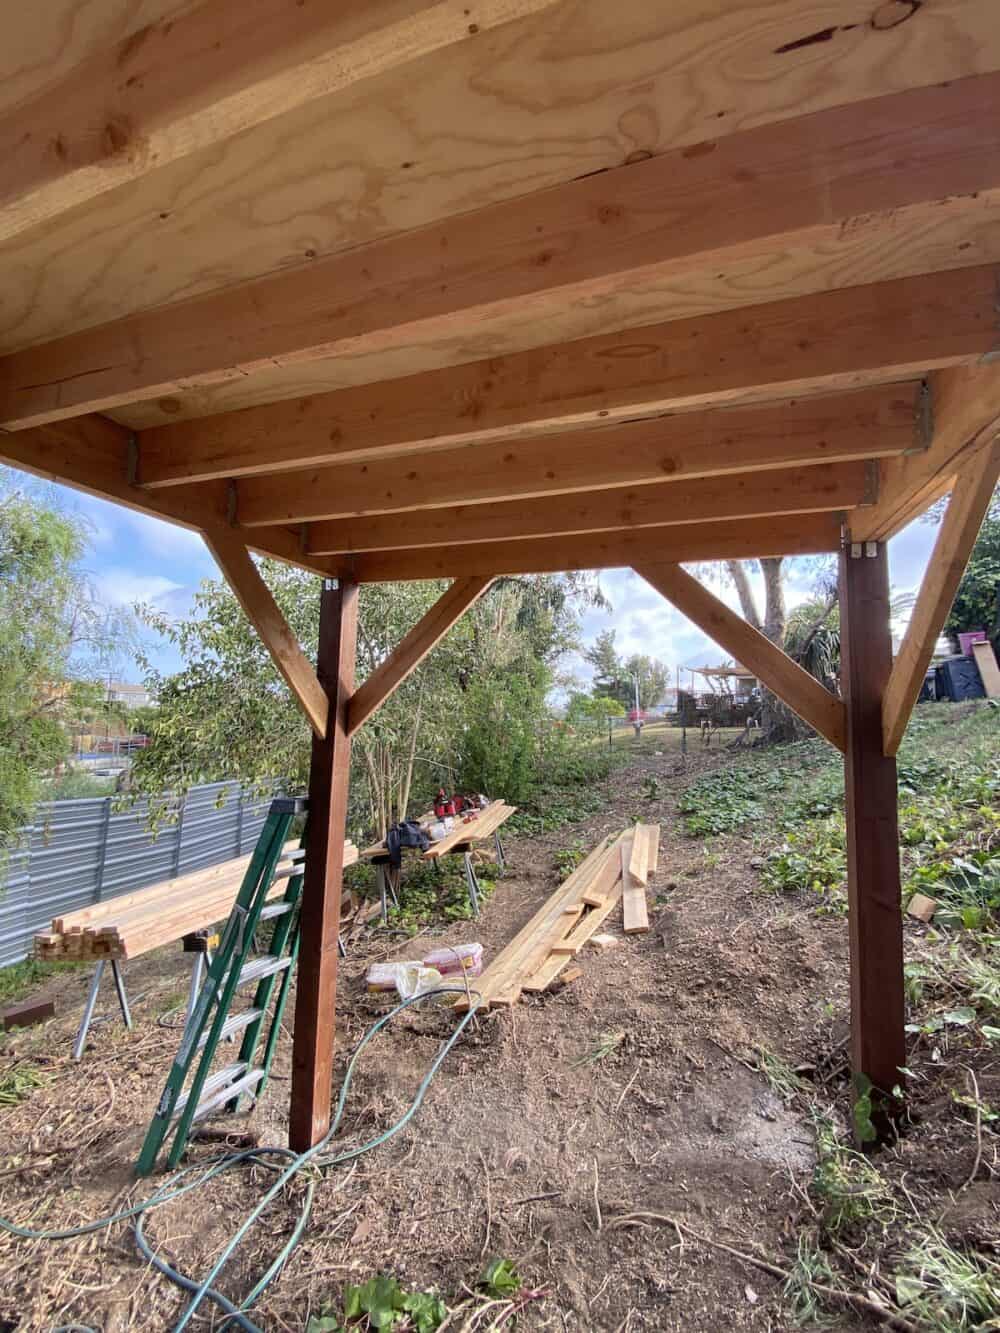
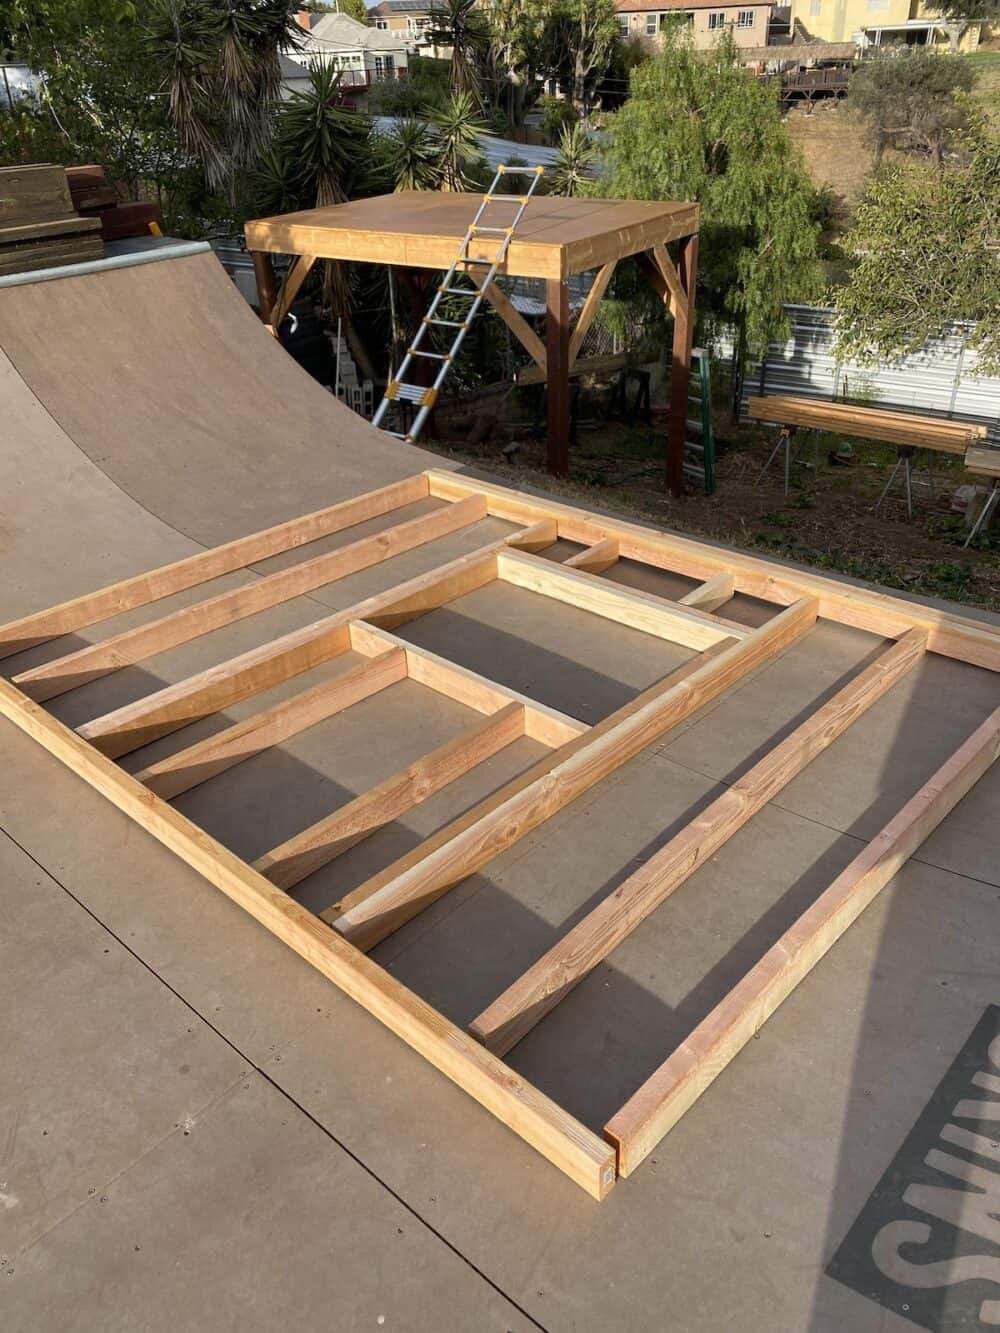
Once the posts were up, level, and square, we had the basics for our foundation. We used two 2×12 boards to support 2×10 floor joists. We built the floor, walls, and ceiling 16 inches on center.
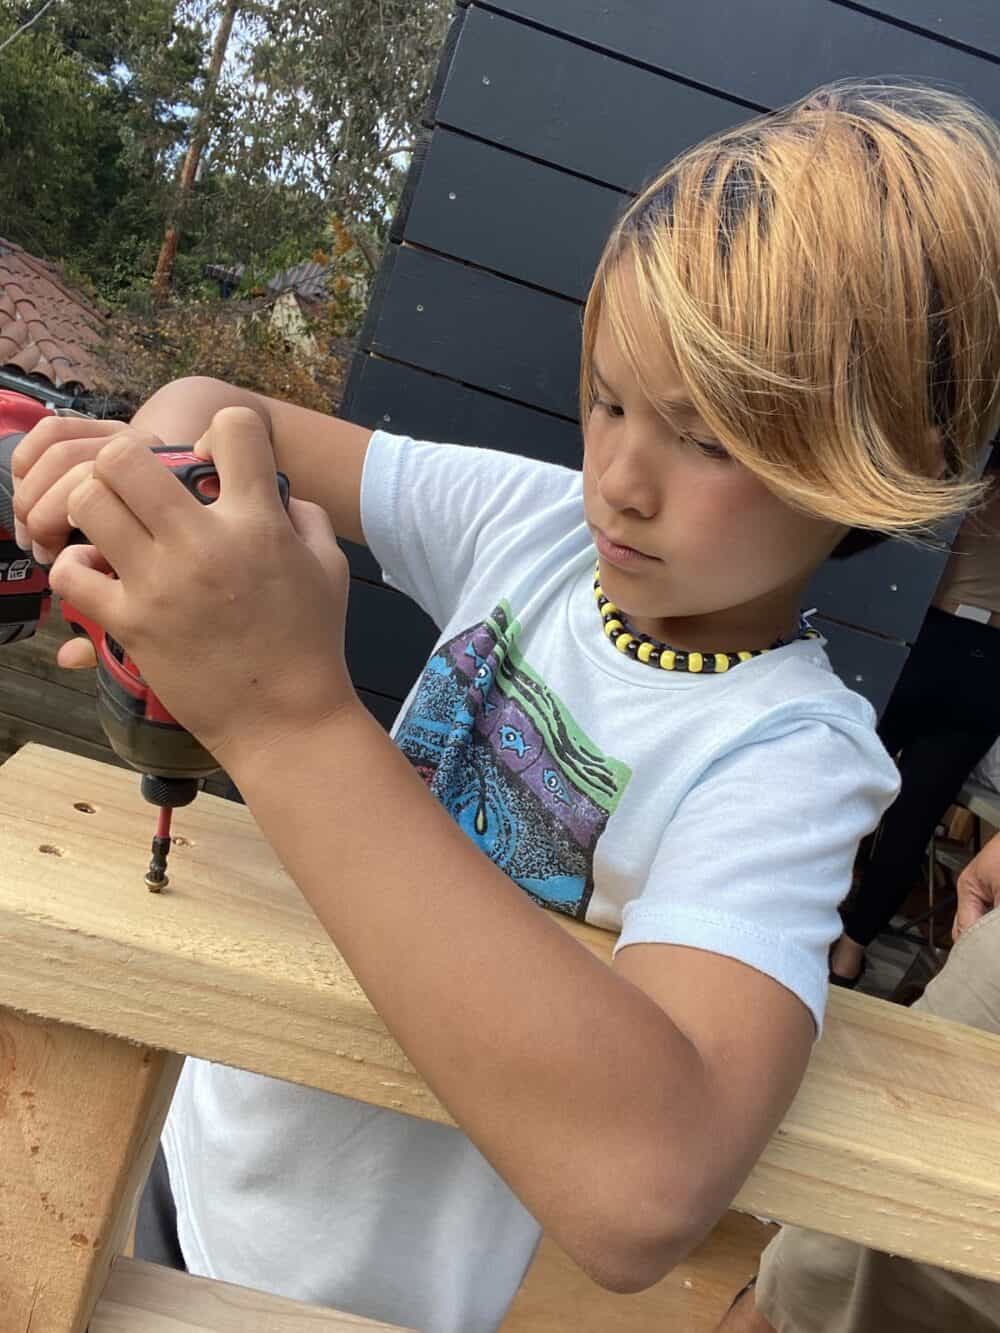
My boys helped me attach the floor joist hangers, but almost all of the build was a one-man job. Positioning the 2x12s was a slow process, but once we got the basic “box” setup for the floor, the rest of the project fell into place.
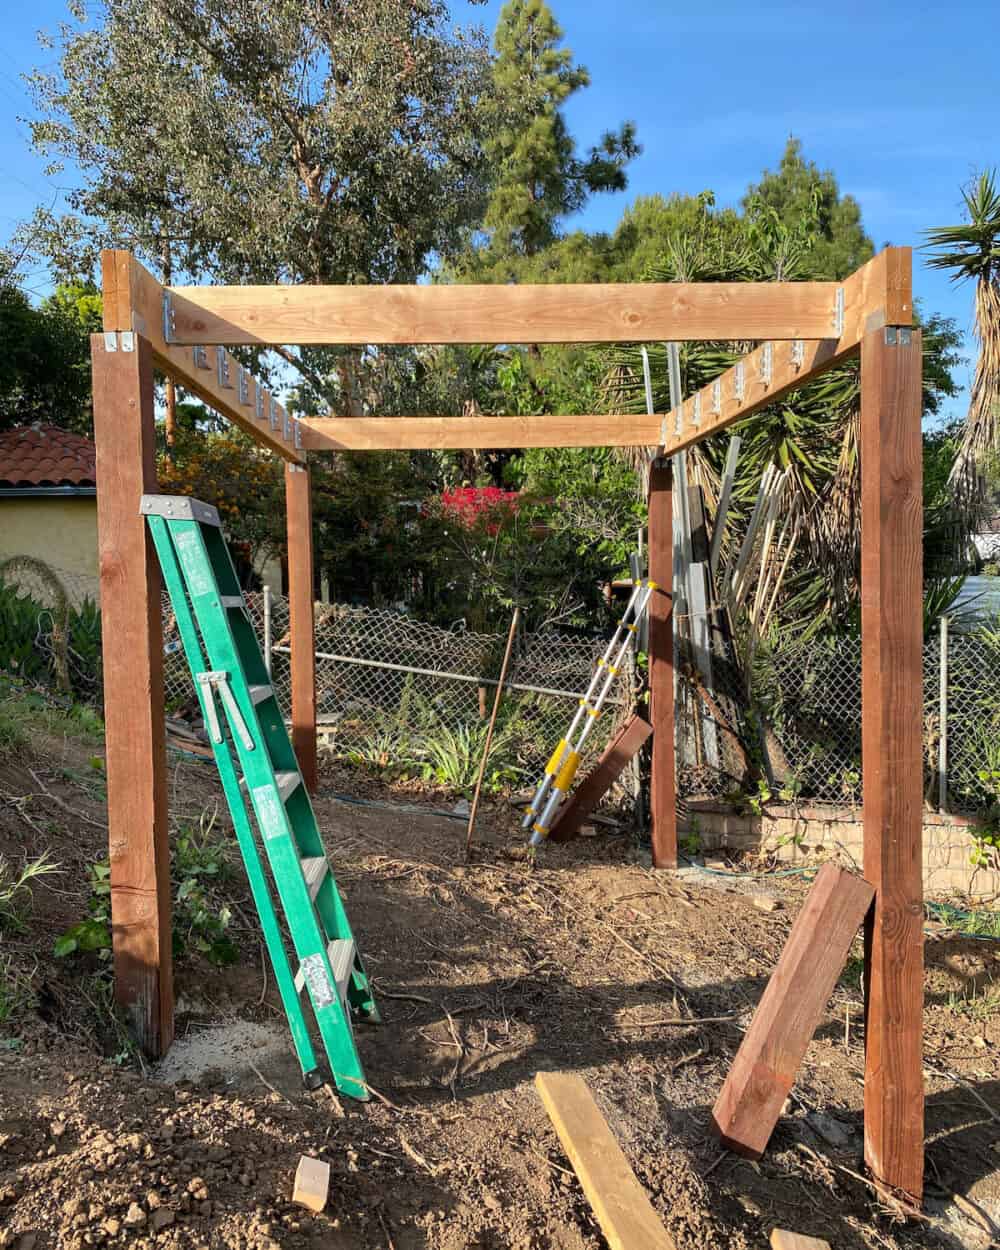
The joists dropped in smoothly, and I used a cordless nailer to speed up the job. I also used plenty of construction screws for this project.
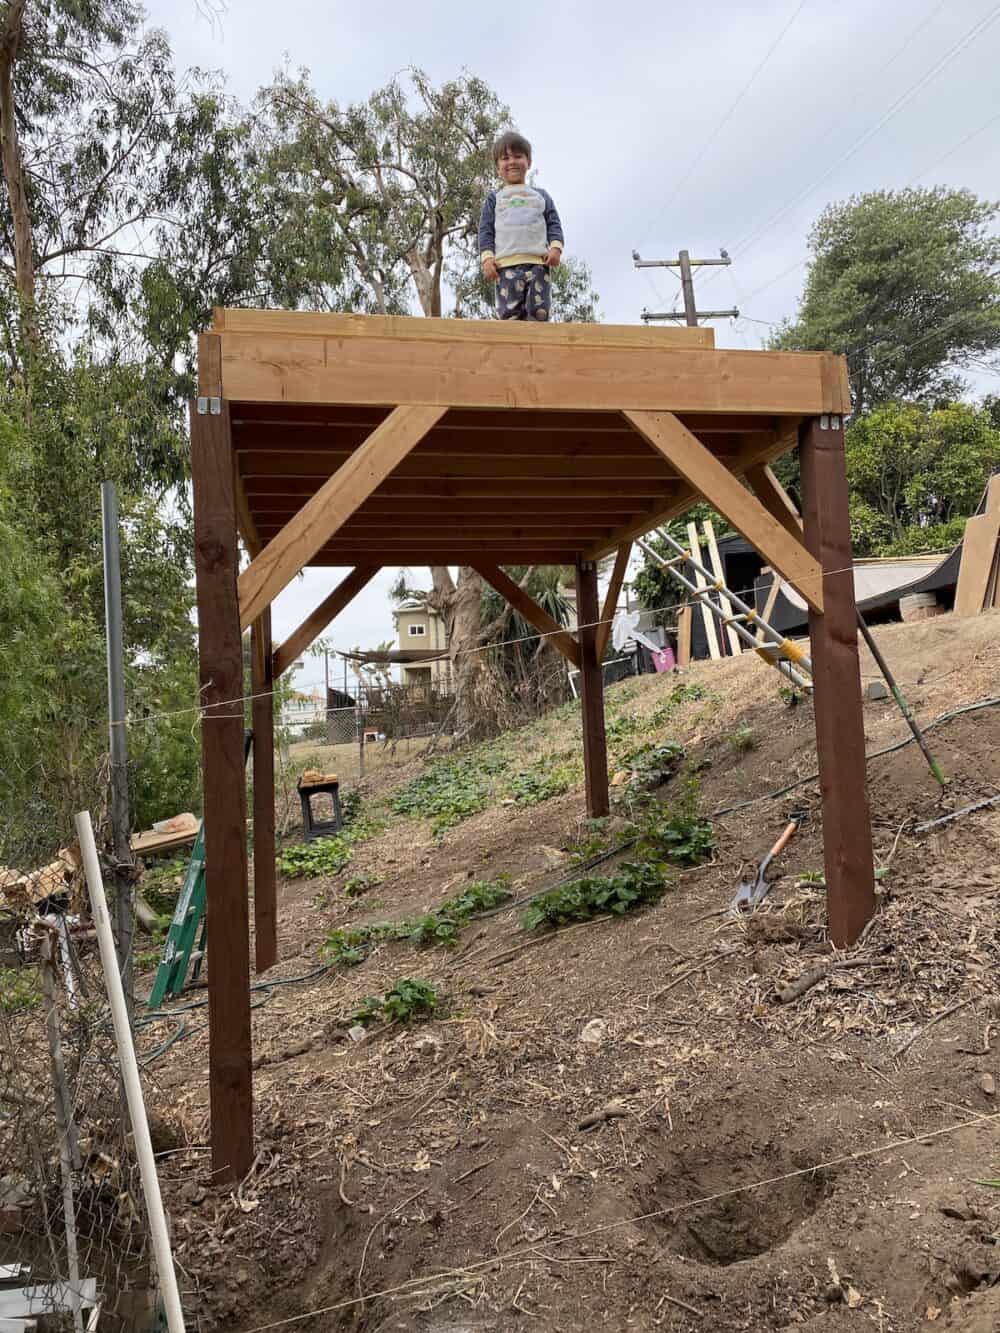
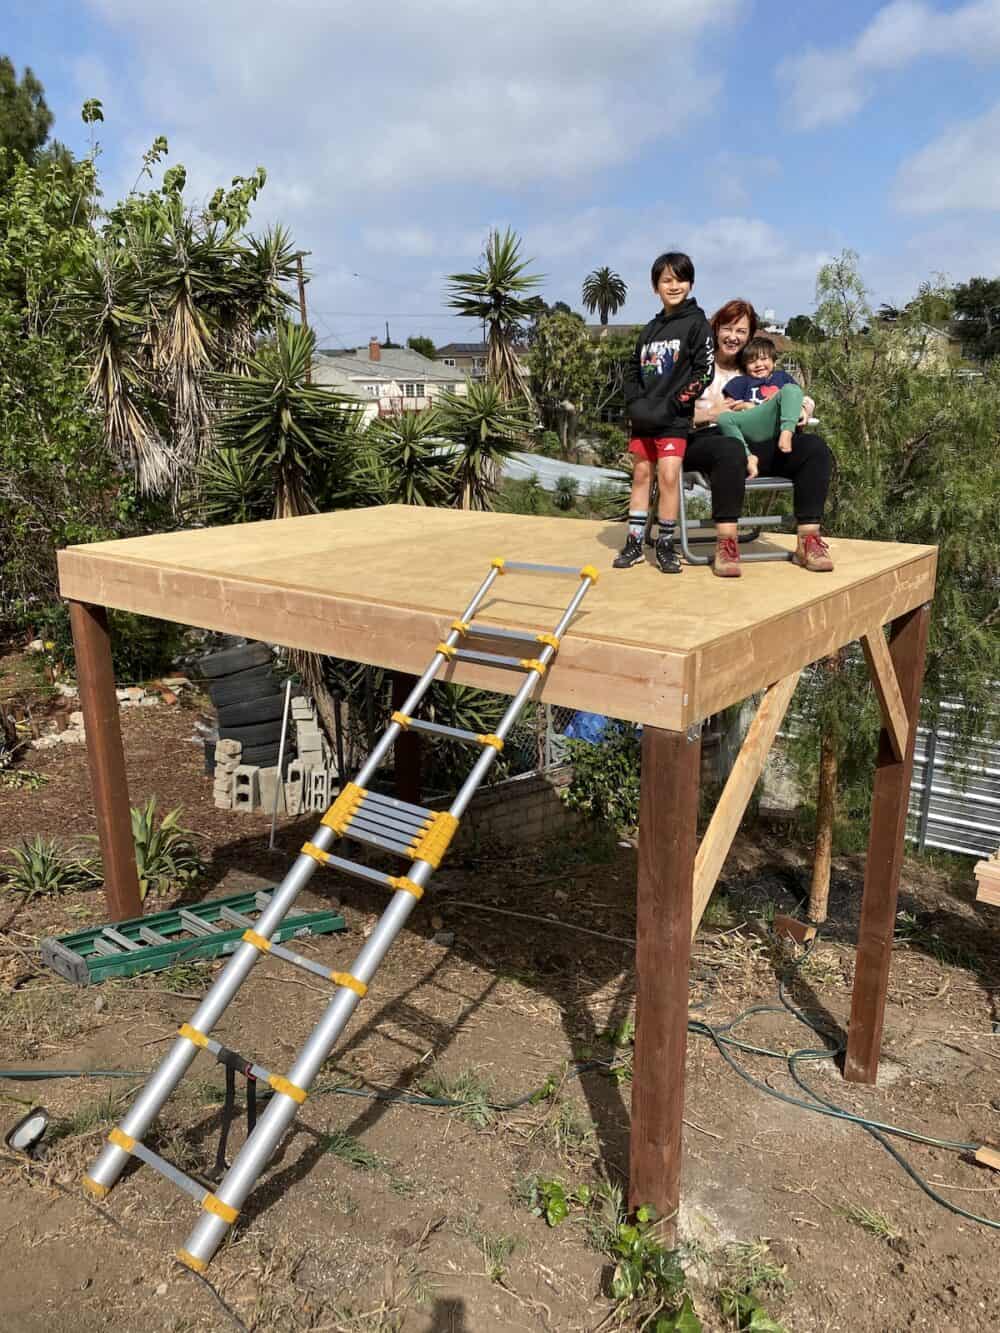
With the joists installed, we used 3/4″ plywood for the floor. This treehouse platform is 8 feet by 8 feet, so it was simple to make two plywood panels without cutting. The enclosed treehouse itself is 8×6 with a two-foot open deck.
Once the plywood floor was installed, we used a weatherproofing seal to protect the wood.
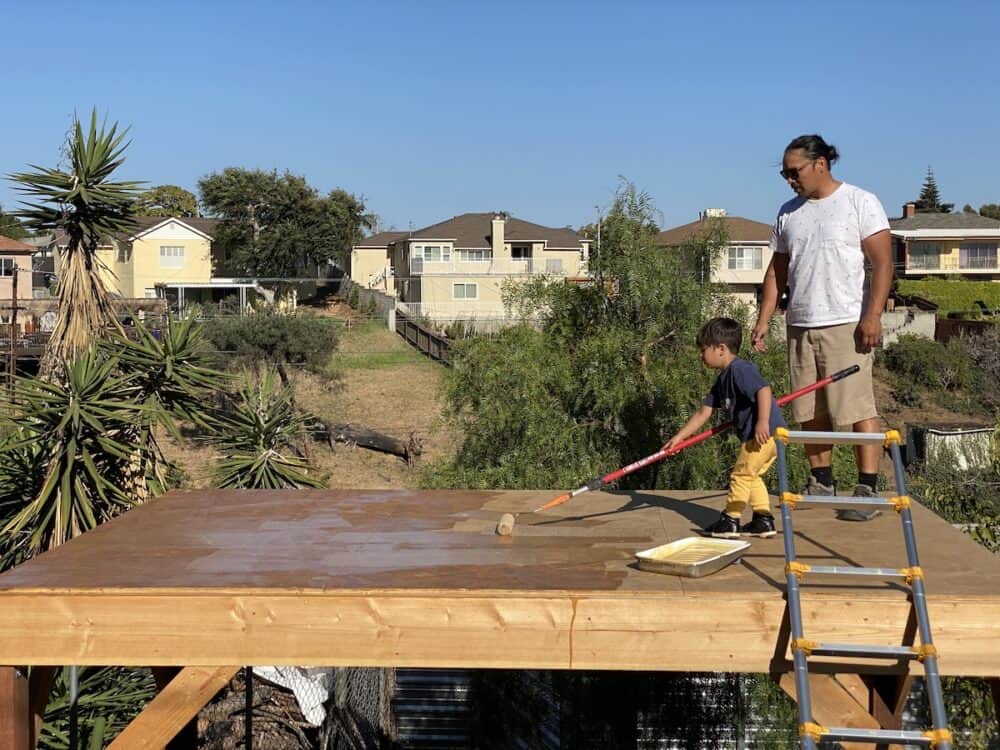
Having a large platform to actually stand on felt like a huge accomplishment, and we just enjoyed standing and sitting up there. It was a bit unnerving to be that high without a structure or railings, but it made it a bit more exciting and was fun to have that viewpoint. Despite the difficulties, it confirmed our choice to build a treehouse without a tree.
Installing the Walls
The floors were a cake compared to installing the walls, mostly because of the height issue.
We wanted the ceiling to be 7 feet tall, so we bought a bunch of 8-foot-long 2x4s. We built 16-inch on center and had to decide between building the walls on the platform or on the ground and then transporting the walls up onto the platform. Doing the former may have been easier, but we went with the latter.
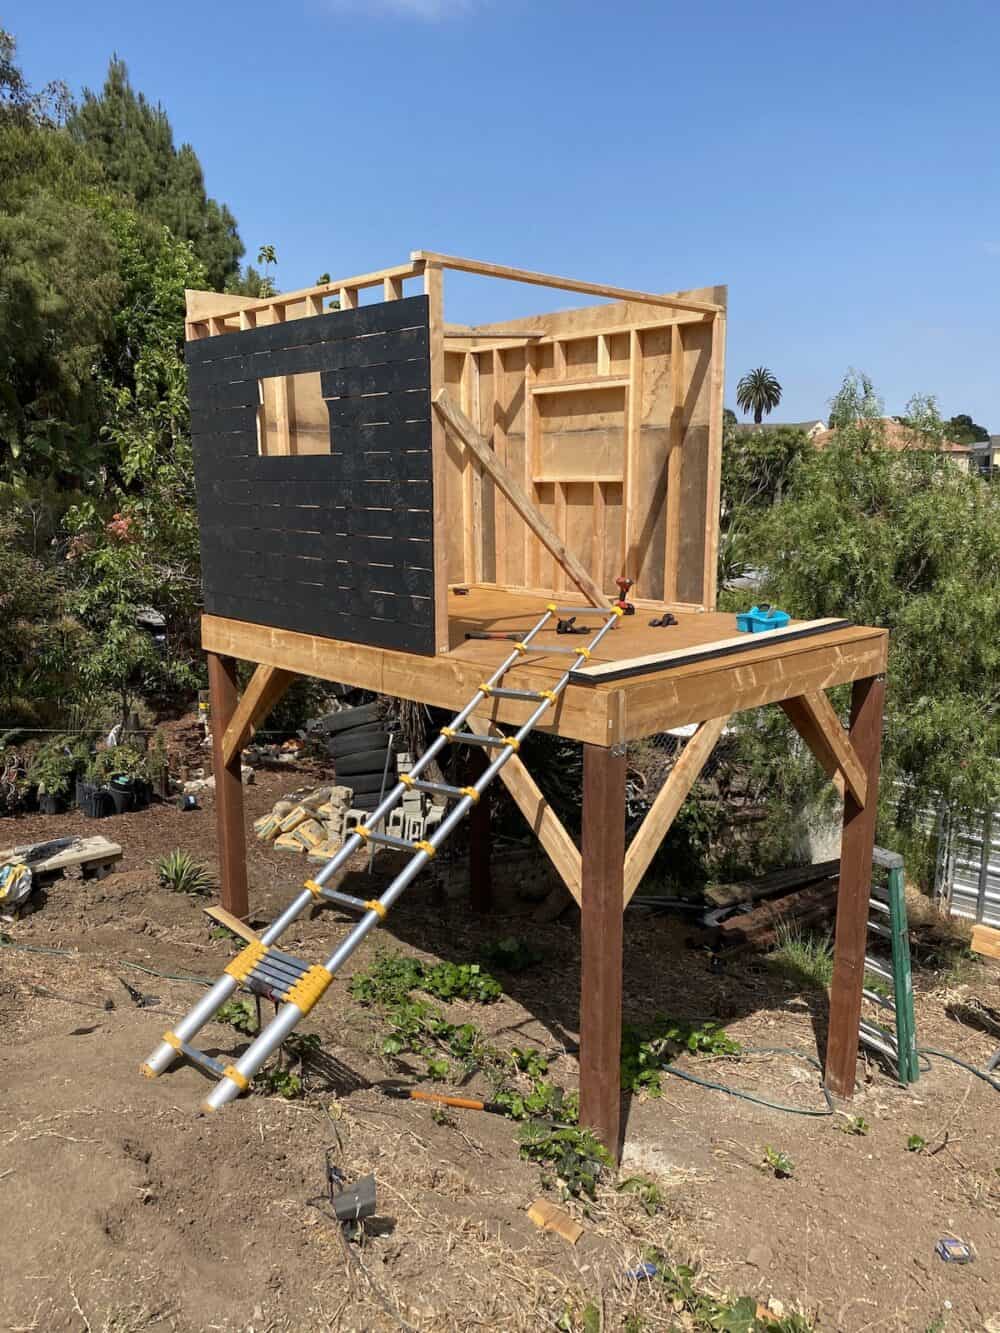
We used our skate ramp as a building spot and laid out the walls. Once they were complete, they were much heavier than we anticipated, so I had to recruit Laura to help me. Between the two of us, we hauled up three walls and two small front walls.
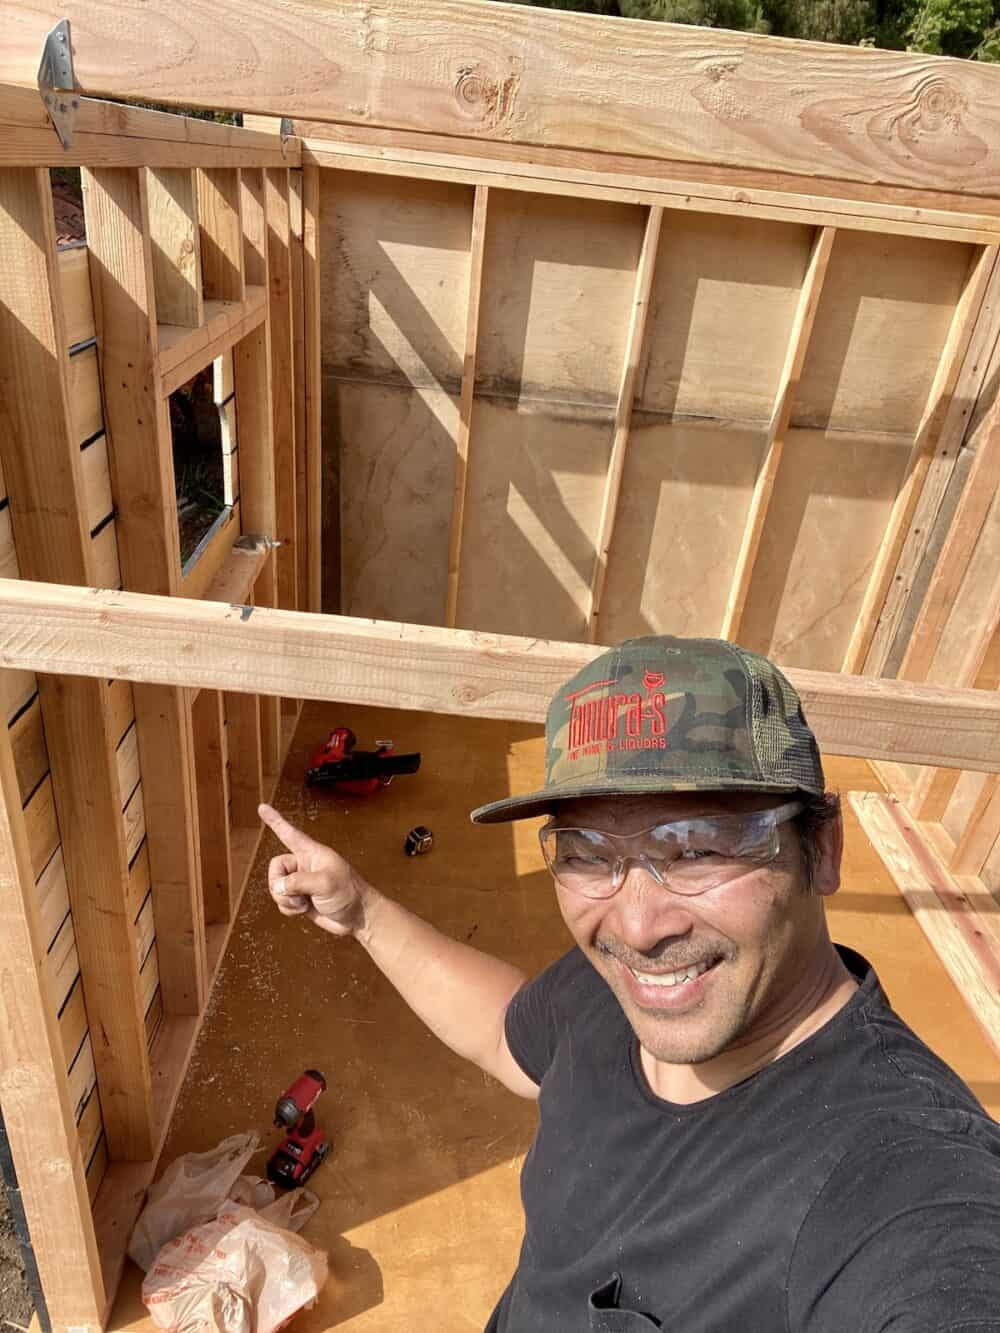
One wall was solid, and the other two had windows, which actually made the wall heavier due to the extra lumber for headers and support.
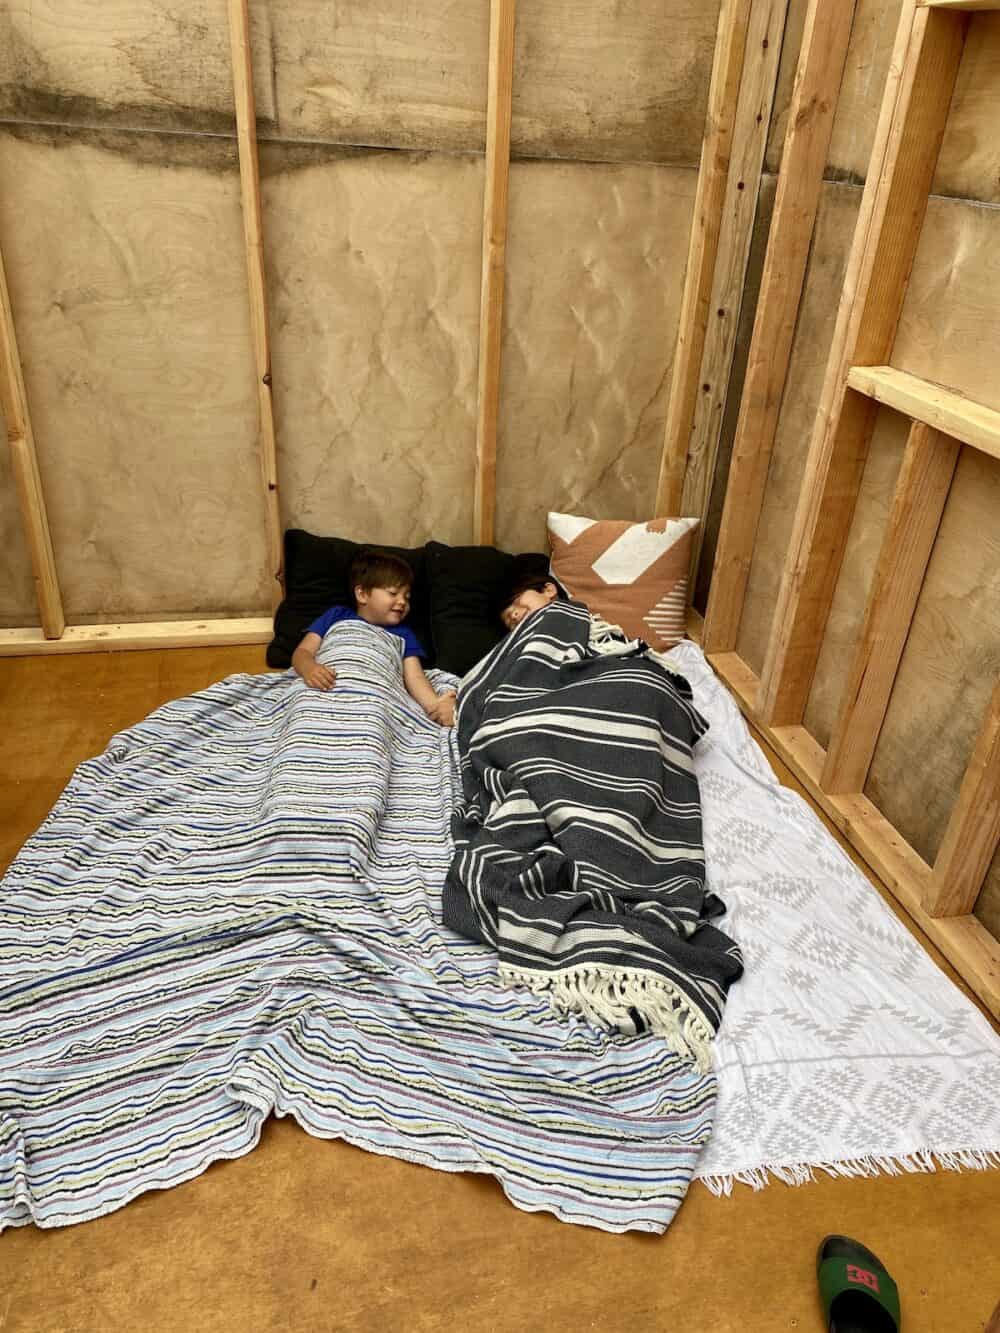
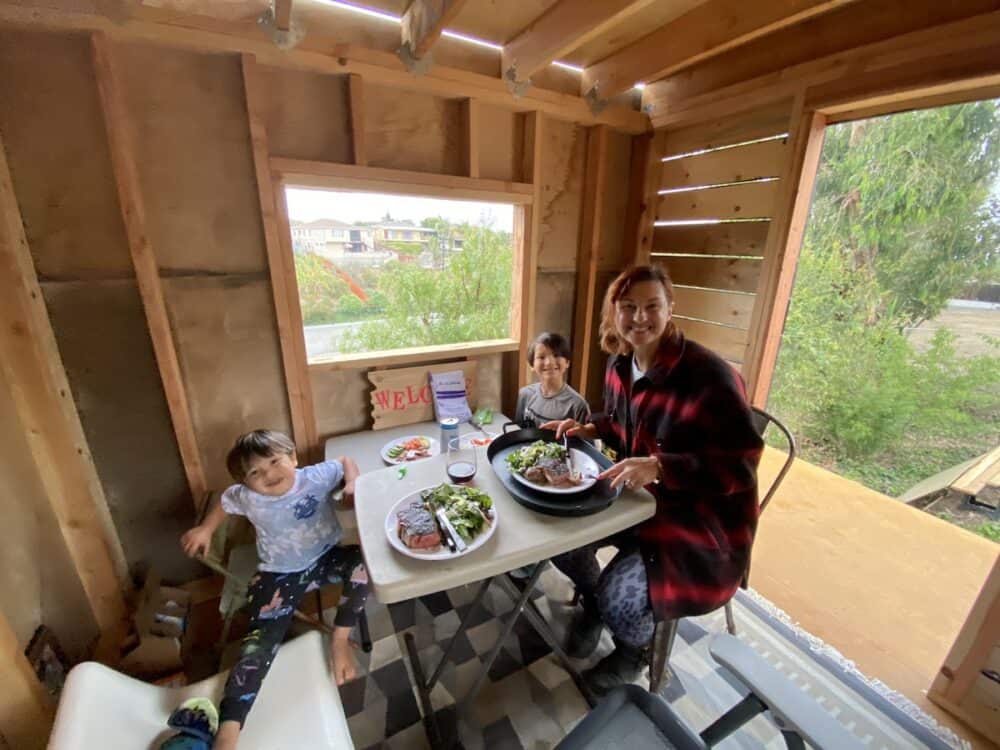
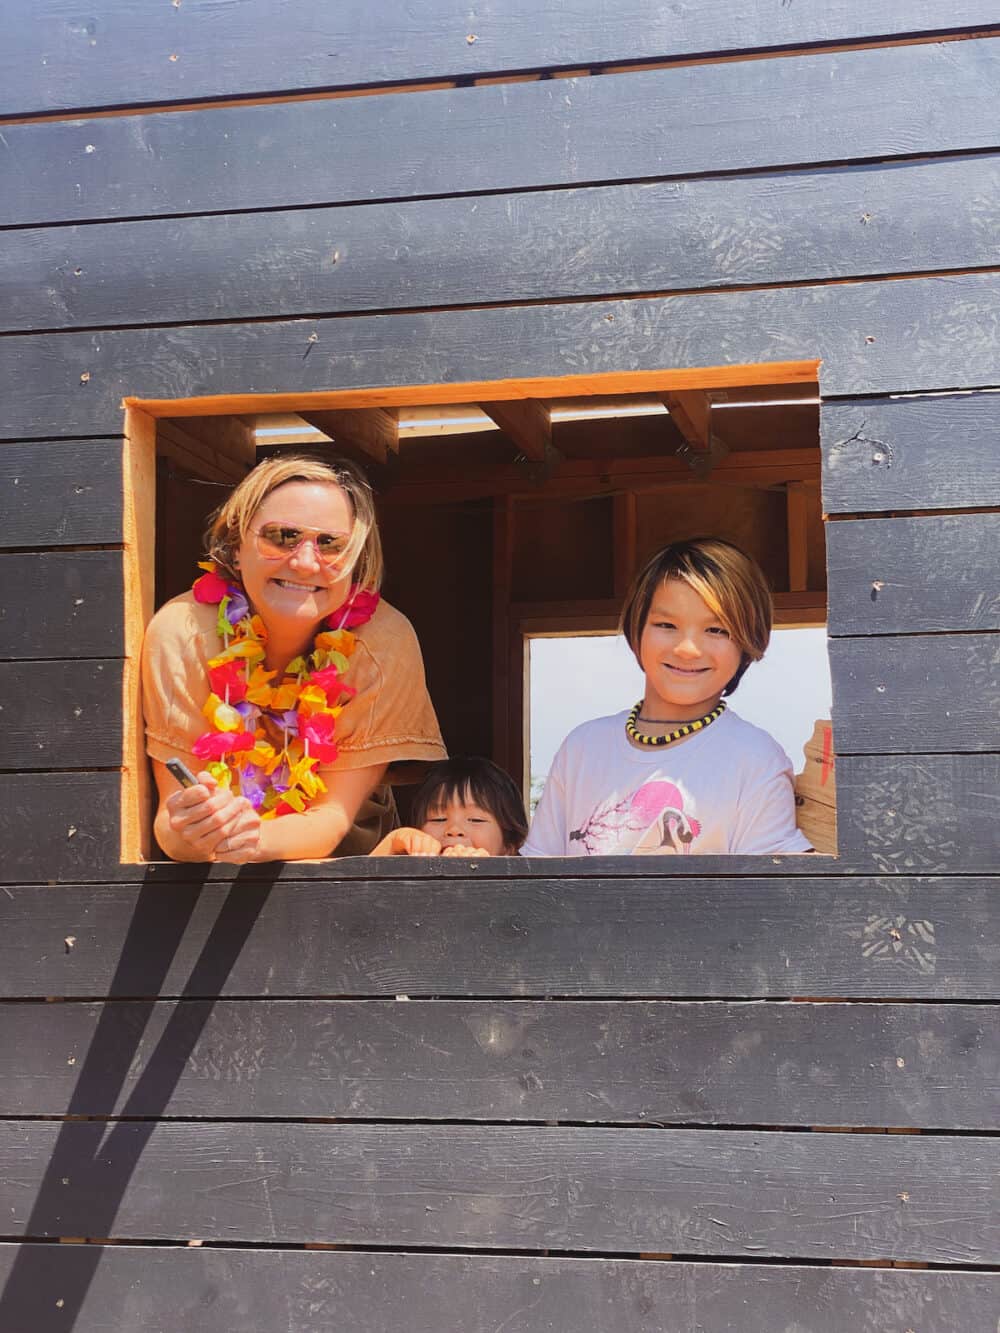
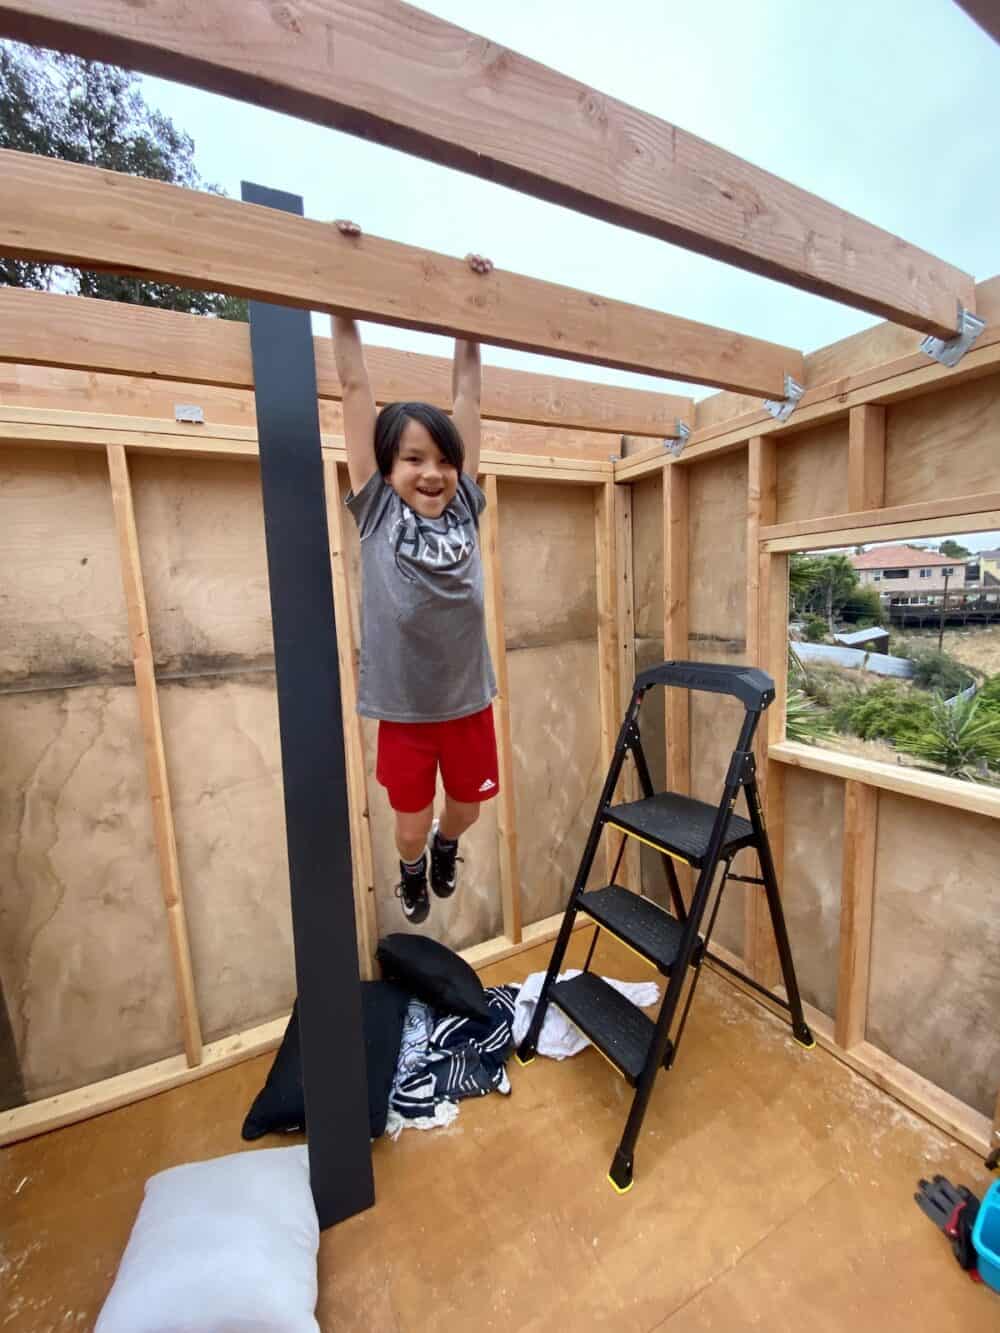
We left the interior wall open and then sheathed the wall with standard 1/4 wood siding. The siding was lightweight, but it was just awkward to install at that height. We didn’t need the treehouse to be insulated, so leaving the inside open was fine. We also signed the interior with a Sharpie pen every time we had a visitor.
Raise the Roof
The best way to build a treehouse is to properly plan.
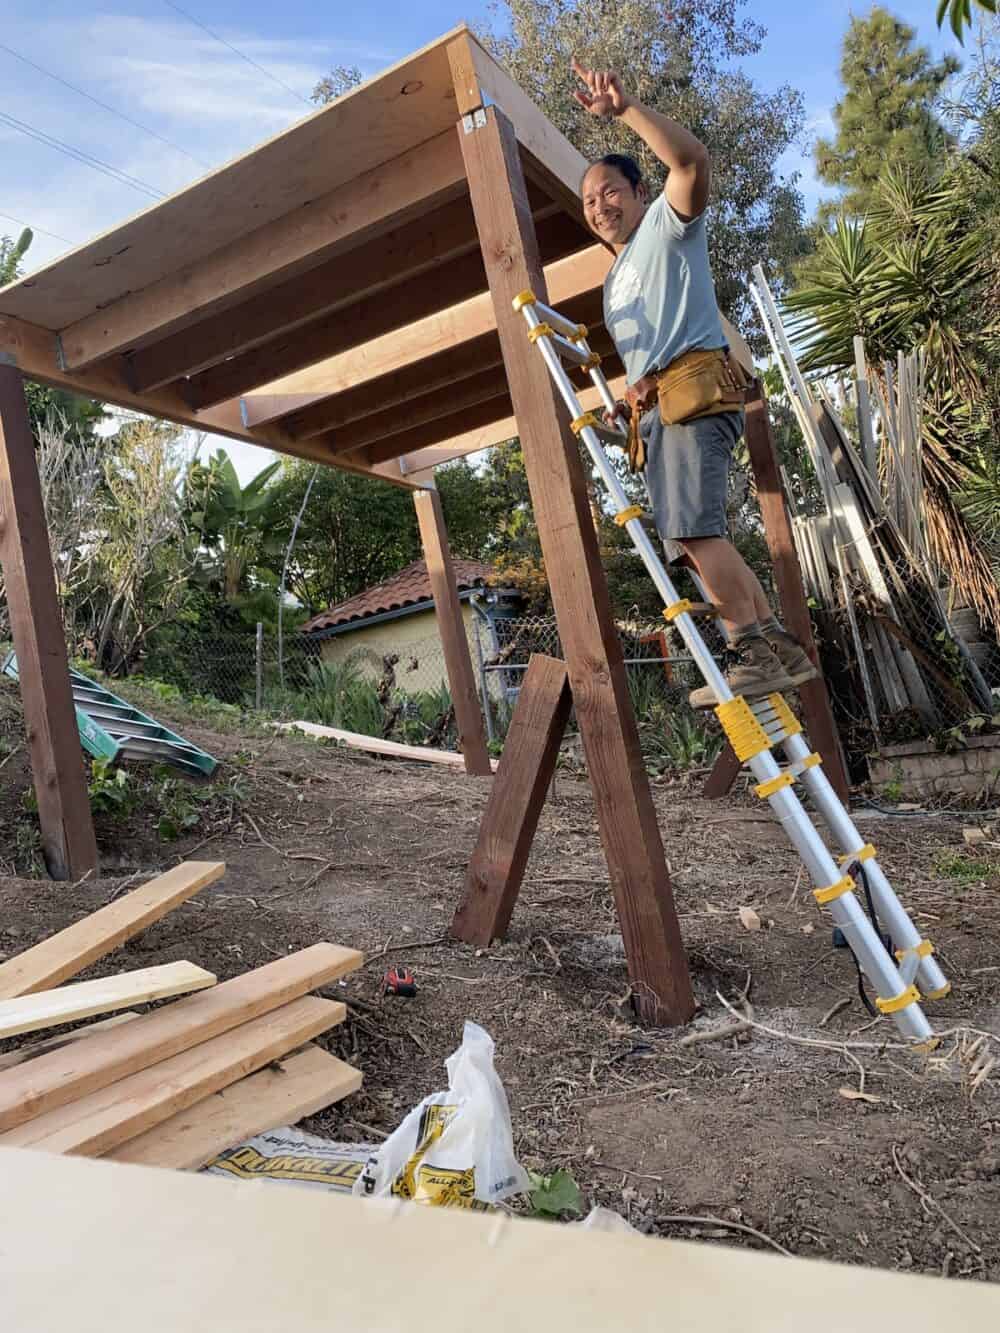
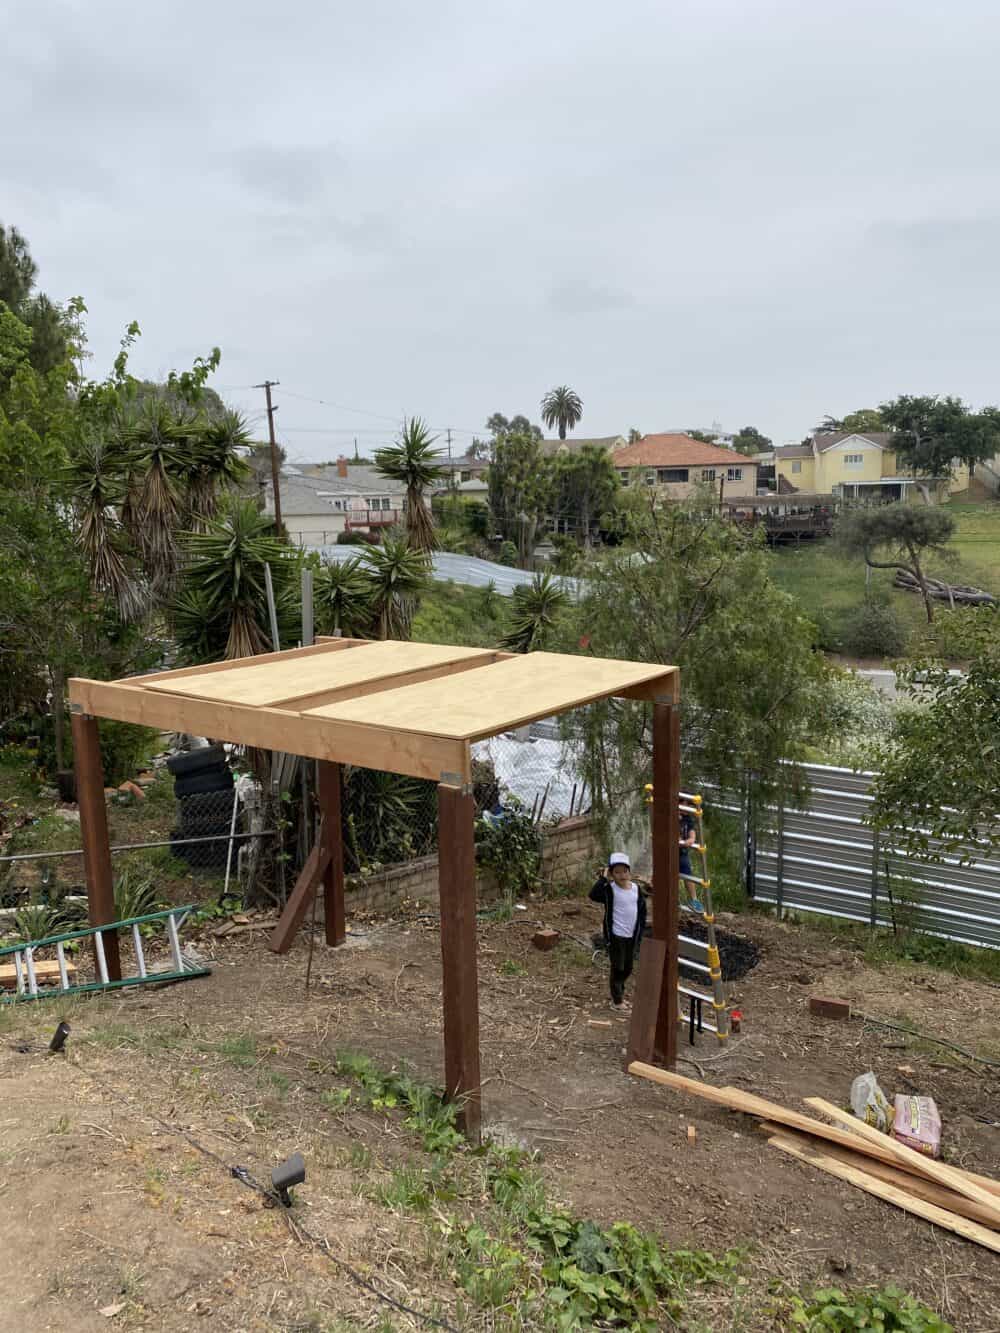
We wanted to keep the option to build a viewing deck on top since it would be flat, so I overbuilt the rafters with 2x8s to support 3/4 plywood sheets. This, of course, made the structure incredibly sturdy, but also extra heavy.
At this point I had a system of hauling the lumber to the platform’s top, but that didn’t make it easier. If you build on a raised platform, I suggest you always have another person or two to assist and take precautions at that height.
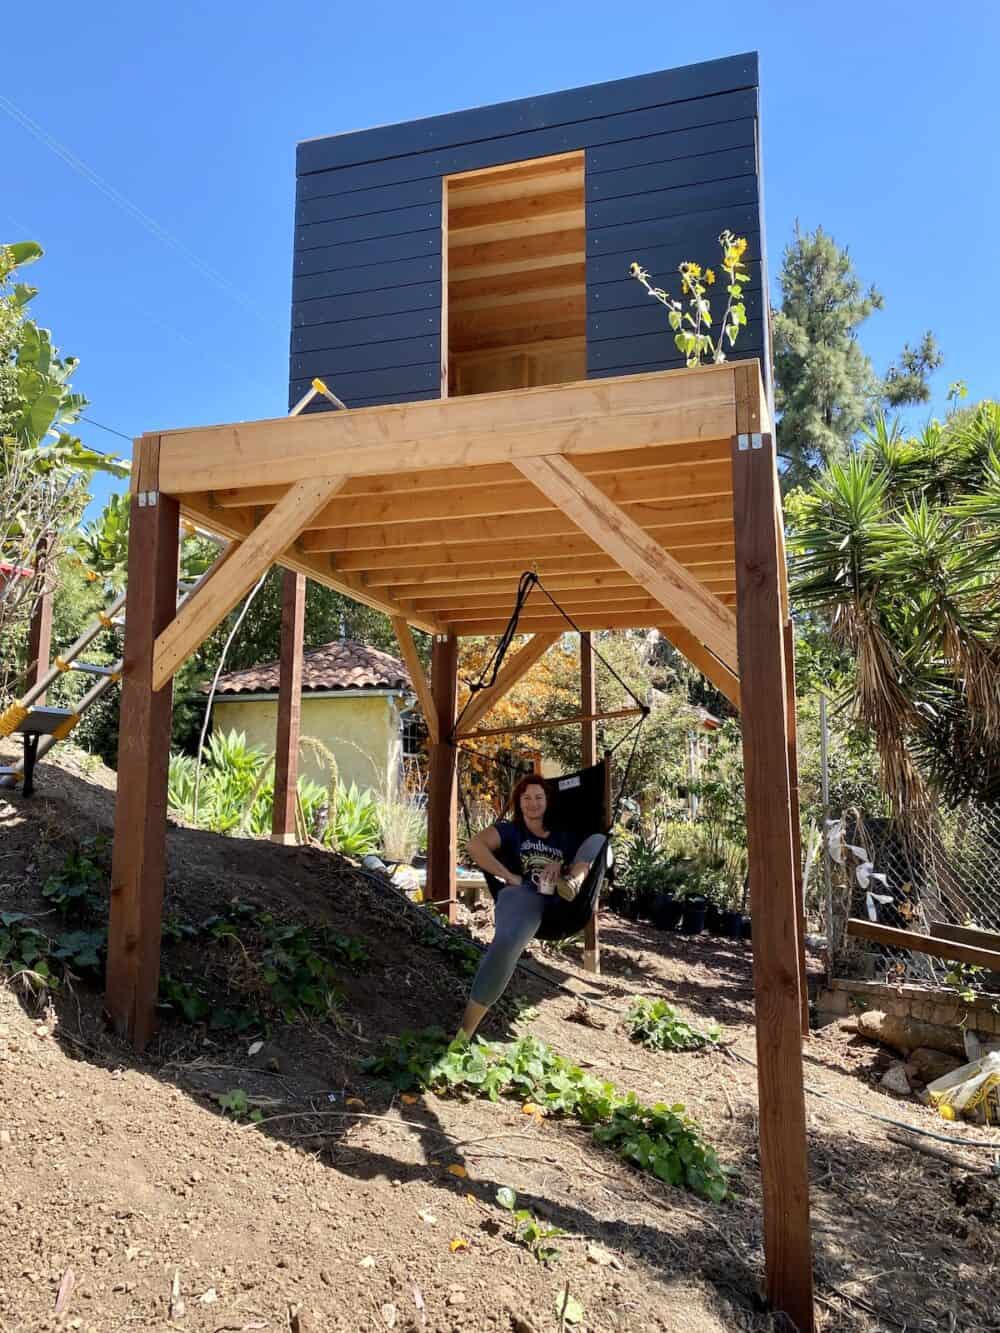
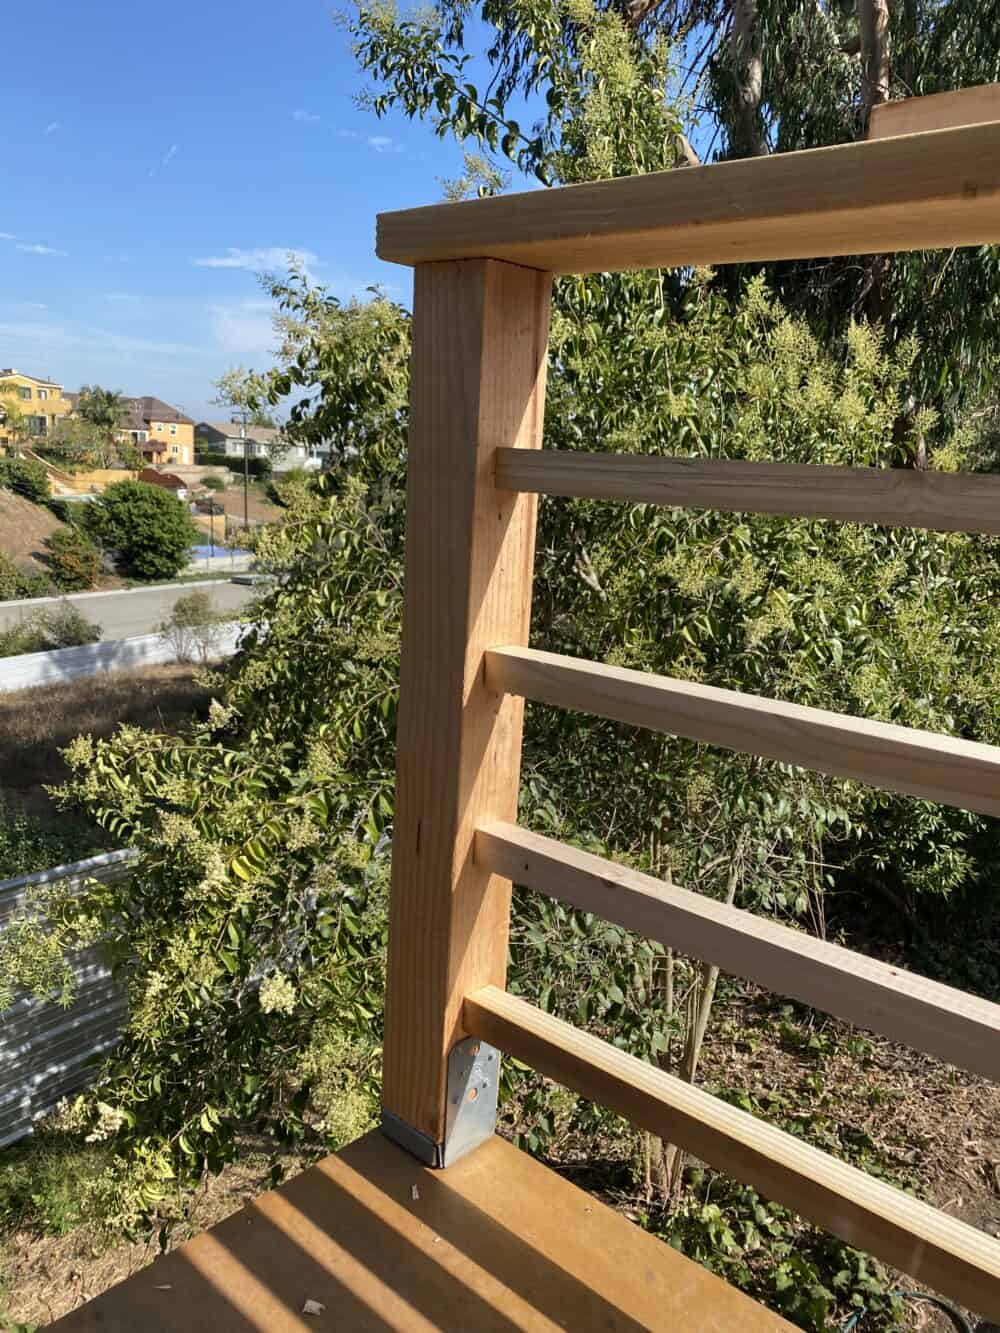
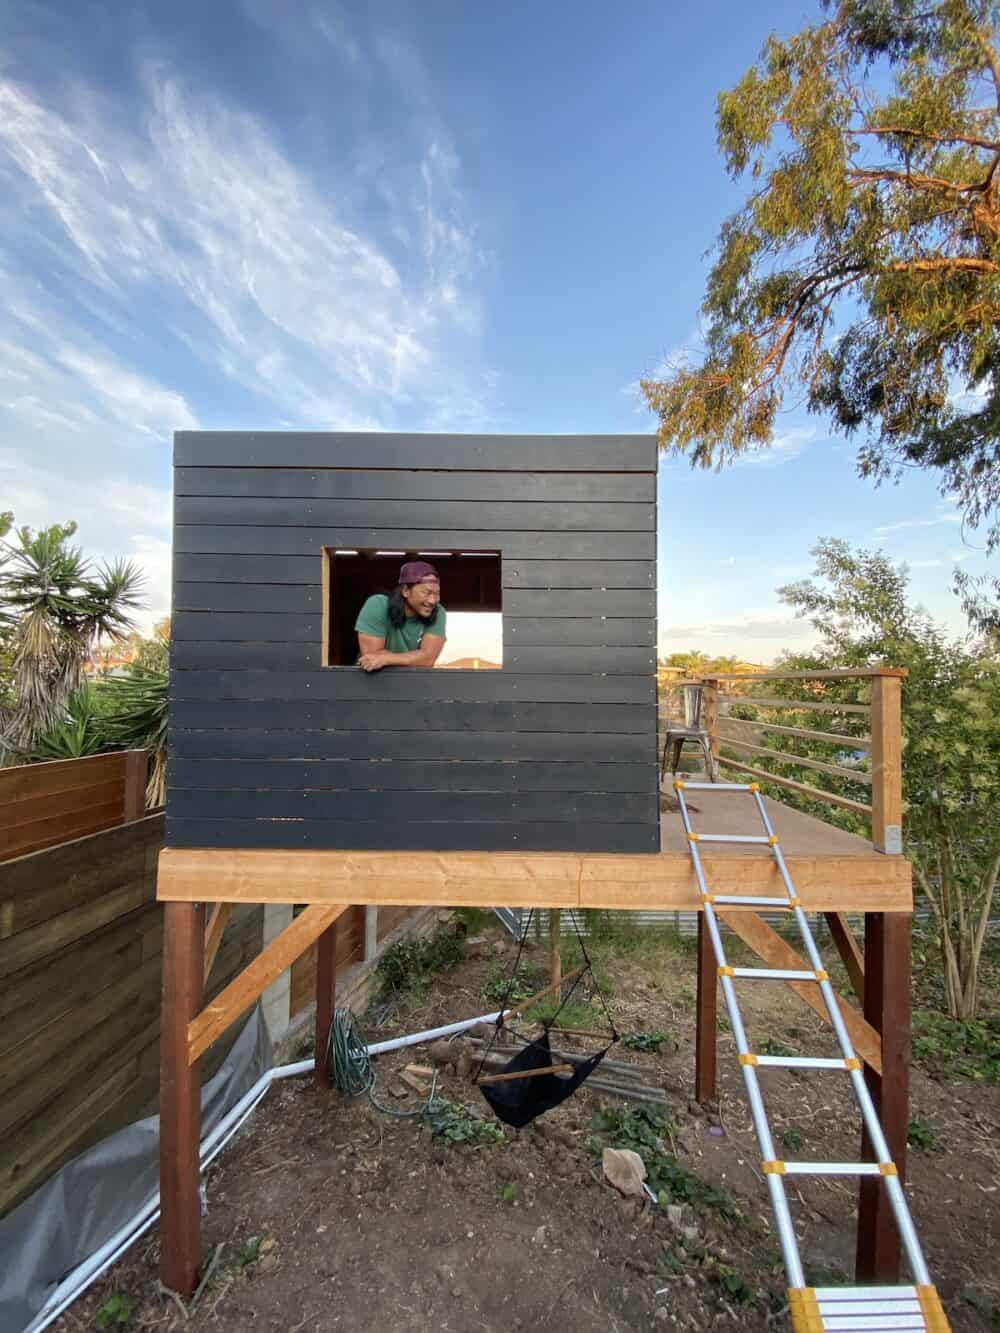
Once we got the roof on, we applied a waterproof stain and sealant again. We never managed to build that roof deck, but we did enclose the open deck with a railing and proper ladder.
All the Extras
We had used a ladder to access the treehouse throughout the construction process, but we knew it wasn’t a sustainable or aesthetically pleasing solution.
I had long considered building steps, but that seemed daunting and didn’t make climbing into the treehouse enough of an adventure, so I built a simple ladder from leftover 2x4s.
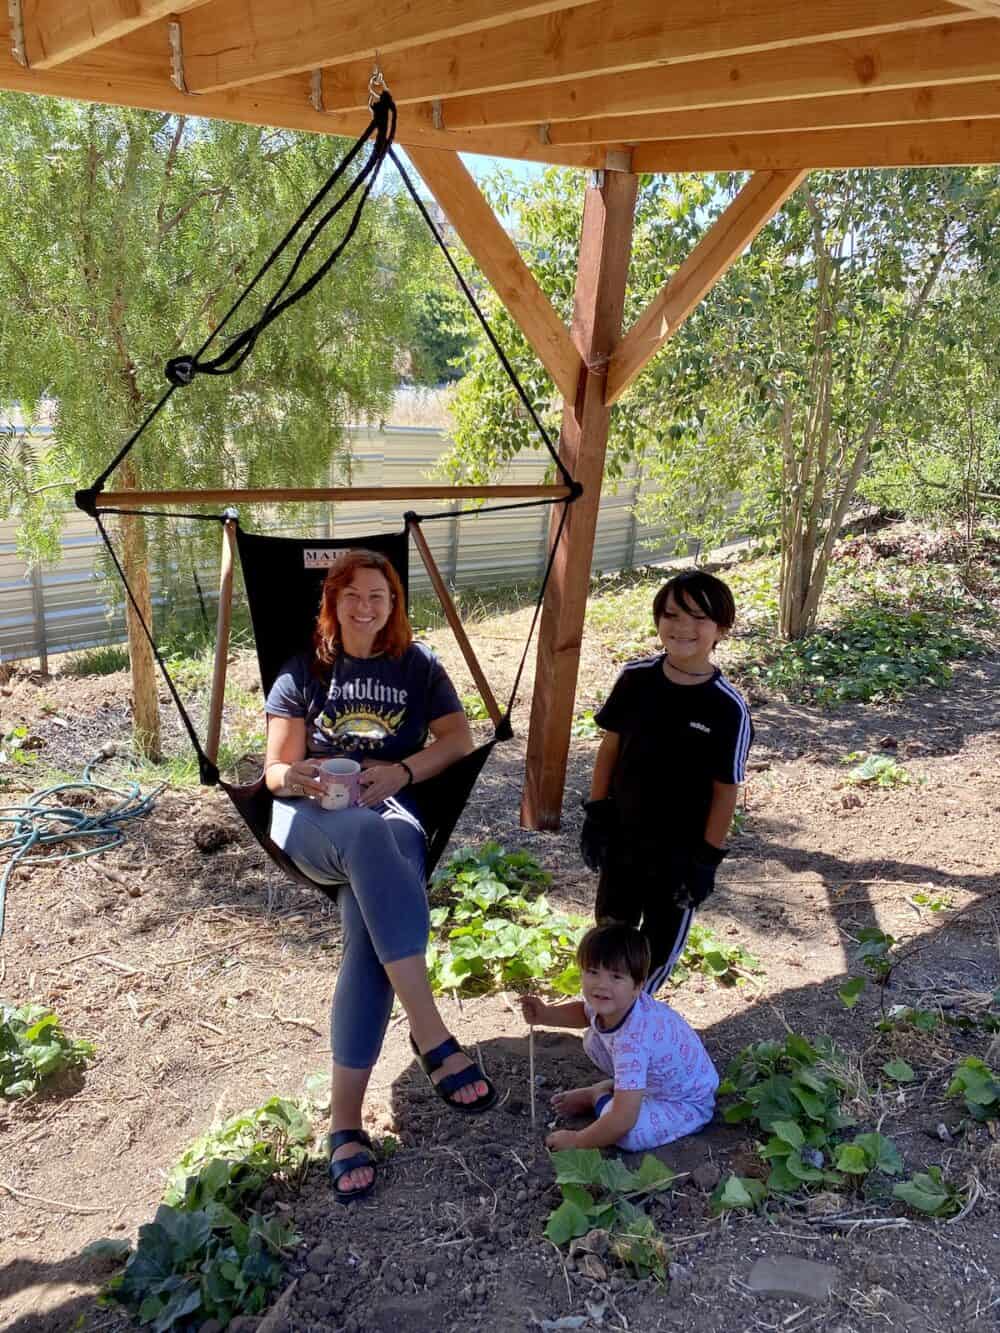
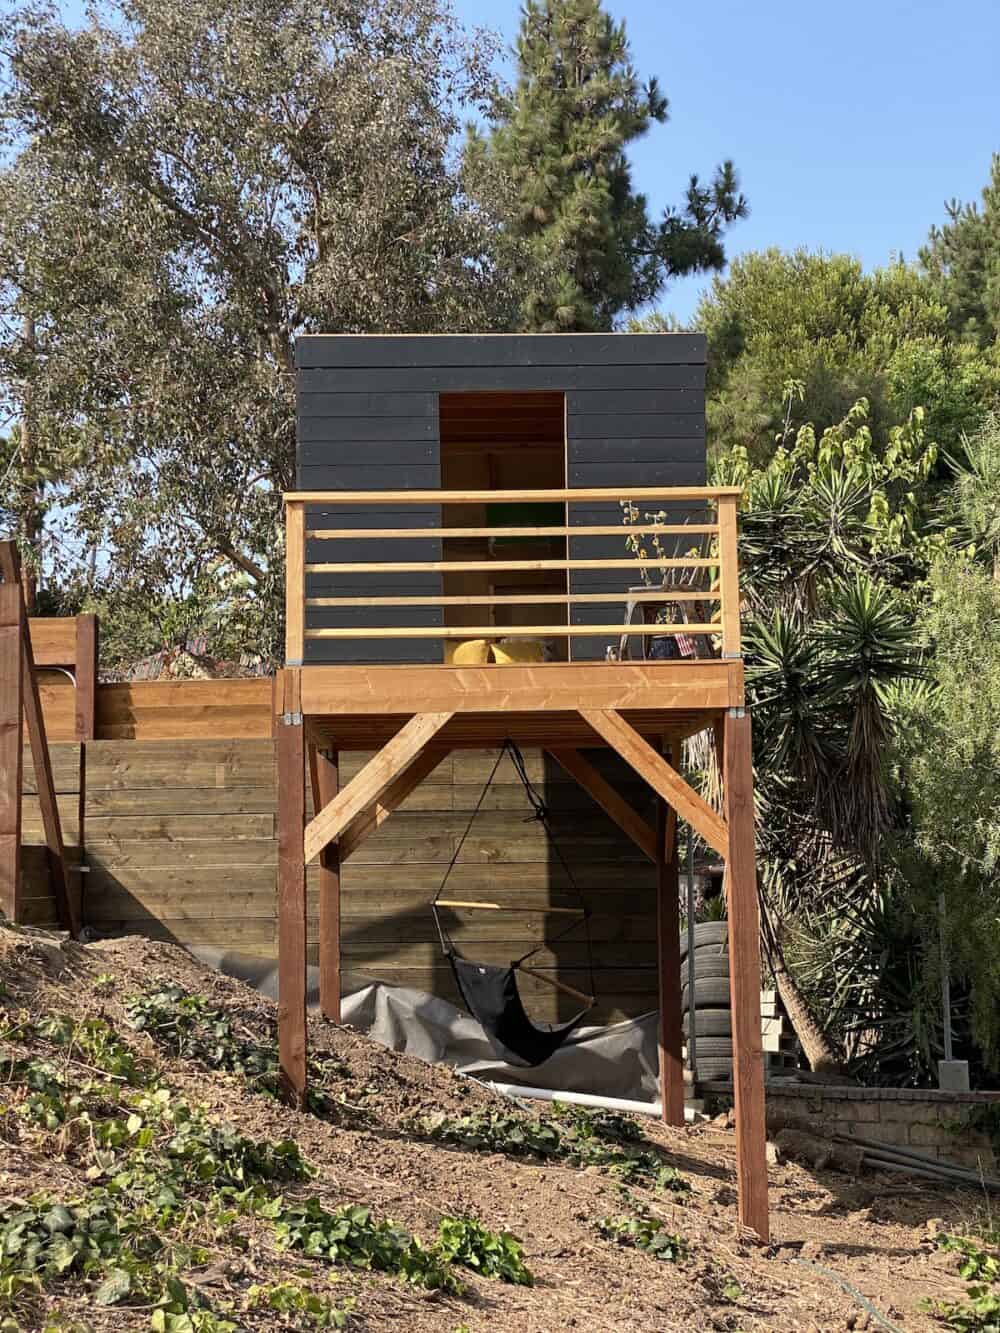
The open space underneath the treehouse was shaded and perfect for our Skychairs, which we bought in Maui years ago and finally had a place to install.
Future plans include a fireman pole to slide down and a zipline to make a quick escape.
Build a Treehouse – Final Thoughts
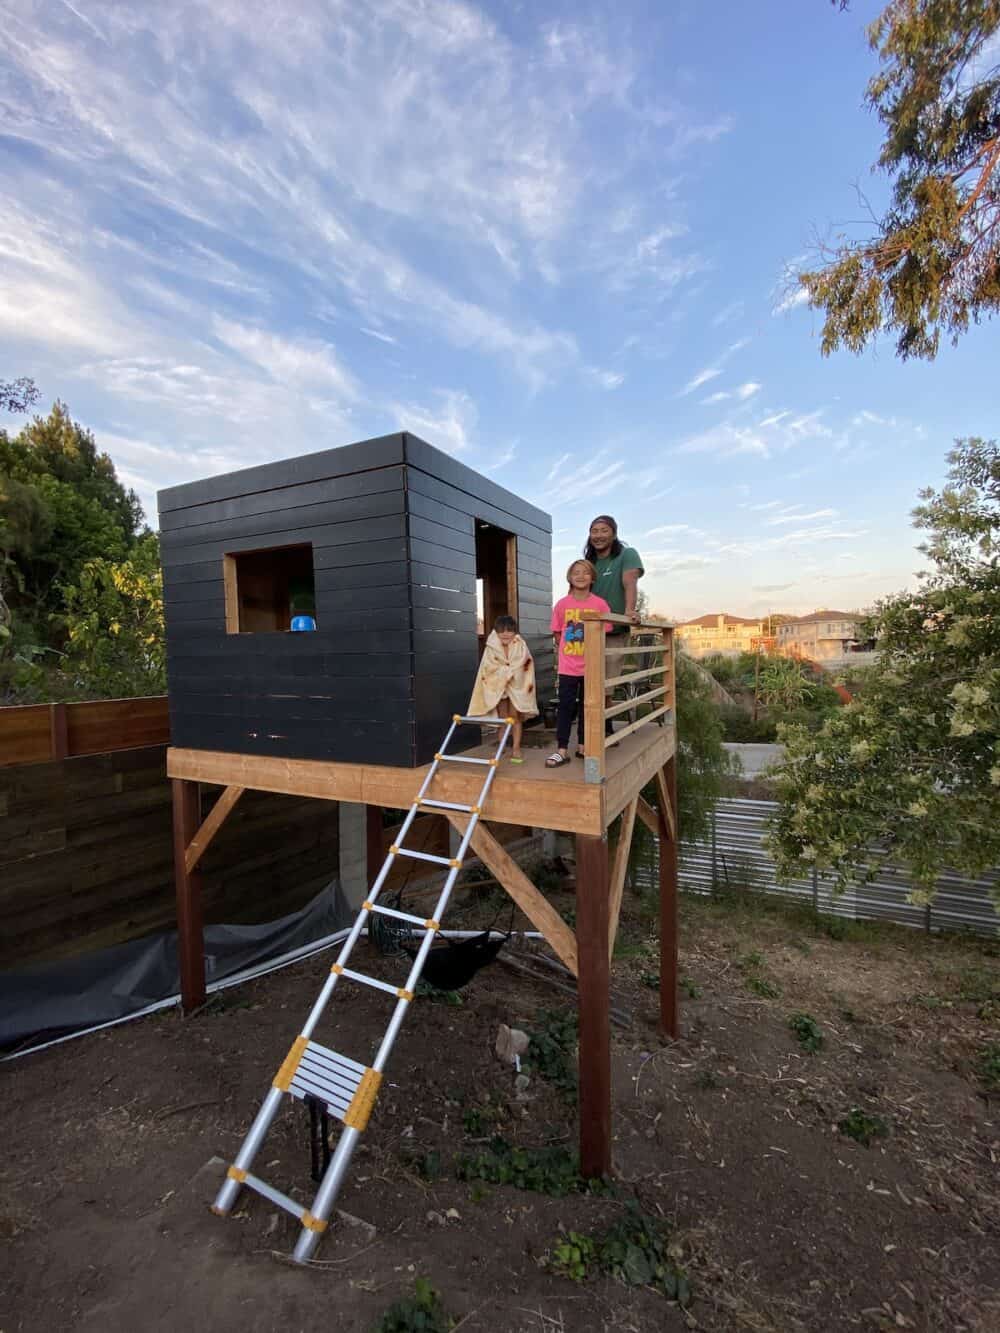
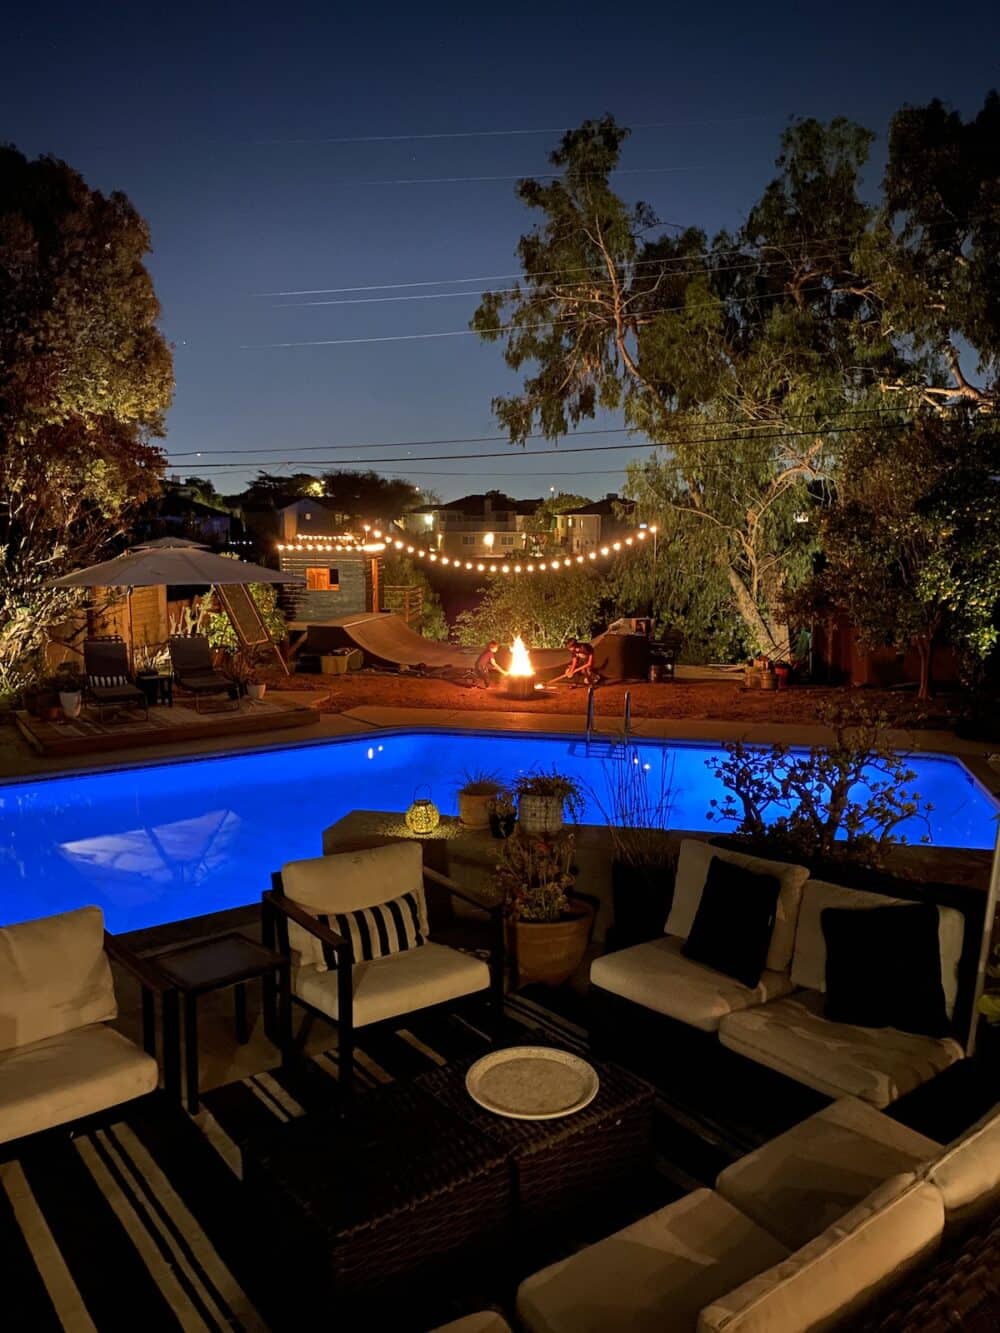
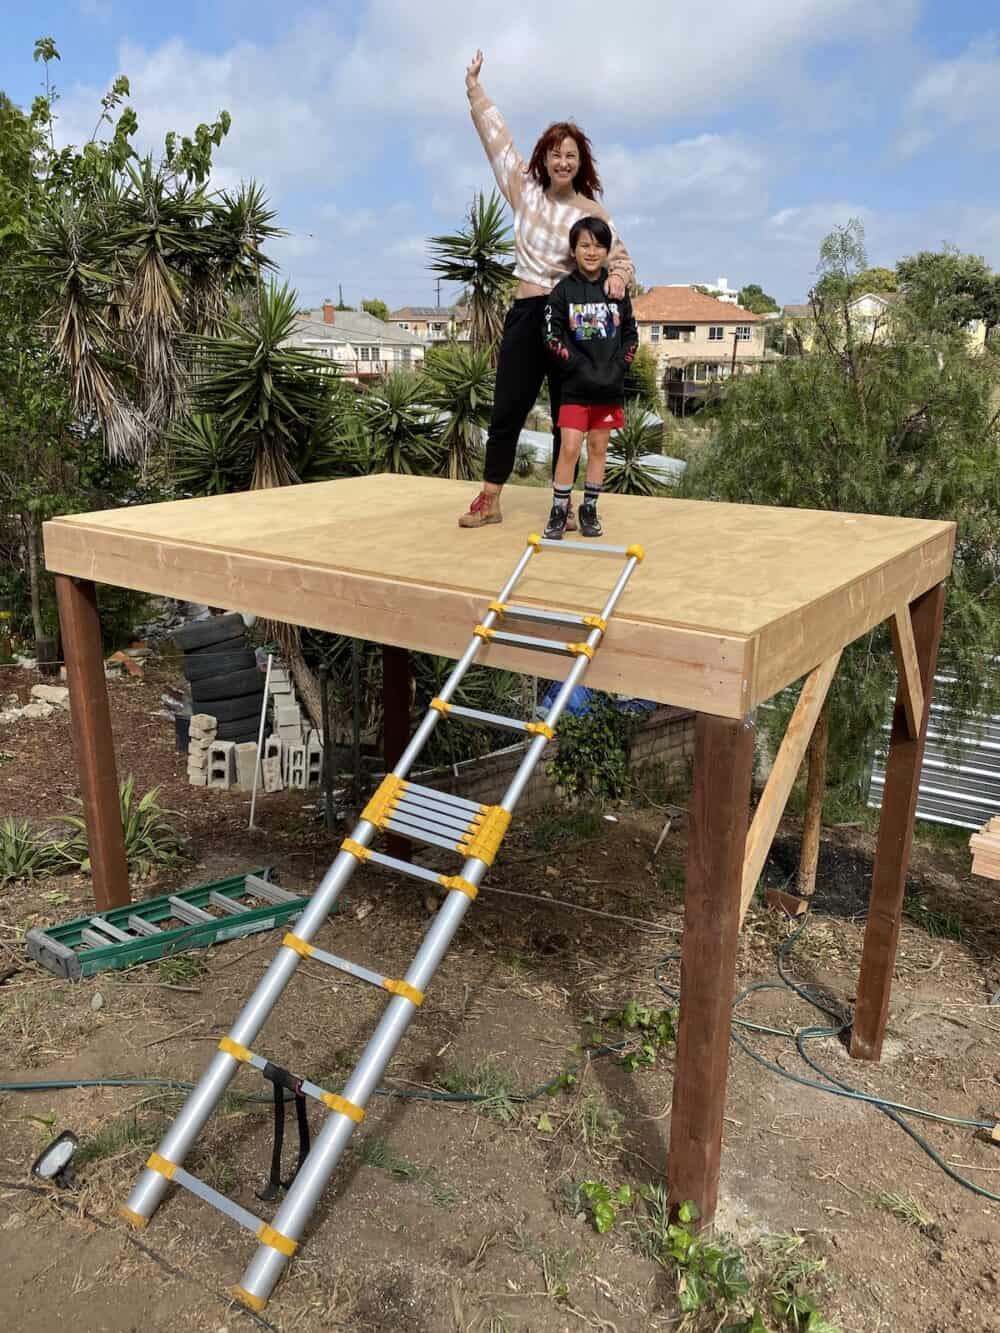
This was one of the largest projects we’ve attempted, and although it was a difficult build, mostly because of the structure’s height, we’d do it again! It’s unique, and our kids and their friends love it. We also enjoy sitting up on our perch for a nightcap or just hanging with the kids.
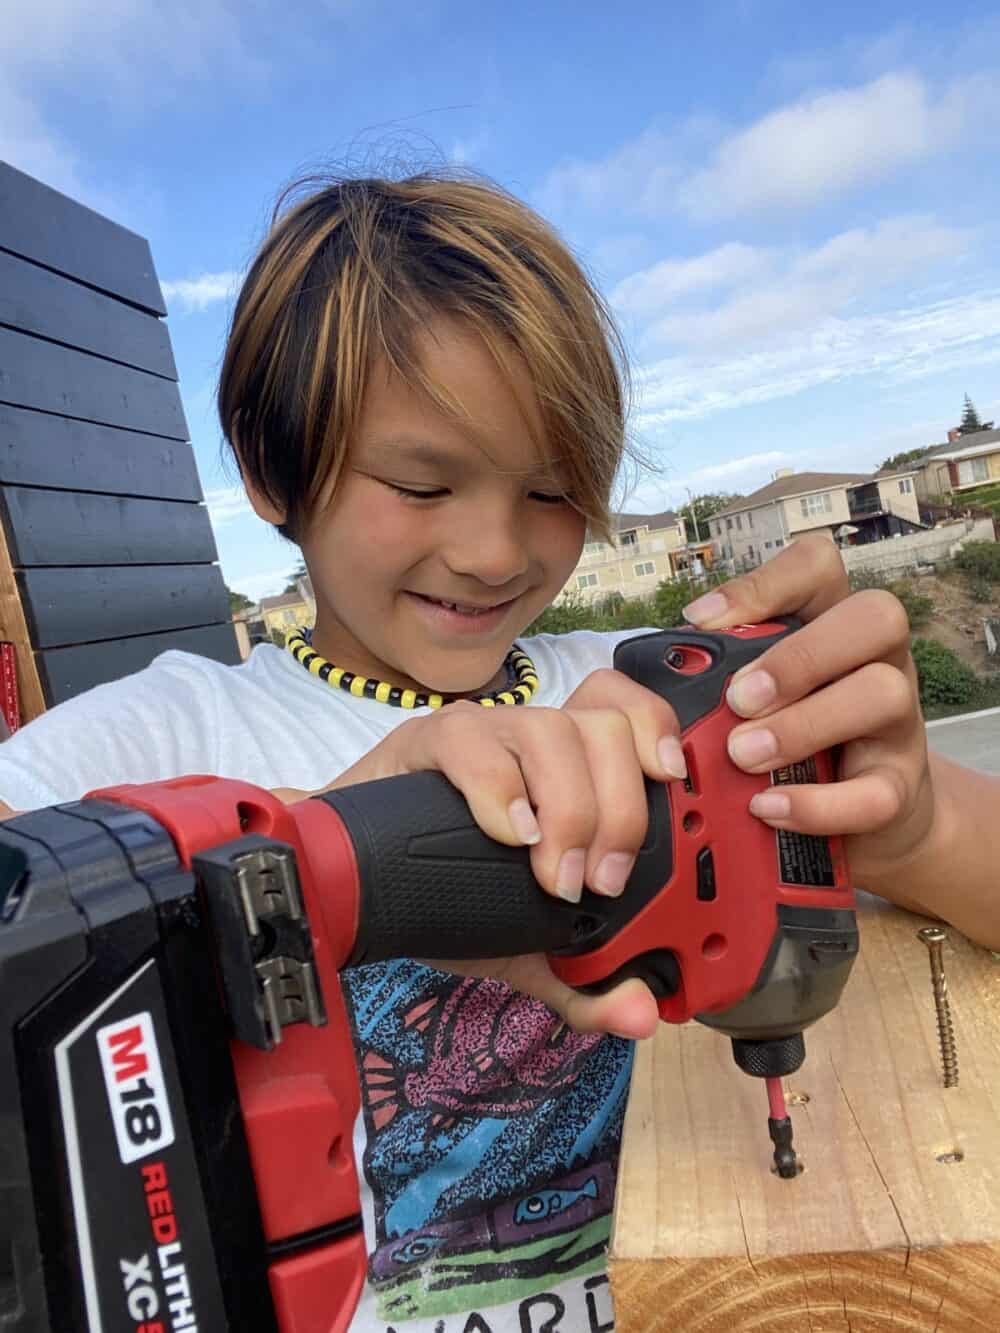
But the best part of this project was doing it with the entire family. From the planning to design to the build, we all felt a sense of accomplishment when it was completely and everyone took pride in truly owning this project.
If you are considering a way to build a treehouse and don’t have a tree, consider building a raised playhouse as an alternative; your kids will love it!
Check out our Instagram story highlights for more photos and videos to see the entire process.