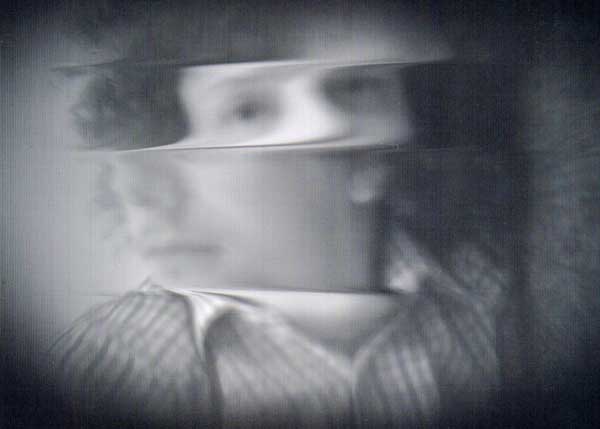
Your scanner has more uses than you think. We’ll show you step by step how to turn your scanner into a camera that produces the most scary photos you’ve ever seen!
This project is great around Halloween and you can get as creative as you want once you build the camera. The movement and subject is all up to you.
Tools
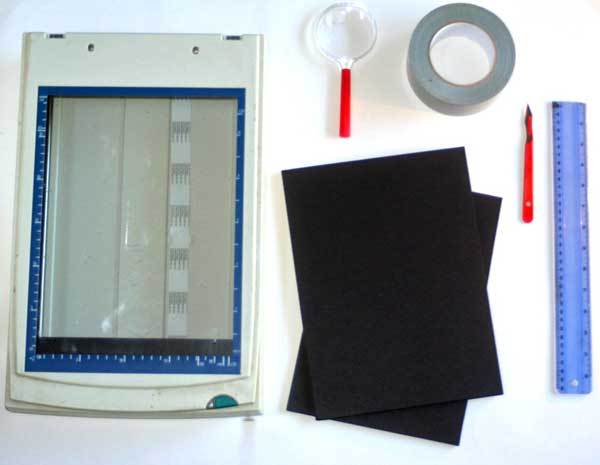
A flatbed scanner; removable lid preferred but not essential
Black foam board; 5 8″x6″ sheets
Ruler
Scissors or X-acto knife
Magnifying glass
Duct tape
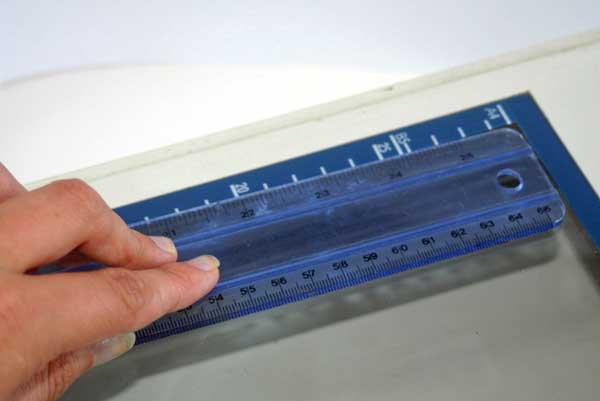
STEP 1: MEASURE UP
Remove the lid from your scanner and measure the scanning area.
If your scanner lid does not come off, then just lift it as far as it will go and work around it.
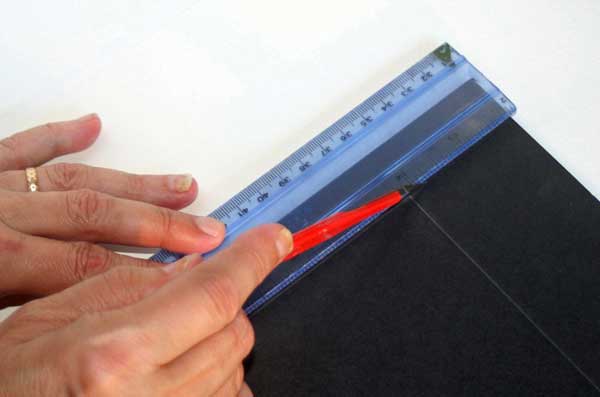
STEP 2: CUTTING THE BASE BOARD
Cut out a piece of foam board according to the measurements you just made.
We’re going to call this the base board (’cause that’s what it is!).
STEP 3: CUT A SQUARE
Cut a 7”x7” square in the middle of the base board.
You don’t have to be too precise on where the middle is, so eyeballing it is just fine.
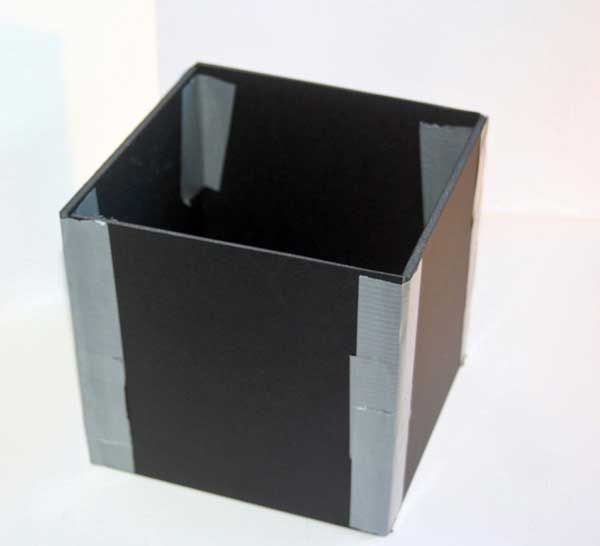
STEP 4: MAKING THE BOX
Cut four 7”x7” panels from the remaining foam board and tape them together to make a box. This is your camera body!
We’ve used silver duct tape, but you can use black to help keep the light in and make things a bit neater looking.
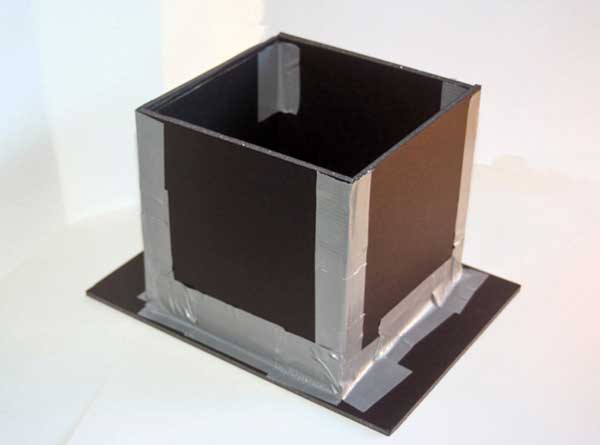
STEP 5: TAPE IT DOWN
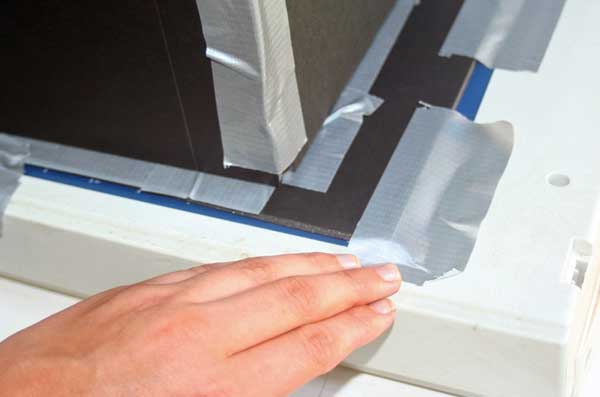
Line up your new box with the hole in your base board and tape it down.
Remember: There’s no such thing as too much duct tape!
STEP 6: MAKING THE LENS BOX (DE JA VU)
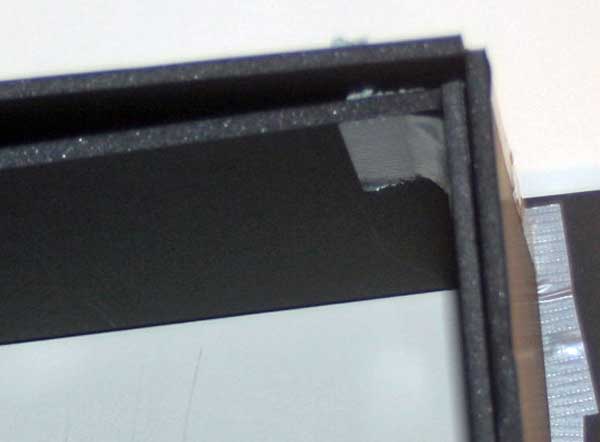
Make a second box by repeating the instructions for step 4, but using slightly bigger measurements — about 7.25″x7.25″.
The second box will control your focal length (you’ll be able to pull it in and out kind of like a zoom lens). It needs to be a little bigger than your first box in order for it to fit snugly around the outside of it.
Once you’ve taped the second box together, place it over the first box so that it sounds around the outside of it.
STEP 7: MAKING THE LID
Measure the rectangular opening on the second box that you just made, and cut out a piece of foam board according to those measurements to fit over the box as a lid.
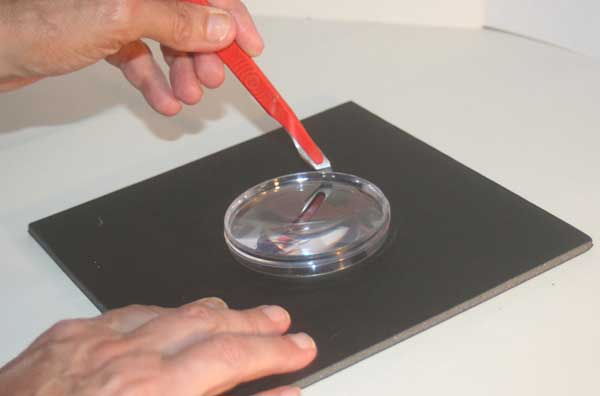
Remove the handle from your magnifying glass. Place the magnifying glass lens on the middle of the lid you’ve just cut from foam board and draw around the circumference.
Cut out a hole along what you’ve drawn, and pop your magnifying glass into the hole. Secure it onto the lid with tape on both the inside and outside.
Once everything is in place, tape the lid onto the lens box. Almost there!
STEP 8: SECURE AND READY TO GO
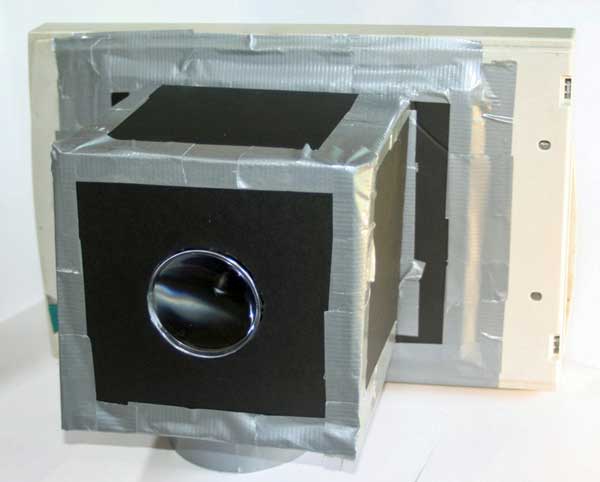
With the lens box sitting snugly on top of the scanner, you’re ready to take some seriously rad scanner photos.
Just tape your lovely foam board body over the scanner bed so it’s nice and secure and point your scanner at something nice. FYI, you can use a less sticky tape like artist’s tape if you’re worried about getting goop on your scanner.
STEP 9: TAKING THE PICTURE
All you have to do now is plug your scanner into your computer and hit scan to take a photo! You can move the lens box around to experiment with focal length.
We recommend taking some self portraits (hold still!) to test the water and then go crazy.
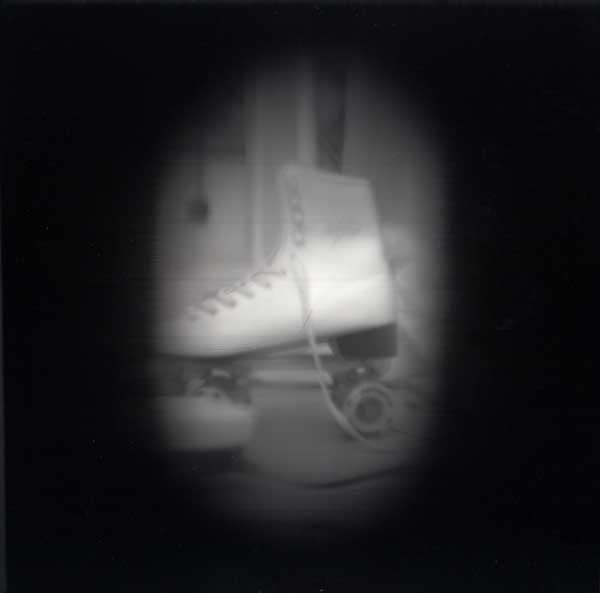
TIPS & MORE IDEAS
Move the lens box in and out to find the perfect focus. Or make it go out of focus!
Shake the lens box a little in the middle of the scan. The combination of movement and change in focus will create some pretty weird effects like wavy images and awesome glitches!
Try making some aperture cards by cutting different sized holes in black card and holding them over the magnifying lens to control the amount of light hitting the scanner.
Got an old SLR lens handy? Attach the lens in place of the magnifying glass and grant yourself control of the aperture!
Does your scanner come attached to a printer? Try pressing the photocopy button for a new twist on the classic ‘photocopying body parts’ prank.
Play around with the depth of field by photographing objects at various distances from the lens.
We fell in love with this scanner camera from reading one of our favorite diy photo sites, Photojojo. We suggest you subscribe to their newsletter like we do more more ideas like this.


