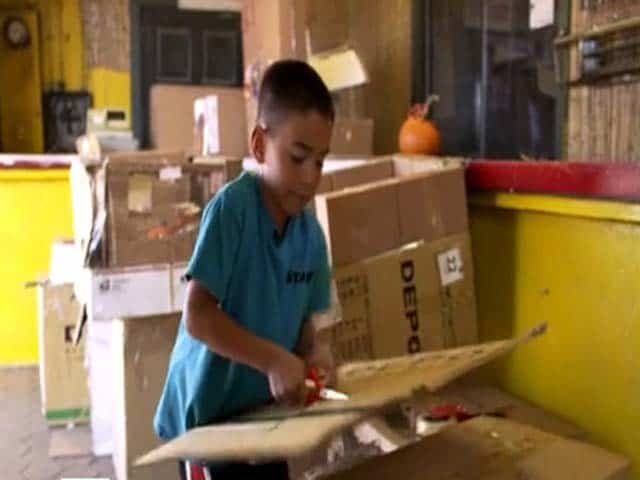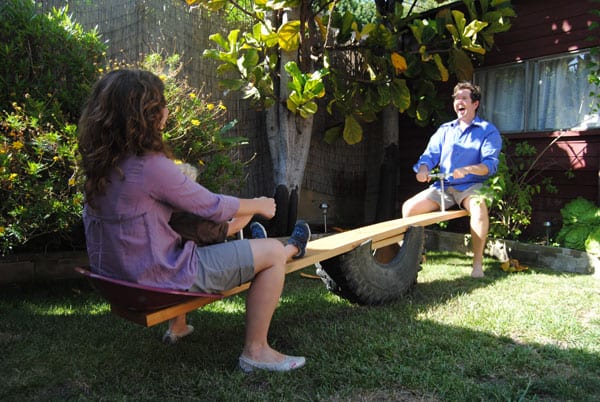
Standing on a wide, empty patch of pavement, you hold a sheet of graph paper showing a balanced six-by-eight-foot playhouse. On paper, building a playhouse feels generous. But lay down a metal tape measure, ask your ten-year-old to stand in the center, and the space shrinks. Add a folding chair, a toy chest, and the swing of a door, and your dream project quickly feels like a broom closet.
Drawing the project at full scale in the yard before buying timber or digging post holes ensures everything fits. Sidewalk chalk and a tape measure turn flat plans into a physical space children can test. This full-scale mapping takes less than an hour, saving you from a frustrating Saturday of rebuilding later.

Photo by Jess Zoerb on Unsplash
Household Tools for Full-Scale Mockups
No hardware store trip is needed. These basic items are likely in your garage or kitchen:
- A long tape measure: Choose one at least 25 feet long to avoid resetting your starting point. Refer to our guide on how to use a tape measure for a quick accuracy refresher.
- Sidewalk chalk: Bright pink or yellow pieces show up best against gray concrete or black asphalt, allowing you to draw thick, clear boundary lines.
- Paper and pencil: Keep these handy on a clipboard for sketching changes.
- Boxes and chairs: These simple props represent furniture to test the actual volume.
- Carpenter’s square: A steel square ensures your corners are truly square. If you don’t have a proper carpenter’s square, use any object that you know to have exactly 90 ° corners.
Preparing Your Ground
Start by clearing a flat, paved workspace like a large patio or courtyard. Sweep away loose gravel, leaves, and concrete grit so your chalk bites into the surface smoothly without snapping, and so kids won’t trip while testing the space. Walk the perimeter together and look up. Ensure you are not laying out a roof directly under low tree branches or overhead utility lines.
Squaring Your Corners with the 3-4-5 Rule
Drawing a perfectly square floor plan freehand is difficult. To prevent skewed walls, mark your first corner with a heavy dot of chalk. From there, measure three feet along where the front wall will be, and draw a second dot. Next, estimate a 90-degree angle from your first dot to create the side wall, measure out four feet, and draw a third dot.
Now, measure the diagonal between your second and third dots. If it is exactly five feet, your corner is perfectly square. If not, wipe away the third dot and adjust it until the diagonal hits five feet exactly. Repeat for the remaining corners.
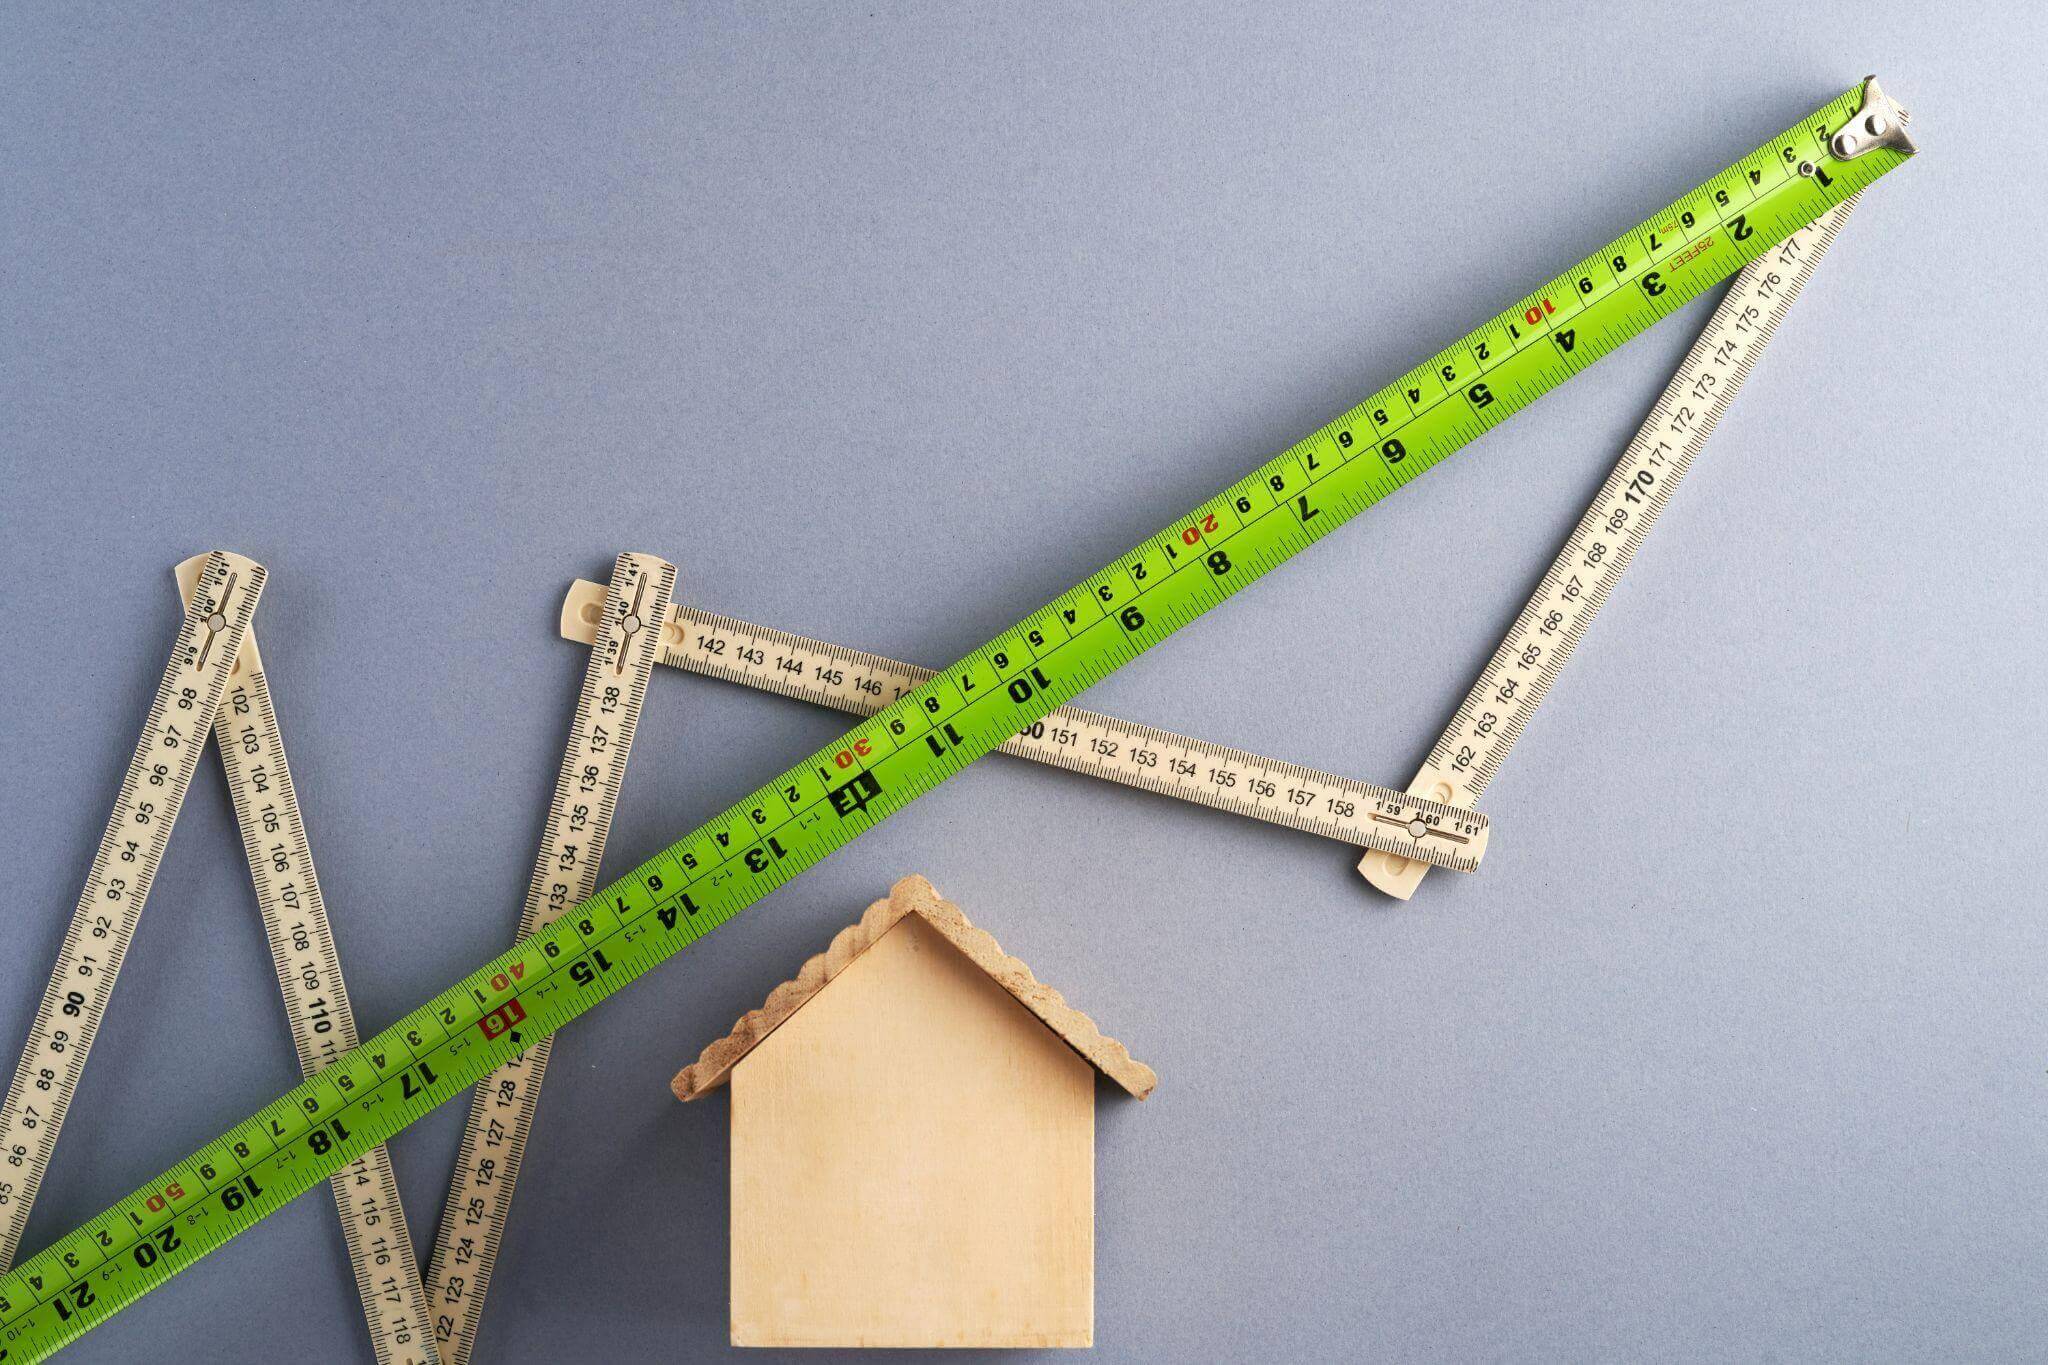
Photo by eskay lim on Unsplash
Drawing Walls and Openings
Using a long piece of scrap lumber or a tightly pulled string as a straightedge, connect your corner dots by sketching solid boundary lines directly onto the pavement with your chalk.
Walk the perimeter to mark openings. For a playhouse, measure a two-foot gap for the front door. Use different chalk colors to sketch the width of the windows directly onto the pavement. These visible gaps help you visualize foot traffic, ensuring the entry aligns well with the rest of the yard.
Testing the Space with Real-World Props
Flat outlines do not tell you how a space feels during play. Bridge the gap between lines and a physical structure using props.
Place patio chairs inside your chalk boundary. Grab cardboard boxes or five-gallon buckets to represent toy shelves, workbenches, or a table.
Invite the kids to step inside. Let them sit, pretend to open doors, and walk from the entrance to the back corner. Watch how they move. If children bump elbows trying to squeeze past a cardboard box, your layout is too tight. It is much easier to wash away a chalk line with a hose and redraw it now than to dismantle a framed wall later.
Backyard Safety Guidelines
Backyard building projects require clear safety boundaries:
- Check the ground: Before digging post holes, call your local 811 utility finder to verify you avoid buried lines.
- Assess the canopy: Look up to check for low-hanging branches or dry limbs that could fall during a storm.
- Organize tools: Keep sharp saws and hammers in a locked storage box, well away from younger children running around the layout.
Dividing the Labor
A family project works best when everyone has an age-appropriate task:
- Older children: Let older kids transfer physical measurements back onto graph paper using a simple scale, such as letting one grid square represent one foot. Measuring the boundaries and tracking coordinates provides a practical geometry lesson.
- Younger children: Give younger kids chalk to decorate imaginary walls or color cardboard markers to represent shelves. Letting them customize their future playhouse keeps them engaged while you check corners.
Saving the Final Design
When the layout feels right, grab a notebook. Jot down final dimensions and add environmental details: where afternoon shadows fall, where water puddles after rain, or if a nearby branch hangs low.
Before heading to the lumber yard, use those finalized length and width measurements to determine the structure’s exact floor area. Having this number handy ensures you buy the correct amount of plywood, decking, or roofing materials without wasting money on excess supplies.
Step onto a ladder to snap an overhead photograph of your layout and props. That aerial photo is your best reference when standing in the lumber yard trying to recall how the entryway aligned with the yard.
Wash away the yellow chalk lines with a garden hose. Tuck your scale sketch and notes into a project folder.
The yard looks empty again, but your family has already walked through the rooms, resolved the biggest design arguments, and expanded cramped corners while every wall could still be erased with a damp rag.