

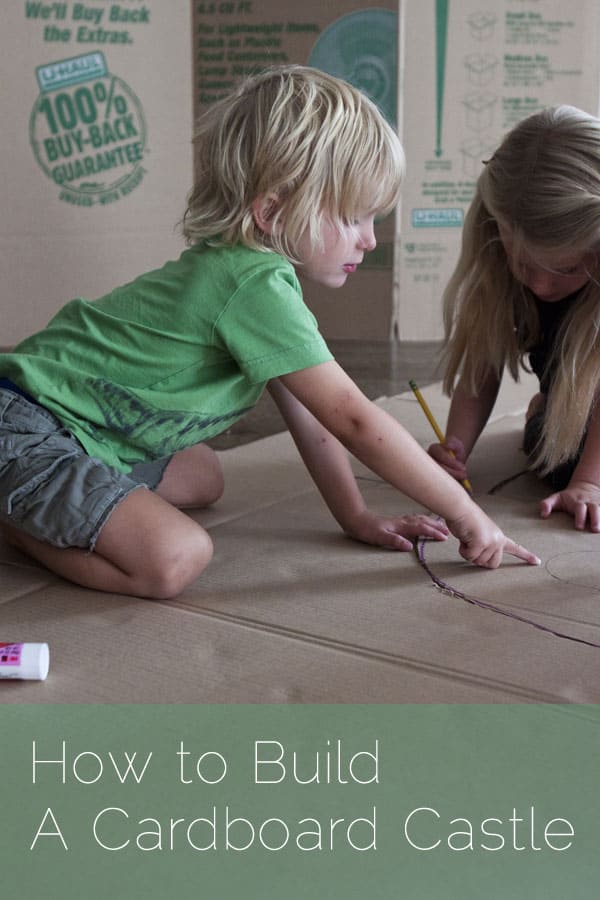
We can’t think of a better way to spend an afternoon than building this colorful cardboard castle with your kids.
Our Amazon delivery boxes are piling up like crazy these days, so here’s a great way to put them to use.
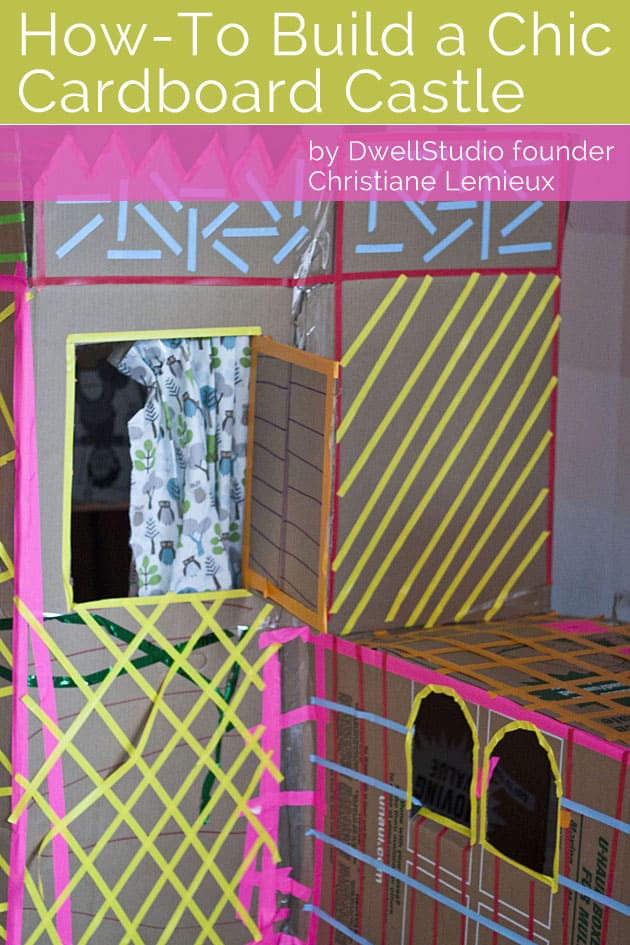
Christiane Lemieux, the founder of The Inside, has shared this inspiring cardboard castle that was designed and built by her two young children.
The castle strikes a great balance between Christiane’s fondness for luminous colors which she is famous for and the unstructured design and patterns that have flowed from her children’s imagination.
Who better to exemplify the essence of color than children, whose design choices are not limited by boundaries or expectations but rather motivated by joy and creativity.
We live in New York which poses some interesting challenges with kids. We don’t have a backyard so we improvise a lot.
The cardboard castle has become a great go-to indoor project for bad weather – in fact this castle was built in the middle of hurricane Irene! My kids love to plan and build the castle and then play in it for hours. This one is still standing and we have since added a jail and dungeon.
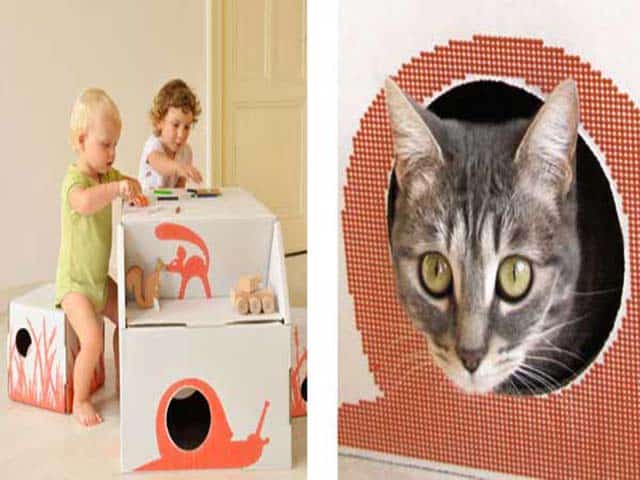
I love the cardboard castle project because the necessary tools are always readily available and it’s a great recycling story. Whether the box is small enough for animals or dinosaurs or big enough to crawl around in – the concept is the same and always very creative.
Here is what you need:
Tools & Materials
Household supplies and materials include
1. Scissors
2. Glue stick
3. Colored tape
4. Colored pens and markers
5. Large cardboard boxes
Step 1 – Collect your materials
For this particular castle – we used tape as the décor. My kids love decorating with tape. You can use stickers, paint, fabric or even leftover wallpaper and anything really. Grab some boxes and go.


Step 2 – Design Cardboard Castle
We usually start with the front door. Isabelle and Will discussed it and decided to make it arched.
Step 3 – Use Fabric
For this castle Isabelle decided that we should use some scrap fabric (luckily we have a lot!) from the office for curtains.
Step 4 – Cut Out Windows
With some help from the parents – cut out windows.
Step 5 – Clean Up Edges
Clean up the edges
Step 6 – Start Decorating
Start decorating
Step 7 – Mail Slot
The hole in box makes a perfect mail slot!
Step 8 – Tape It Together
Put all the pieces together make your castle as big as you like. Hang your window treatments too.
Step 9 – Have Fun
Move in and enjoy!
Carrie Jacobs
14 Oct ’11 at 2:24 pmAbsolutely love this project!!! Hope ours comes out as beautiful as this.
Megan
13 Jan ’12 at 12:33 amHi my name is Megan,
At school, in History, i need to build a castle out of cardboard!!! Though i need a bit of help with ideas of how to do that!!! please please help me!!!
Megan (year 7) 🙂
Built by Kids
13 Jan ’12 at 9:29 amHi Megan!
You’ll see the instructions above – that should help with your project. Good luck!
Priojectieo
19 Apr ’12 at 8:41 amSeems cool. Awesome! How long would that take to build?
Anonymous
29 Oct ’14 at 11:20 amDo you have more thorough instructions? this is mostly instructions on how to decorate it but nothing on what you did to connect it. Like which part of the box was used to cut doors and windows? which parts did you tape together? It’s really not a how to unfortunately. I scrolled thinking I would come across the directions eventually but didn’t. Love the decoration suggestions just wish it was actually a how to build it.