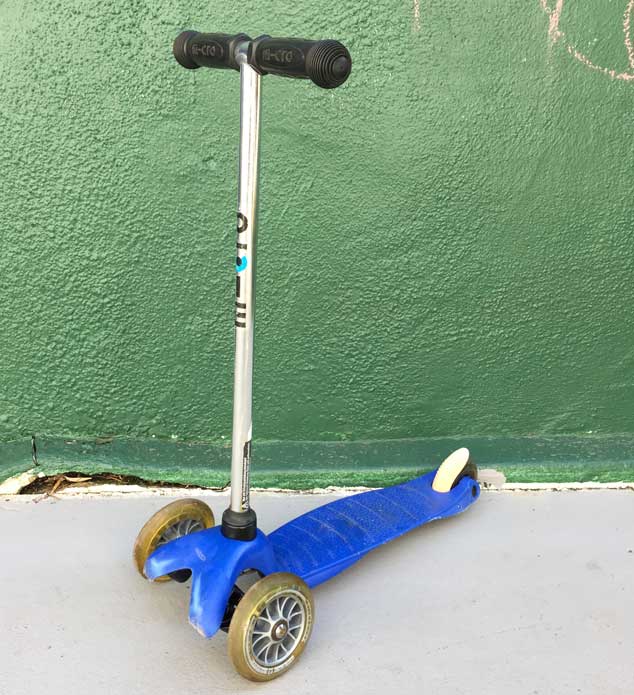
Our Mini Micro Kickboard Scooter is out of commission. It’s been left outside too many times and the steering is sticking.
Before we get back to dodging pedestrians, we need to take it apart and fix it.
Here’s how.
Mini Micro Kickboards are incredibly well made (Swiss of course), and they are also built to allow some tinkering so they can keep on running and not just get thrown away.
Because the steering on our kickboard was sticking, we needed to lubricate the bolts and steering mechanism. We could have dropped some silicone lubricant into the steering joints but we wanted to break it down even more.
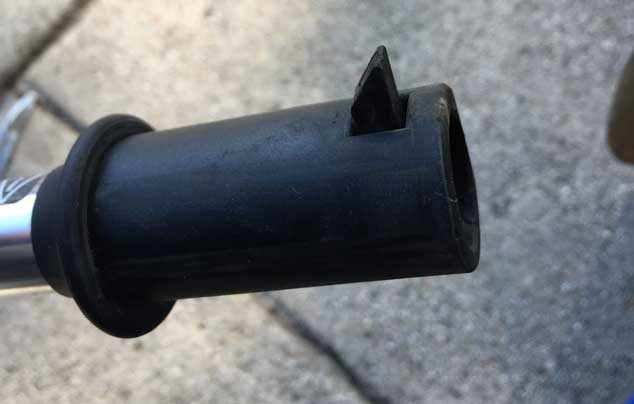
Start by removing the handle bar post. There is a small notched tooth that sticks out to lock the handle bar post in place. You need to push that in using your finger and then pull the handle bar post out.
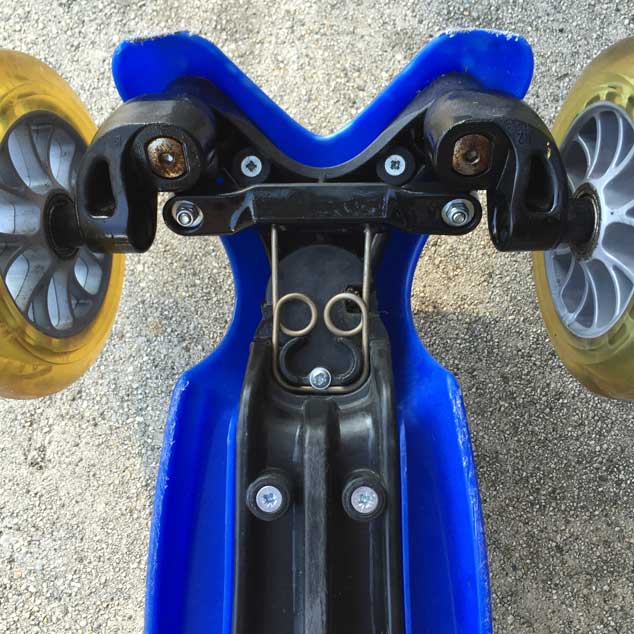
Then remove the four visible screws that secure the kickboard base to the top part of the scooter which will allow you to pull the top part of the kickboard off to reveal two hex bolts that hold the steering knuckles in place.
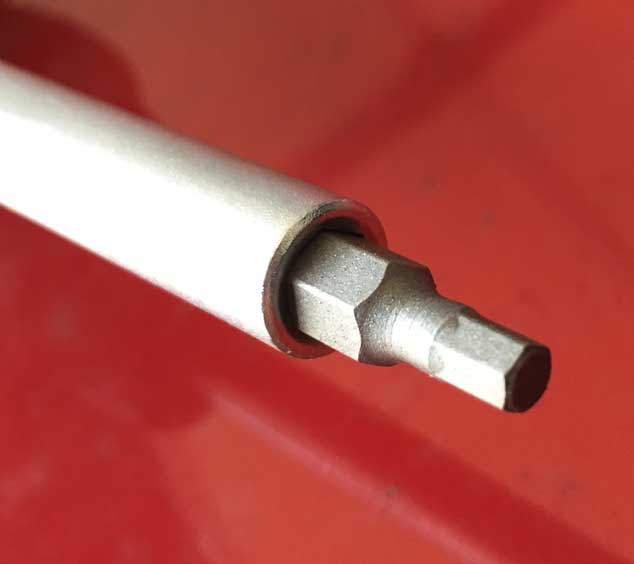
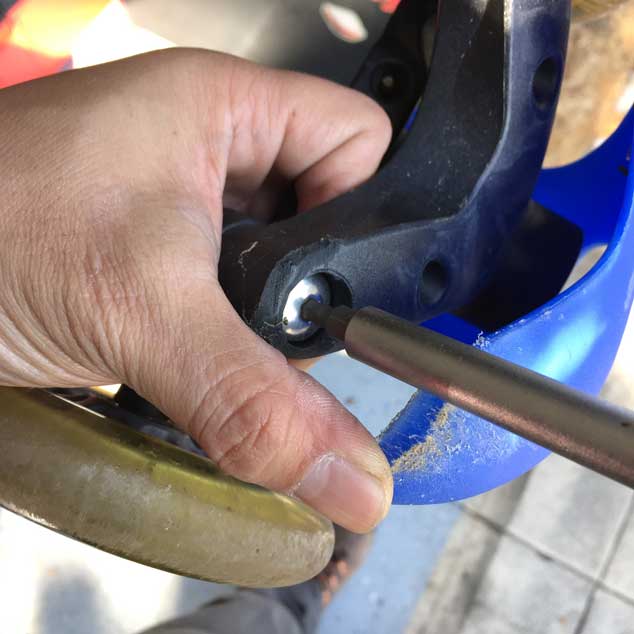
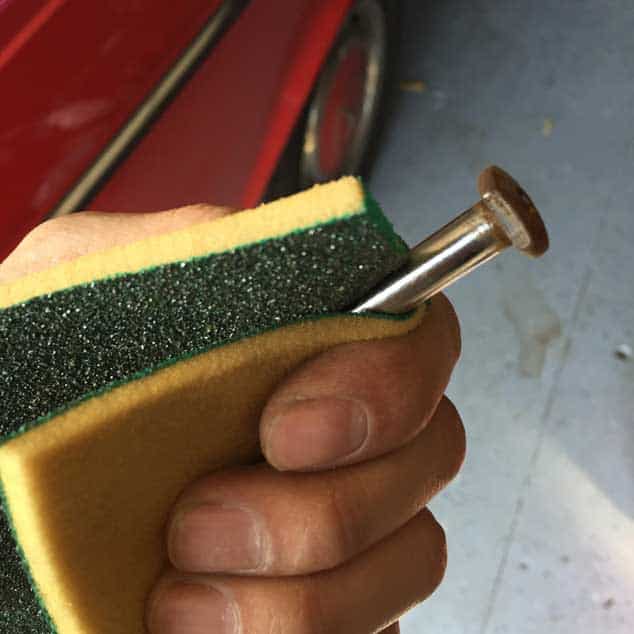
Using a number 4 size hex driver, remove the two bolts and slide out the steel steering rods. Ours were corroded and rusted so we used some fine grit sandpaper to clean them off.

Remove any remaining dirt and rust and then apply a silicone lubricant to the bolts before sliding them back into place. Also lubricate the steering knuckles which rotate against each other. Avoid using WD-40 as this can attract dirt.

Reattach the bolts and screws then pop the handle bar post back into position. Making note that the notch lines up with the notch opening as you push it straight in. Make sure the notch part pops out to securely hold the post in place before letting your kids riding it again.
Enjoy your repaired Mini Micro Kickboard for many more rides!