Are you looking for some fun and educational activities to do at home? Look no further! In this article, we will explore five easy and exciting science experiments that you can try out without the need for specialized equipment or professional expertise. Get ready to unleash your inner scientist and embark on a journey of discovery!
Understanding the Basics of Home Science Experiments
Before we dive into the experiments themselves, it’s important to understand the fundamentals of conducting experiments at home. Safety is always paramount, so make sure to take the necessary precautions and seek adult supervision if needed. Remember to gather all the materials beforehand and set up a clean and organized workspace.
Delving into the world of home science experiments can be an exciting and educational journey. Not only do these experiments offer a hands-on approach to learning scientific concepts, but they also foster curiosity and critical thinking skills. By following proper procedures and guidelines, you can conduct experiments that are not only fun but also safe and informative.
Importance of Safety Measures in Home Experiments
When it comes to science experiments, safety should never be overlooked. Before getting started, familiarize yourself with any potential risks associated with the materials or procedures involved. Wear protective goggles, gloves, and an apron if necessary, and always work in a well-ventilated area. By prioritizing safety, you can enjoy your experiments with peace of mind.
Moreover, understanding the safety measures in home experiments can also teach valuable life skills such as risk assessment and emergency preparedness. These skills are not only applicable in a scientific setting but can also be beneficial in various aspects of everyday life, promoting a culture of safety and responsibility.
Gathering Necessary Materials for Experiments
Each experiment requires specific materials that can mostly be found around the house or easily obtained from a local store. Read through the instructions carefully and ensure that you have everything you need to proceed smoothly. Being prepared beforehand will make the experience more enjoyable and prevent any interruptions during the experiments.
Furthermore, the process of gathering materials for experiments can also spark creativity and resourcefulness. In some cases, you may need to improvise or find alternative materials, encouraging you to think outside the box and explore different solutions. This adaptability not only enhances the experimental process but also nurtures a mindset of innovation and problem-solving.
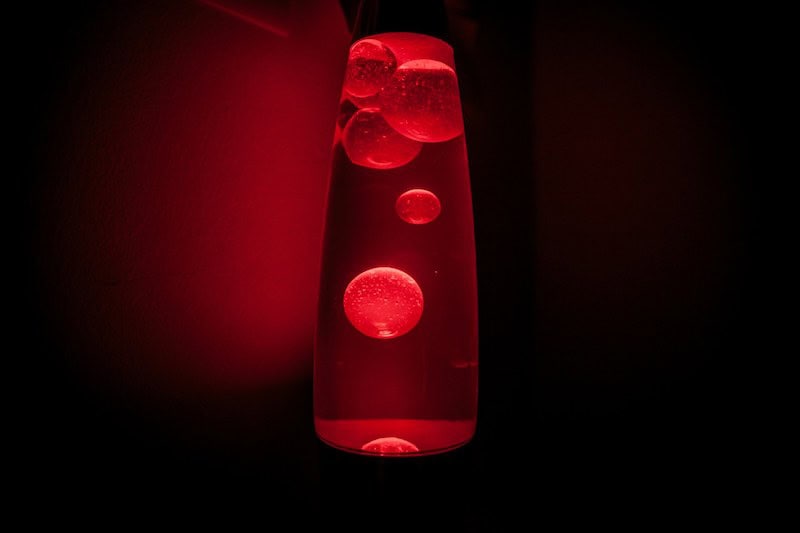
Experiment 1: Creating a Homemade Lava Lamp
Let’s kick off our science journey by making a groovy lava lamp using simple household ingredients. This experiment is not only visually captivating, but it also demonstrates the principles of density and chemical reactions.
Step-by-Step Guide to the Lava Lamp Experiment
To create your homemade lava lamp, you’ll need a clear container (such as a glass bottle), vegetable oil, water, food coloring, and effervescent tablets. Fill the container with oil, leaving some space at the top. Next, add water to the container, leaving a small gap between the oil and water. Add a few drops of food coloring to the water and break an effervescent tablet into small pieces. Drop the tablet pieces into the container one by one, sit back, and watch as colorful blobs of “lava” rise and fall.
The Science Behind the Lava Lamp Experiment
The reason this experiment works is simple. Oil and water don’t mix because they have different densities. The oil, being less dense than water, floats on top. When the effervescent tablet reacts with the water, it produces carbon dioxide gas bubbles. These bubbles attach to the colored water and cause it to rise to the top. When the bubbles reach the surface, they pop, and the water falls back down due to gravity, creating a mesmerizing lava lamp effect.
Experiment 2: Growing Crystals at Home
Ever wanted to grow your own crystals? Now you can! This experiment allows you to witness the fascinating process of crystal formation firsthand.
Detailed Procedure for Growing Crystals
You’ll need a clean glass jar, a pencil, a piece of string or fishing line, water, and a crystal-growing solution (available in science kits or online). Tie the string around the middle of the pencil and suspend it inside the jar so that it hangs freely without touching the sides. Prepare the crystal-growing solution as instructed and carefully pour it into the jar, ensuring that the string is fully immersed. Place the jar in a quiet corner and wait patiently as stunning crystal structures begin to form on the string over the next few days.
The Scientific Principle Behind Crystal Formation
Crystals form when atoms or molecules arrange themselves in an organized, repeating pattern. The crystal-growing solution contains a supersaturated mixture of chemicals that encourages the growth of crystals. As the solution cools or evaporates, the molecules in the solution come together and form solid crystals on the string. The crystals will continue to grow until the solution is depleted or the conditions are no longer suitable for crystal formation.
Experiment 3: Building a Simple Electric Motor
Get ready to delve into the world of electromagnetism as we construct a basic electric motor. This experiment will give you a hands-on understanding of the relationship between electricity and magnetism.
Instructions for Building an Electric Motor
You’ll need a AA battery, a small magnet, copper wire, a couple of paperclips, and a rubber band. Start by shaping the copper wire into a coil with two loose ends. Attach one end of the wire to the positive terminal of the battery and the other end to one of the paperclips. Secure the magnet to the other paperclip and position it near the coil. Finally, use the rubber band to fasten the battery to the paperclips, creating a stable structure. Watch in awe as the electric motor spins into action!
Understanding the Science of Electric Motors
An electric motor operates on the principles of electromagnetism. When the current flows through the coil, it creates a magnetic field around the wire. This magnetic field interacts with the magnetic field of the permanent magnet, causing the coil to rotate. As the coil rotates, the current flow is reversed, ensuring continuous movement. Electric motors play a vital role in various devices we use every day, from household appliances to automobiles.
Experiment 4: Making Invisible Ink
Unleash your inner spy with this intriguing experiment that involves creating invisible ink using common household items. Leave secret messages that can only be revealed with a little science magic!
Process of Making Invisible Ink
To make your own invisible ink, you’ll only need a lemon, a cotton swab, and white paper. Cut the lemon in half and squeeze its juice into a bowl or cup. Dip the cotton swab into the lemon juice and use it to write your message on the paper. Allow the juice to dry completely. When you’re ready to reveal the message, heat the paper carefully with a candle flame or an iron set to a low temperature. Watch as your invisible ink magically becomes visible!
The Chemistry of Invisible Ink
The acid in the lemon juice weakens the paper, making it brown when it reacts with heat. The slight discoloration reveals the hidden message by contrasting with the rest of the paper. This experiment showcases the chemical reaction that occurs as a result of heat interacting with organic compounds present in the lemon juice.
These four science experiments offer a glimpse into the fascinating world of scientific discovery. Remember to always have fun, ask questions, and experiment with different variables to deepen your understanding of the scientific principles at play. Who knows, these simple experiments might just ignite a lifelong passion for scientific exploration. Happy experimenting!