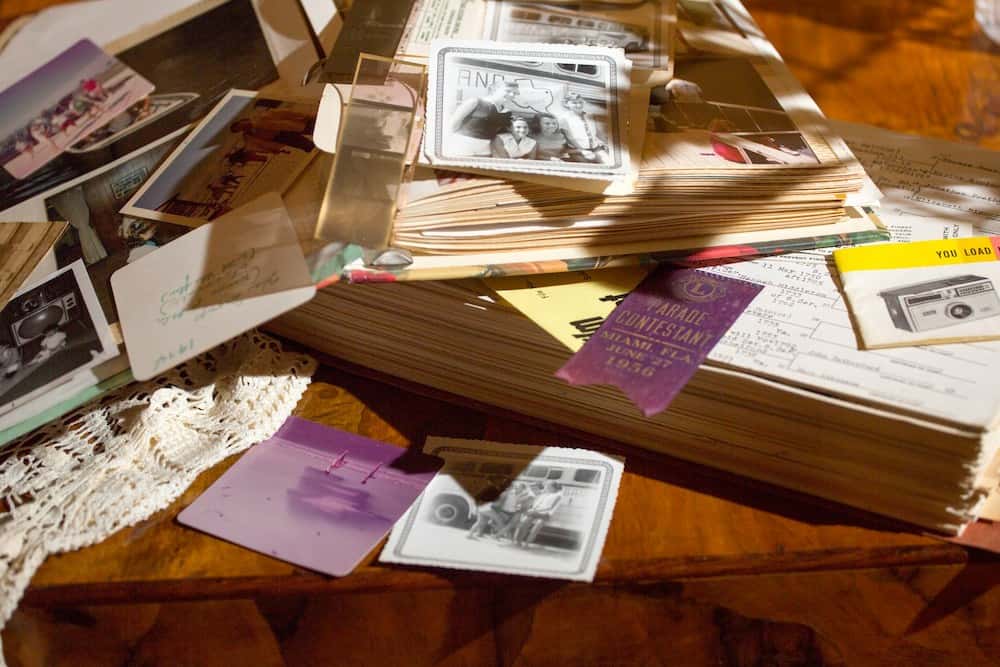
Creating a DIY memory book with your kids is a meaningful and nostalgic way to bond with them. Not only does it provide an opportunity to revisit cherished memories, but it also allows you to engage your children in a creative and educational activity.

Memory books can also be a powerful tool for healing and emotional growth. In times of loss or difficult transitions, flipping through the pages of a memory book can bring comfort and solace. It allows you and your children to remember and honor loved ones who may no longer be with you, keeping their memory alive in a tangible way.
Additionally, creating a memory book can be a creative outlet for your children. They can express themselves through drawings, paintings, or collages, adding a personal touch to the book. This artistic expression not only enhances their fine motor skills but also allows them to explore their emotions and thoughts in a visual form.
Memory books can become a cherished family tradition that spans generations. As your children grow older, they can look back on the memories captured in the book and share them with their own children someday. This passing down of memories creates a sense of continuity and connection between different generations, strengthening the family bond and preserving your family’s legacy.In conclusion, memory books are not just a collection of photographs and written entries; they are a treasure trove of emotions, stories, and shared experiences.
By involving your children in the process of creating a memory book, you not only create a beautiful keepsake but also foster their cognitive, emotional, and artistic development. So, start capturing those precious moments and embark on a journey of reminiscing, storytelling, and emotional connection through the pages of a memory book.
Gathering Materials for Your DIY Memory Book
Before diving into the creation process, it’s essential to gather the necessary materials. By selecting high-quality supplies, you ensure that your memory book stands the test of time while remaining safe for your children to handle.
When embarking on the journey of creating a DIY memory book, the materials you choose play a crucial role in preserving your precious memories for years to come. The tactile experience of flipping through the pages of a well-crafted memory book can evoke nostalgia and create a tangible link to the past.
Essential Supplies You’ll Need
To start, gather a variety of acid-free papers or cardstock. Acid-free materials prevent the deterioration of photographs over time. You’ll also need scissors, glue or adhesive tape, a hole puncher, colored pens or markers, and photographs or printed memories. Additionally, consider including decorative elements like stickers, ribbons, or pressed flowers to add a touch of personalization to your memory book.
Each piece carefully chosen and thoughtfully placed in your memory book contributes to the narrative of your family’s story. The act of creating a memory book is not just about compiling photos and mementos; it’s a form of storytelling that captures the essence of your family’s journey through time.
Choosing Eco-Friendly and Safe Materials
To create an environmentally friendly memory book, opt for recycled or sustainably sourced materials. Look for soy-based or water-based adhesives and non-toxic markers or pens. By making these choices, you ensure that your memory book not only celebrates your family’s memories but also cares for the planet you call home.
Embracing eco-conscious materials in your DIY memory book not only reflects your commitment to sustainability but also adds a layer of authenticity to your creation. As you curate each page with intention and care, you are not just crafting a book; you are weaving a tapestry of memories that will be cherished for generations to come.
Planning Your Memory Book Layout
Before jumping into the creative process, take some time to plan the layout and structure of your memory book. This step will help you organize your photographs and written entries in a cohesive and visually pleasing manner.
Deciding on a Theme
Consider choosing a theme for your memory book. The theme could revolve around a specific event, such as a family holiday or a milestone in your child’s life. Alternatively, you could create a more general memory book that encompasses a variety of special moments throughout the year. Having a theme can provide a sense of direction and coherence to your book.
Organizing Your Pages
As you begin assembling your memory book, think about the order in which you want your memories to flow. Divide your book into sections, such as vacations, birthdays, or school achievements. Within each section, arrange your photos and notes chronologically or based on significance. This organization will make it easier for you and your kids to navigate the book and revisit specific memories with ease.
Engaging Your Kids in the Process
Involving your kids in the creation of the memory book adds a layer of joy and excitement to the project. It encourages their active participation and nurtures their creativity.
Fun Ways to Involve Your Kids
Let your children choose the photographs they want to include in the book. Encourage them to write short descriptions or captions for each memory. Alternatively, you can create a designated space for them to doodle, draw, or write their reflections. This interactive approach will make the memory book truly representative of your family’s collective experiences.
Encouraging Creativity and Expression
Give your kids the freedom to express their creativity by including colorful drawings, collages, or even small crafts within the memory book. They can personalize each page, making it a reflection of their unique personality. This creative engagement not only enhances their artistic skills but also encourages self-expression and imagination.
Assembling Your DIY Memory Book
Once you have all the materials and ideas in place, it’s time to assemble your memory book. Follow these steps to create a beautiful keepsake that will be treasured for years to come.
Step-by-Step Guide to Assembling
- Arrange your selected photographs and written entries in the desired order.
- Attach each photo or written entry to the acid-free paper or cardstock using adhesive tape or glue.
- Punch holes along one side of each page and thread a ribbon or binding rings through them to secure the pages together.
- Decorate the cover of your memory book using markers or pens and add a title or a special quote that embodies the essence of your family’s memories.
- Finally, add any additional personal touches such as stickers or pressed flowers to enhance the aesthetic appeal.
Tips for a Durable and Long-Lasting Book
To ensure that your memory book withstands the test of time, consider using protective sleeves for delicate photographs or items. Choose a storage location away from direct sunlight and excessive moisture. Set a regular time to revisit the memory book with your kids to celebrate new memories and relive old ones. This ongoing engagement will keep the memory book alive and preserve the emotional connection it represents.
In conclusion, creating a DIY memory book with your kids is a rewarding undertaking that stimulates their creativity, encourages emotional connection, and preserves precious moments for future generations. Through this collaborative project, you not only build lasting memories but also foster a sense of love, appreciation, and togetherness within your family. So, gather your materials, involve your kids, and embark on a journey of nostalgia and creativity as you craft a treasured memory book that will be cherished for years to come.


