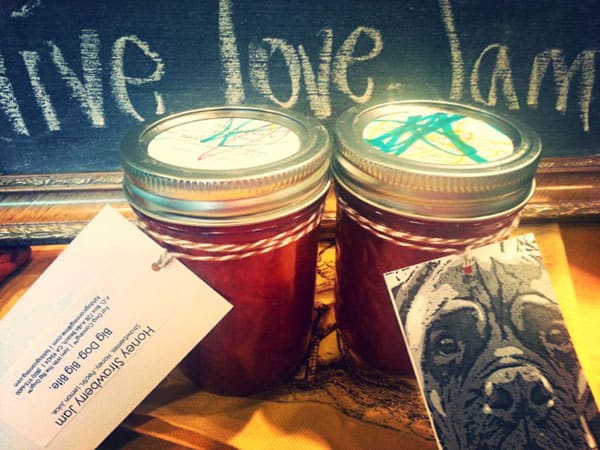
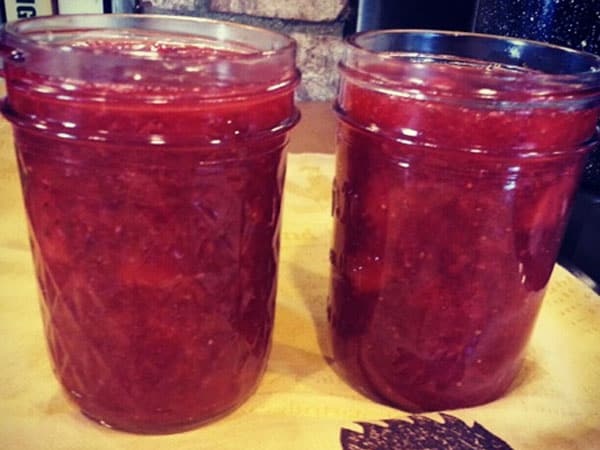
Home canning is surging in popularity and my sister, Felicia Corcoran, who is an avid cook and homemaker has been riding the wave and thoroughly enjoying the process of canning. Her jams and jellies have become so popular amongst her friends she decided to setup shop and turn her passion for canning into a business, Fat Dog Canning, aptly named after her adorable yet portly bullmastiff.
Felicia is also a stay-at-home-mom to the cutest 2-year old you’ll ever meet and she has learned to not only work with him at home but also involve him in the process.
We asked Felicia to share some tips on canning and how she best gets her son involved.
There are several benefits to home canning – eating healthier because you control the ingredients, saving money, and you’re supporting your local farmers & communities to name a few. It’s fun & it’s easy. But most importantly, you can get your children involved in the process.
As a stay-at-home-mom, I’m always on the lookout for something new & exciting to do with my very curious 2-year old. The kids will love opening up & eating something that they’ve helped make. The most important thing to remember though, HAVE FUN!
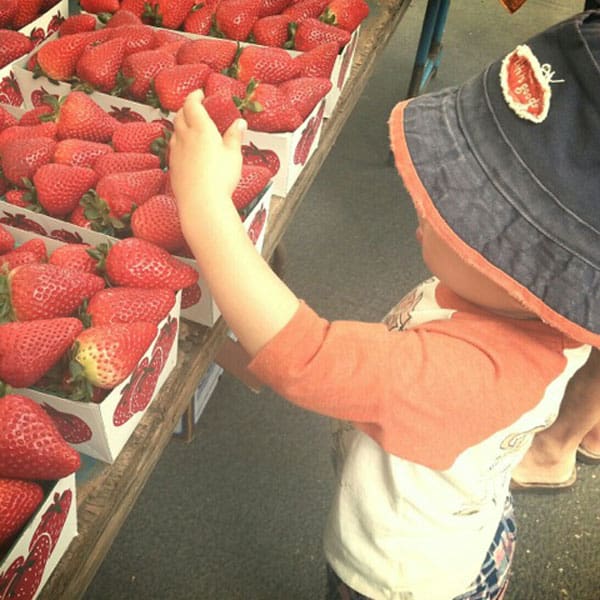
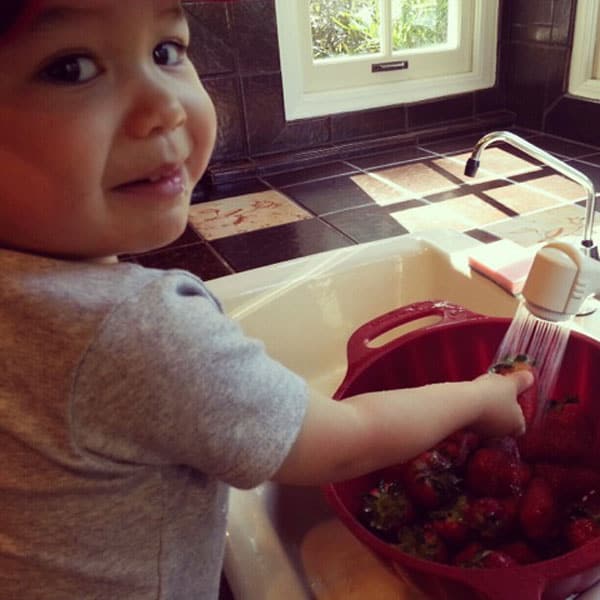
Remember, safety is ALWAYS first! We NEVER let children in the kitchen area while we’re processing, filling, or cooling the jars. They help with some of the safer tasks, such as picking out & washing the fruit, making the labels, and tasting the cooled/finished product.
Here are Fat Dog’s 4 C’s:
1. CHILDREN
Let them help with some of the easier, safer, tasks such as picking the fruit at the farmers market. Let them help clean & prepare the fruit or vegetables and gather all of the ingredients together. Let them taste the final product so they can enjoy the work they’ve done & see how successful the project was. Let them create the labels for the jars by using crayons, markers, paints, etc. to design them. Ask them to create a fun & crazy name for the food (i.e. Silly Willy Strawberry, Gummy Bear Grape, Pucker Fish Pickles).
2. CHECK
Look for any breaks, cracks or nicks. Check your bands & lids. The band shouldn’t have dents, and the rubber gasket on the lid is subject to deterioration after several years in storage. It’s always best to use new lids. Wash your jars with hot soapy water (you can also run them through the dishwasher). Process & sterilize your jars & lids. Make adjustments if you’re at a higher altitude; higher altitudes require a longer processing time. Make sure your workspace is clean.
3. CHOOSE
Be sure to give your fruit & vegetables a good cleaning. Always buy fresh (and local if you can). Know the acidity level of the food you’re going to can. The pH (measure of acidity) will determine which method of canning you need to use (water-bath or pressure cooker).
4. CANNING
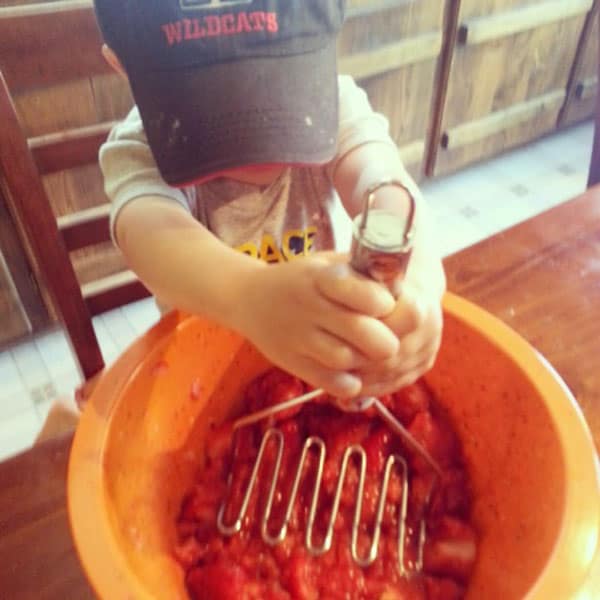
Fill your processed jars with the food. Don’t poor hot food into cool jars, and don’t process cooled jars in hot water. They will crack. Because food will expand during the canning process, leave appropriate headspace so you don’t have a huge mess on your hands. Follow the headspace recommendations of the recipe. Check for air bubbles by using a spatula. Push the food down & run the spatula along the inside of the jar. Clean the rim of your jars before you process them. Food on the rims can compromise a good seal.
Here’s what you’ll need:
• Boiling Water-Canner (stainless steel or enamel coated) – good for high acid foods such as tomatoes, salsa, jams, jellies, & fruits.
• Pressure canner – good for low acid foods such as meats, poultry, vegetables, chili, & fish.
• Steam Canner (not recommended by the USDA or National Center for Home Food Preservation) – steam isn’t as effective at transmitting heat through the center of the jars as boiling water is. The heat ensures product safety & kills off any possible contaminants. This type of canner would be recommended for personal use only. I’ve used one before & I’ve never had any issues. But if you plan on gifting or selling your jam, a water-canner or pressure canner is the way to go.
• Jars
• Lids & bands
• Jar Lifter
• Canning Funnel
• Canning Tongs
• Canning Rack
• Canning Lid Lifter
• Canning Scoop (I use a $2 plastic soup ladle from Food 4 Less)
There are a few resources online with step-by-step instructions for canning but we recommend learning from a friend or relative who has done it before. They can show you all of the details that might see minor but can make a big impact on your final product.
Thanks Felicia and Reagan and be sure to visit Fat Dog Canning for their latest jams and jellies.